
Wax melts are scented wax without the need for a flame: no wick to size, no jar to wick. If you can melt and scent wax, you can make them. That simplicity is why we point kids' craft days, fragrance testing, and first-time sellers at this project. We've called them tarts since we started in 1999. Most people buying them today say melts. Both names mean the same thing, and this guide covers the project under either one.
What You'll Need
What You'll Need
Check items off as you gather them
Supplies
-
Melt / Tart Wax IGI 4794 in paraffin, Golden Brands 494 in soy
-
Fragrance Oil over 275 fragrance oils; melt loads run 0.5 up to 1.75 ounces per pound
Tools & Equipment
-
Molds clamshell molds double as retail packaging; silicone molds make shaped melts
-
Pouring Pot, Thermometer, Scale the prep trio from How to Prepare Wax for Pouring
-
Cookie Sheet moves a full tray of molds without spills
-
Heat Gun optional a quick pass warms silicone molds for glossier melts
-
Utility Knife scores the slab waxes for snapping
Skip ahead to the step-by-step guide
Why Makers (and Buyers) Love Melts
A melt is used in a wax warmer, where a bulb or hotplate liquefies the wax and releases the fragrance with no open flame on the wax itself. That matters to buyers: candles are the heat source in 2% of reported home fires and 5% of home fire injuries[1], and a flame-free option sells itself to anyone with kids, pets, or a flame-free space. It matters to makers too. With no wick, the hardest variable in candle making is gone. That makes melts the fastest way to test fragrances, colors, and fragrance recipes before committing them to candles.
The Step-by-Step Process
How to Make Wax Melts
-
1
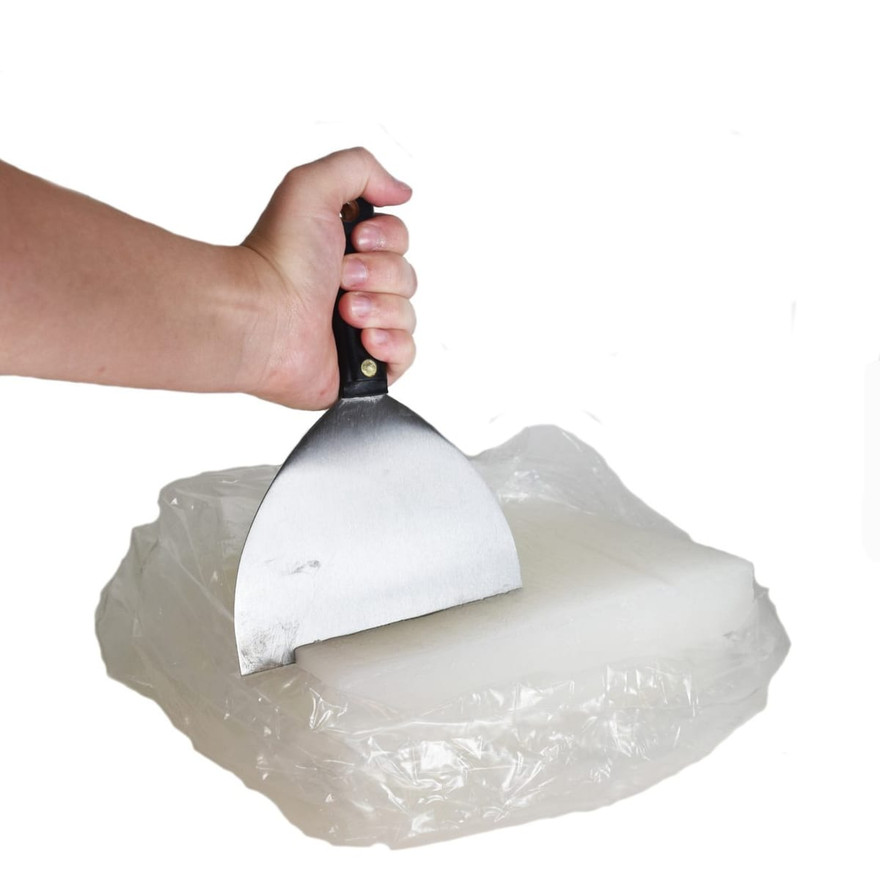
Weigh and cut the wax
Tart slabs are on the hard side: score with a utility knife, snap over a table edge, and weigh the pieces in your pouring pot. Soy melt wax scoops and weighs like any soy flake.
-
2
Melt in a double boiler
An inch of simmering water, a trivet under the pot, medium-low heat to 175°F to 185°F. Watch the thermometer and stay with the wax the whole time it's on the heat[1].

-
3
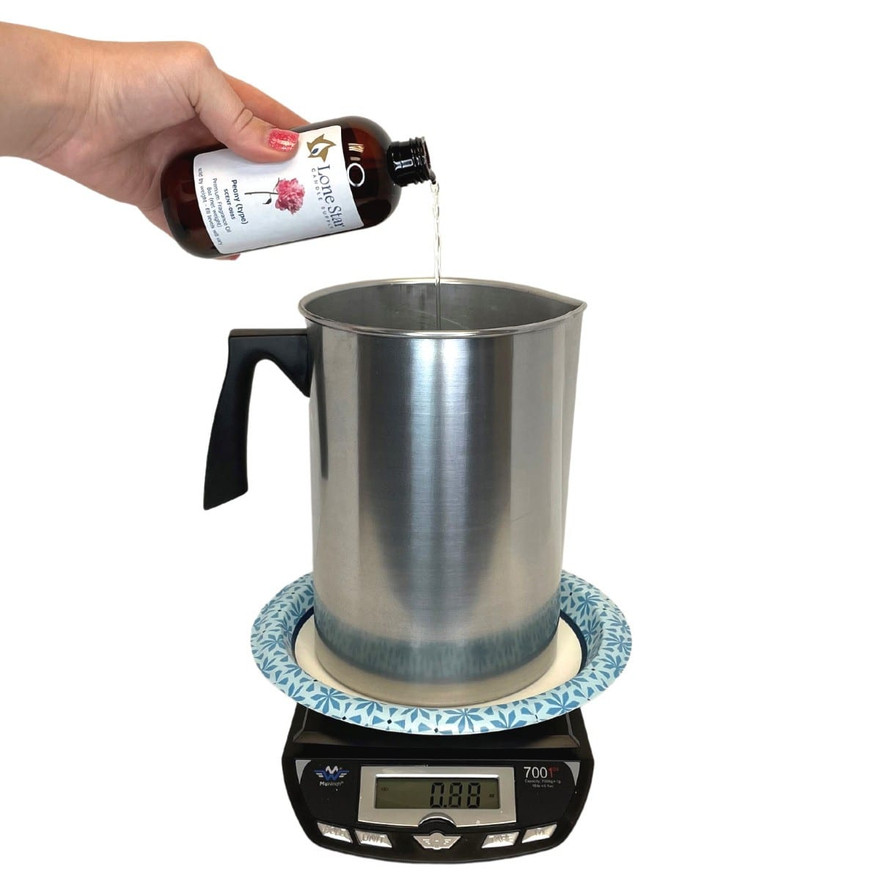
Add fragrance at 180°F
Weigh the oil and stir for two full minutes. One ounce per pound is the common load; your wax's product page lists its recommended range. It is safe to add fragrance above its flash point; the precaution is keeping oil away from open flames[2].
-
4
Color and test (optional)
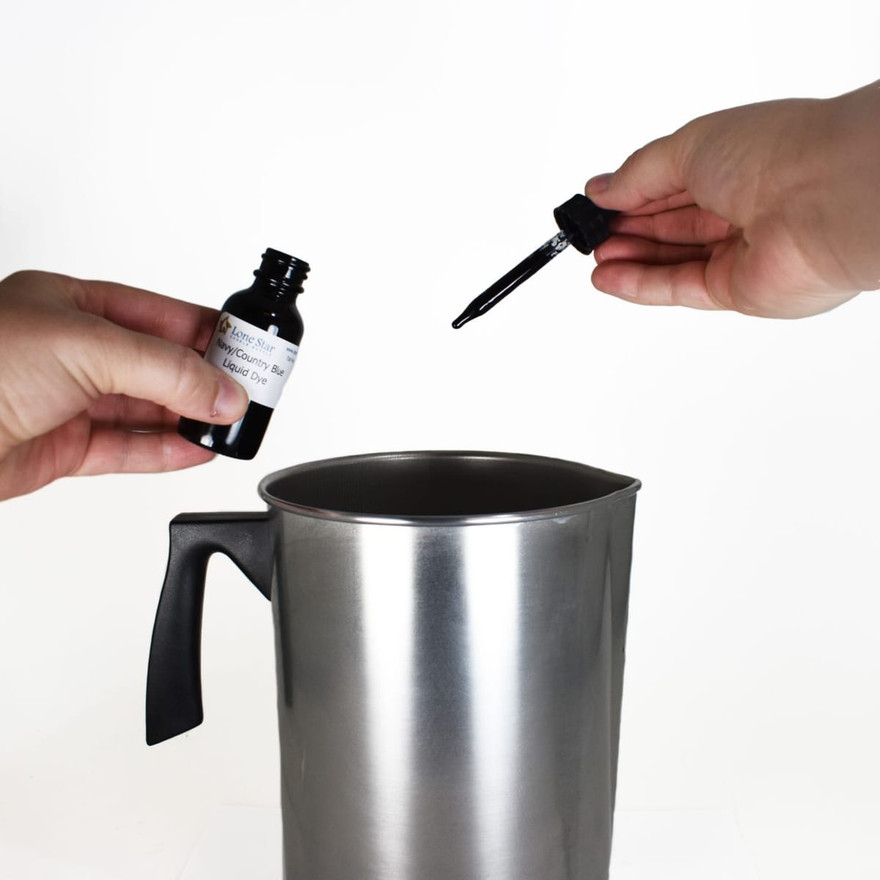
Stir until even, then drip-test on a paper plate; hardened wax shows the real shade. Many sellers skip dye entirely and let the fragrance label do the talking.

Liquid Dye
Add by the drop; you can always deepen the shade.
-
5
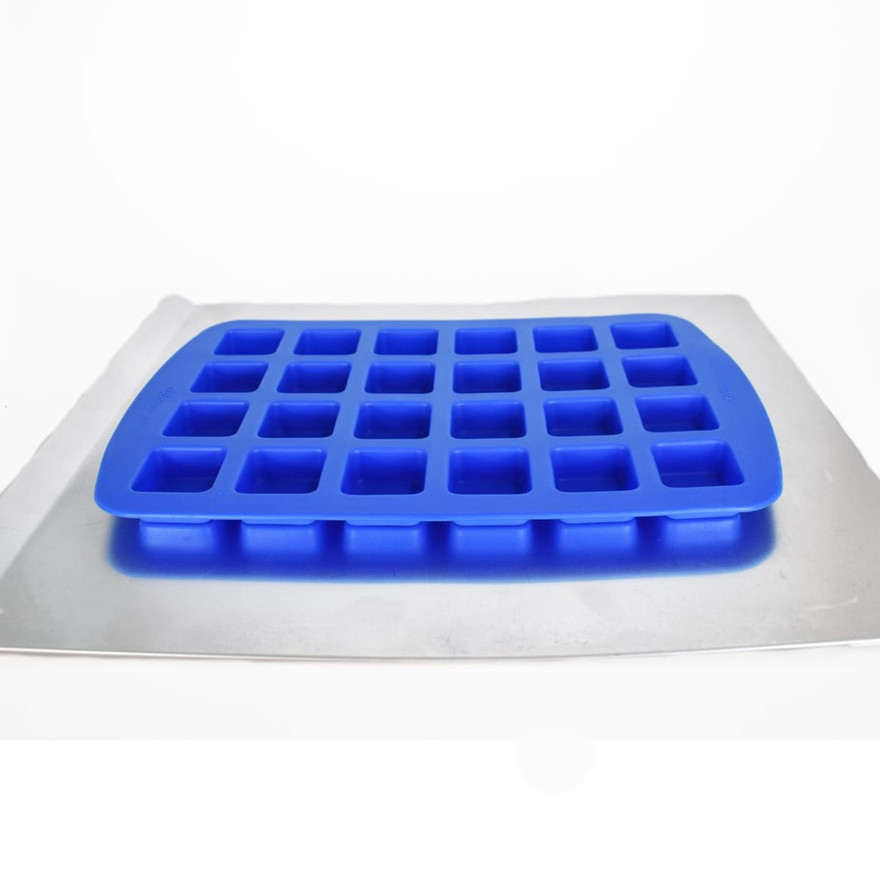
Stage the molds
Set clamshells or silicone molds on a cookie sheet so a full tray moves without spilling. Silicone molds can take a quick heat-gun pass first for a glossier release; never preheat clamshells, which warp and shrink with heat.
-
6
Pour slowly
Fill clamshell cavities to the fill line and silicone molds as deep as you want the melt: nearly full for chunky cubes, halfway for thin ones. They release cleanly either way.

-
7
Let them set fully
Leave the tray alone until the wax is completely hard. Melts released early come out dented and matte instead of crisp.
-
8
Release and package
Silicone molds release with a backward flex; clamshells just snap shut and become the package. Don't pry melts out with a knife; it dents the wax and scars the mold.


Curing, Using, and Selling Melts
Melts cure like candles: give them about a week before warming so the wax binds the fragrance, and expect noticeably stronger throw for the patience. In the warmer, one cube is the right starting dose. The wax re-melts several times, and it's spent once the scent stops rising rather than when the wax disappears. Swap spent wax by letting it harden and popping it out, or warm it for a few seconds first.
For sellers, clamshells are the standard retail unit: pour, snap, label. A How to Make a Wax Tart Bouquet turns the same melts into a giftable arrangement, and the no-wick logic extends to How to Make Car Freshies when you want fragrance that travels.