Every project in our Step by Step Guides starts at the same place: a pot of properly prepared wax. Weigh it, melt it gently, scent it at the right temperature, and color it deliberately. Do that and the rest of the project tends to go smoothly. Rush the prep and you'll chase problems through every later step. This guide covers the prep sequence in detail; for the exact heating and pouring temperatures of each wax we carry, keep our How to Heat & Pour Wax for Candle Making guide open beside it.
What You'll Need
What You'll Need
Check items off as you gather them
Supplies
-
Candle Wax any container, pillar, or votive wax; see candle wax for temperatures and loads
-
Fragrance Oil over 275 fragrance oils, each listing its load and flash point
Tools & Equipment
-
Pouring Pot seamless aluminum; see all pouring pots
-
Sauce Pan + Metal Trivet the double boiler; a metal cookie cutter works as the trivet
-
Thermometer a clip-on standard thermometer
-
Digital Scale wax and fragrance both measure by weight
-
Metal Spoon or Stir Stick plus paper towels for drips
-
Butcher Paper or Newspaper to protect the work surface
Skip ahead to the step-by-step guide
Cover your work area before anything melts. Drips are part of candle making, and dried wax lifts off butcher paper far more easily than it lifts off a countertop. When the pour is done, see our guide to Cleaning Your Tools & Equipment for wiping the pot and tools clean while the wax is still warm.
Measuring Your Wax
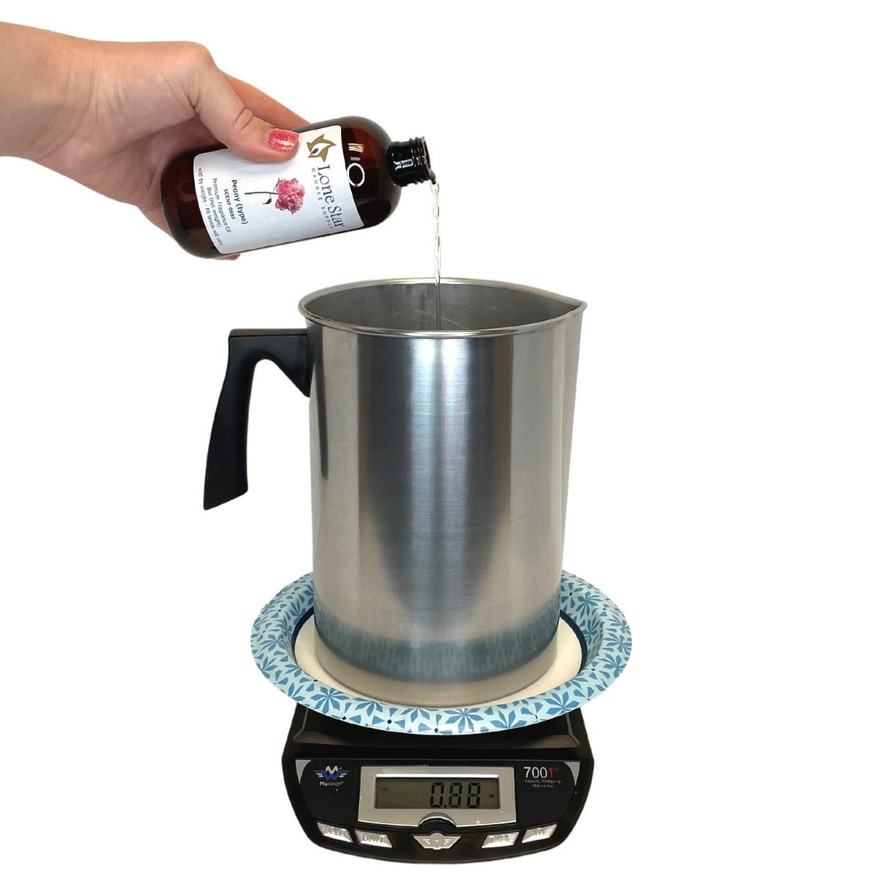
Weigh wax on a scale rather than guessing by volume; wax density varies, and a recipe built on weight is one you can repeat. You can weigh it directly in the pouring pot so there is nothing to transfer. For the full method, including how to size wax to a vessel, see Measuring Soy Wax.
How you get the wax into the pot depends on its form:
Measuring by Wax Form
Soy & Other Flaked Waxes
The easy one. Scoop the flakes or pastilles straight into the pouring pot on your scale until you hit the target weight.
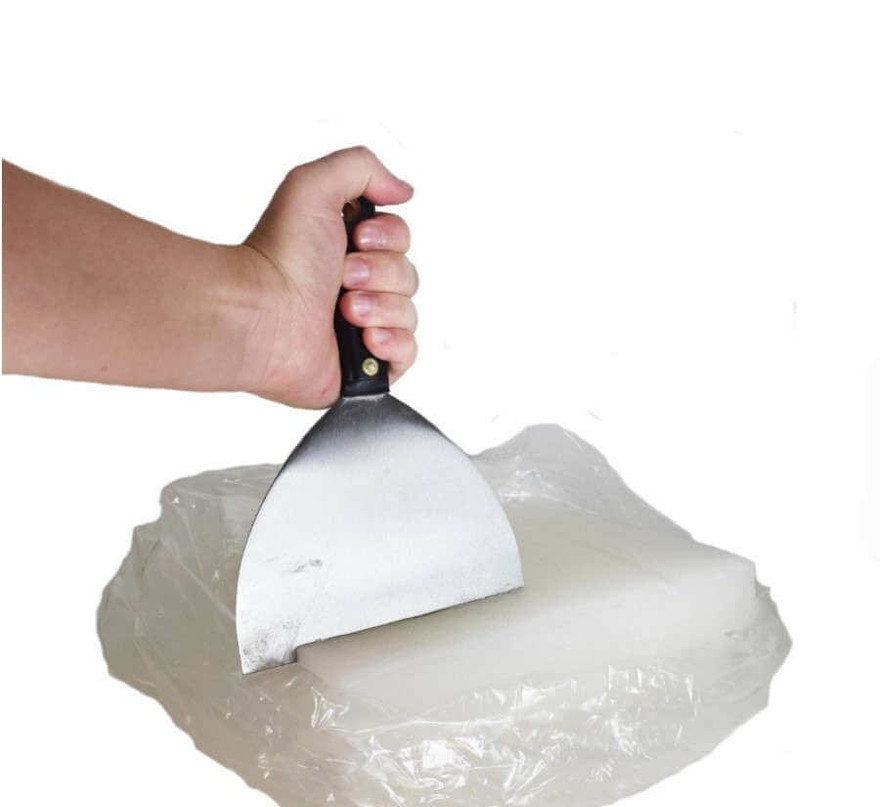
Single-Pour Container Slabs
Soft enough to cut with a putty knife or even a butter knife. Cut pieces small enough to sit below the pot's rim.
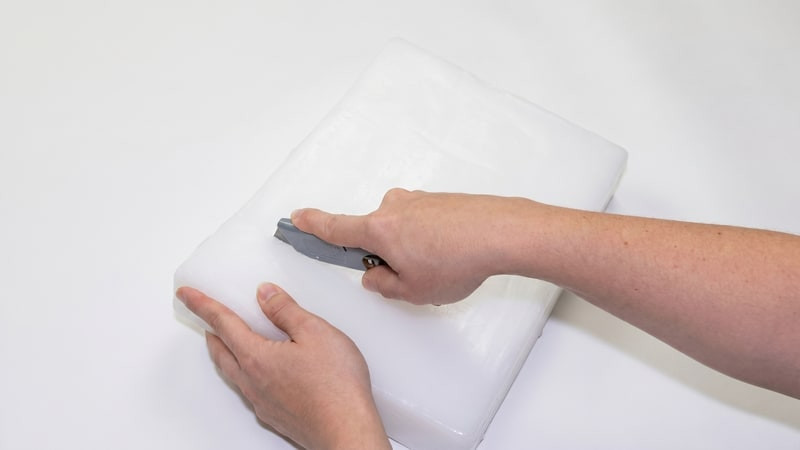
Votive & Pillar Slabs
Harder and more brittle. Score a line with a utility knife, rest the score over a table edge, and press down to snap the slab along the line. Watch your fingers on both the knife and the snap.
If you're filling one of the jars we carry, check its product page first: the description lists the wax weight that brings the jar to its fill line, which saves the math.
Melting the Wax
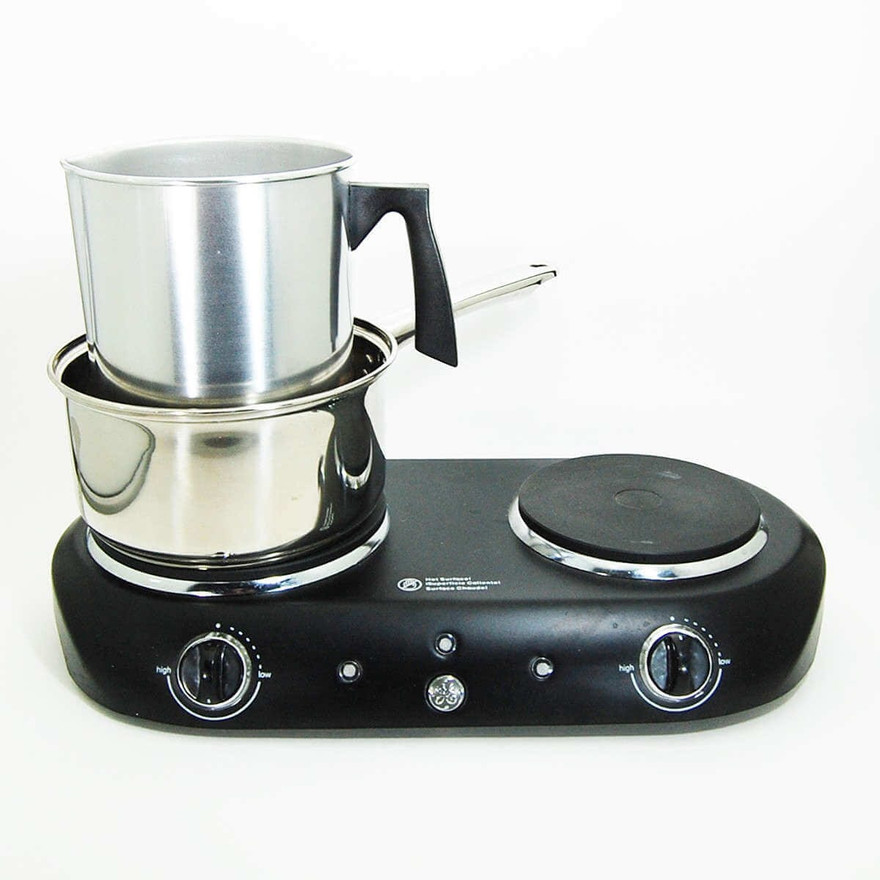
Wax wants gentle, indirect heat. The double boiler gives it exactly that: put about an inch of water in the saucepan, place a metal trivet or cookie cutter in the pan, then set the pouring pot on top so it stays elevated and never touches the pan directly. Bring the water to a steady simmer at medium-low. A rolling boil adds nothing but splatter. A dedicated wax melter is another option if you have one; it holds a set temperature for you, though a double boiler is all you need to get started.
Check the thermometer as the wax melts and adjust the burner so the wax stays inside the heating range listed for it in our How to Heat & Pour Wax for Candle Making guide. Heating ranges vary by wax, and many target temperatures sit close together, so always confirm the numbers rather than relying on memory.
Adding Fragrance Oil
Add fragrance when the wax is around 180°F, then stir for a full two minutes. At that temperature the oil disperses and binds evenly; much cooler and it won't disperse properly, much hotter and the lightest top notes degrade.
Measure the oil by weight on your scale. Each wax retains only so much fragrance oil, so you can load up to the manufacturer-recommended maximum for your wax, but never past it; the excess separates from the wax instead of adding throw. One ounce per pound of wax is the most common load. Our Fragrance Oils FAQ covers loads, ratios, and measuring in depth.
A note on flash point, since every fragrance oil lists one: flash point is the temperature at which the oil can ignite if exposed to a spark or open flame[1]. It is safe to add a fragrance to melted wax above its flash point; the safety practice is keeping the oil away from open flames, which the double boiler setup already does.
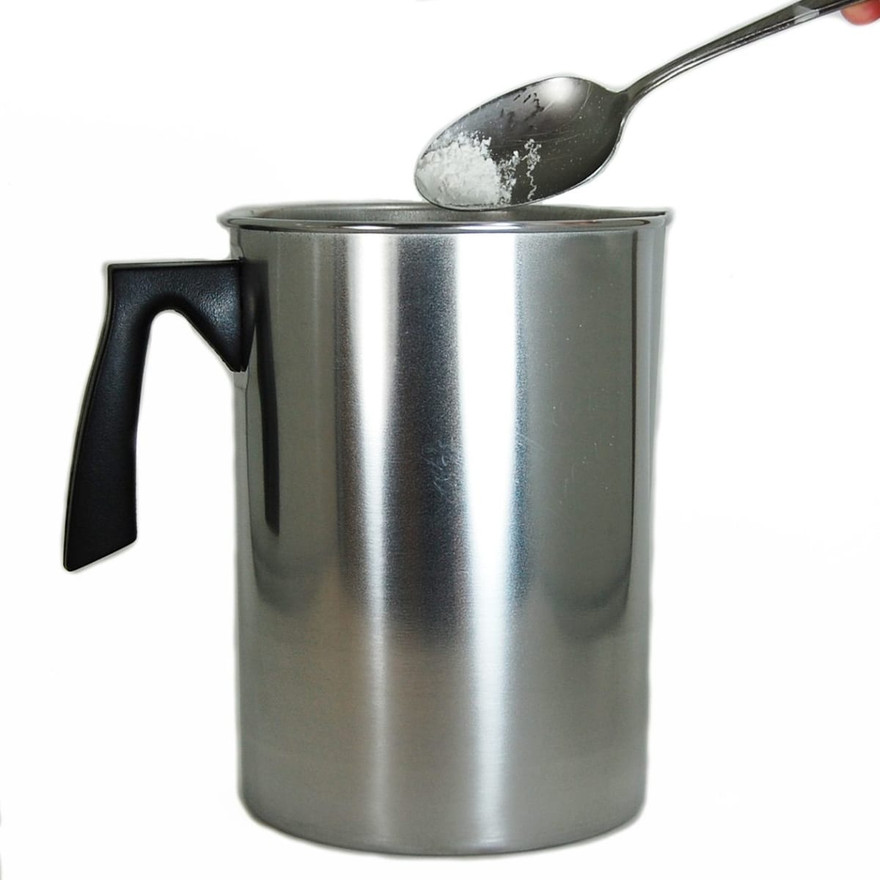
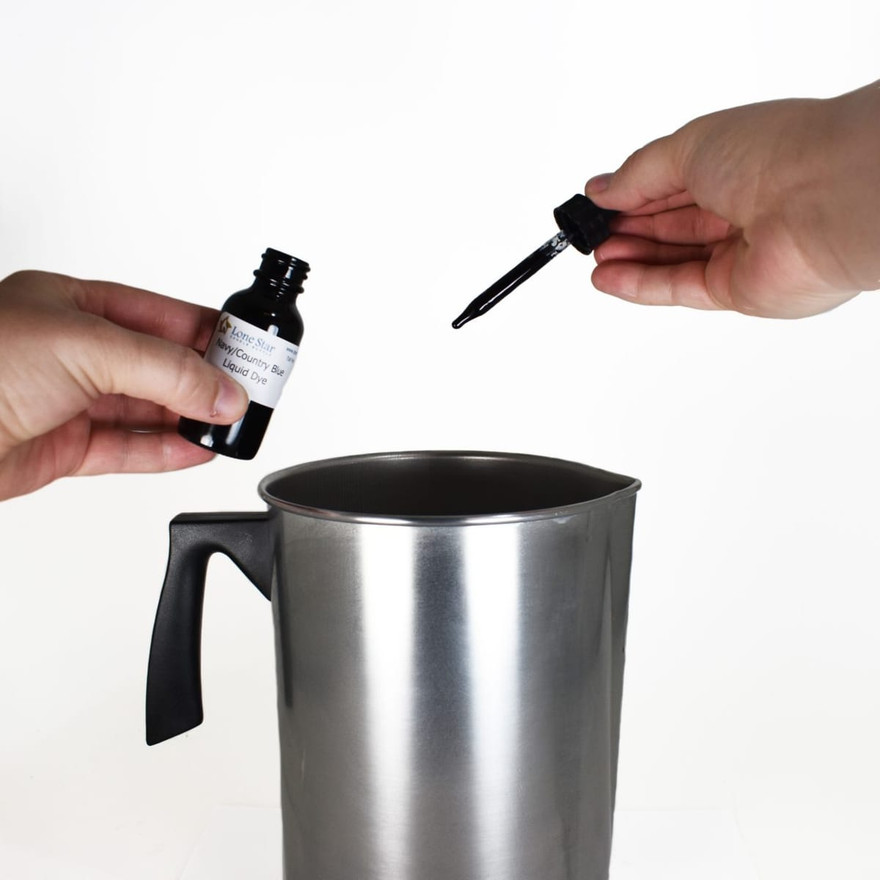
Coloring the Wax
Dye is optional, and both forms we carry go in after the fragrance:
Dye Block vs. Liquid Dye
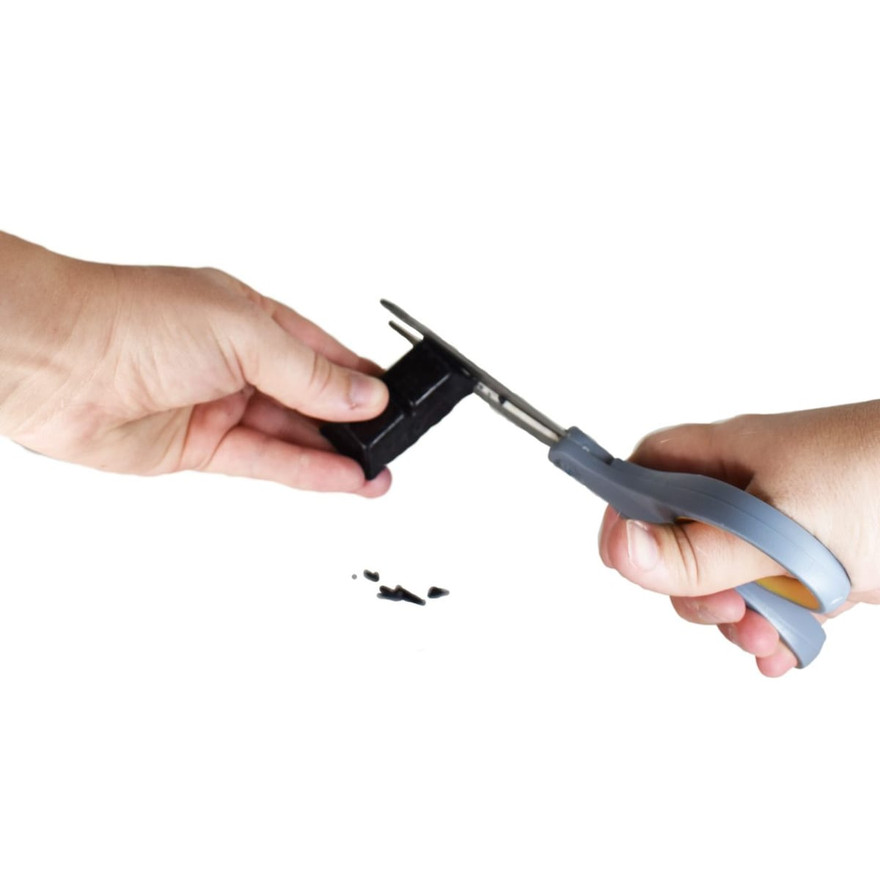
Dye Blocks
Cut the block into small pieces so it melts in quickly, add, and stir until fully blended. Best for rich, saturated color. See the Guide to Dye Block Usage in Candle Making.
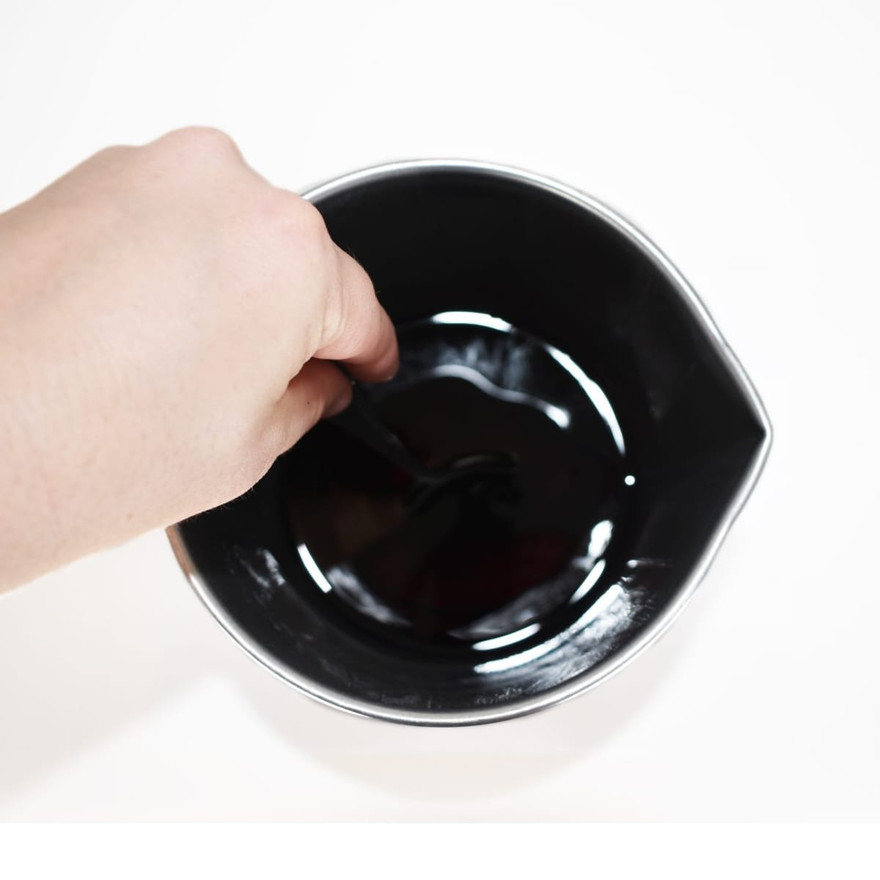
Liquid Dyes
Add drop by drop and stir. Dye can't be removed once it's in, so start light; you can always deepen the shade. See the Guide to Liquid Dye Usage in Candle Making.
Melted wax always reads darker than the finished candle. To preview the cured color, drip a little wax onto a paper plate, let it harden, and judge that instead. Add more dye if the test chip is too light.

If your candles will sit near a window or under retail lighting, this is also the moment to stir in UV stabilizer, about half a teaspoon per pound of wax, mixed thoroughly for a few minutes. It slows the color fading that UV and fluorescent light cause over time.
The Prep Sequence, Start to Finish
Preparing Wax for Pouring
-
1
Protect the workspace
Cover the surface with butcher paper or newspaper and set out every tool before anything melts.
-
2
Weigh the wax
Weigh the wax directly in the pouring pot on a digital scale; how it gets into the pot depends on its form.
Soy & Flaked Waxes
Scoop the flakes straight into the pot until you hit the target weight.

Single-Pour Slabs
Soft enough to cut with a putty knife or even a butter knife.
Votive & Pillar Slabs
Score with a utility knife, rest the score over a table edge, and press to snap.
-
3
Build the double boiler
An inch of water in the saucepan, a metal trivet or cookie cutter in the water, and the pouring pot on top. Medium-low heat, steady simmer.
-
4
Melt to temperature
Watch the thermometer and hold the wax inside the heating range listed for it on its product page. Stay with the pot the whole time.
-
5
Add fragrance at 180°F
Weigh the oil, pour it in at around 180°F, and stir for a full two minutes so it binds evenly into the wax.
-
6
Color and test
Stir your dye in thoroughly, then drip-test the color on a paper plate; hardened wax shows the true shade. Stir in UV stabilizer now if you're using it.
-
7
Cool to pouring temperature
Pull the pot off the heat (the handle may be warm, and the base will be wet from the boiler) and let the wax cool to the pouring temperature your wax calls for. If it cools too far, set it back on the boiler for a minute or two.
The wax is now ready for whatever you're making. Pouring temperatures matter as much as heating temperatures, and they differ by wax, so check How to Heat & Pour Wax for Candle Making before you pour. From here, head to your project. Most makers start with How to Make Container Candles, and every guide in the Step by Step Guides library assumes exactly the prep you just finished, so pick a project and go.