
A pillar candle stands on its own, so the mold and the wax do the structural work a jar normally does. The technique comes down to four steps: sealing the mold, the hot first pour, relief holes, and the second pour. That calls for a harder wax, a metal mold, and two techniques jars rarely need. New to wax prep entirely? Read How to Prepare Wax for Pouring first.
What You'll Need
What You'll Need
Check items off as you gather them
Supplies
-
Pillar Wax a rigid molding blend such as IGI 4625; container waxes are too soft
-
Wicking candle wicks, sized to the pillar diameter
-
Mold Putty or sticky tack, to seal the wick hole in the mold base
-
Fragrance Oil over 275 fragrance oils; pillar waxes hold less oil, so check the recommended load
-
caution labels caution labels
Tools & Equipment
-
A Pillar Mold seamless aluminum pillar molds
-
Mold Cleaner mold cleaner wipes manufacturing oil and wax film out before each pour
-
Wick Bar a Wick Bar anchors the wick at the top of the mold
-
Skewer pokes the relief holes
-
Pouring Pot, Thermometer, Scale the prep trio, plus a pan under the mold to catch leaks
Skip ahead to the step-by-step guide
How Pillars Differ from Container Candles
A pillar is burned naked, so everything about it inverts the jar logic. The wax is harder, holds its shape at room temperature, and accepts less fragrance oil. The mold is temporary and must cleanly release the finished candle, which is why mold prep matters. And pillar wax shrinks markedly as it cools, which is the entire reason relief holes and the second pour exist. Plan for the shrink instead of fighting it and pillars come out clean.
The Step-by-Step Process
How to Make a Pillar Candle
-
1
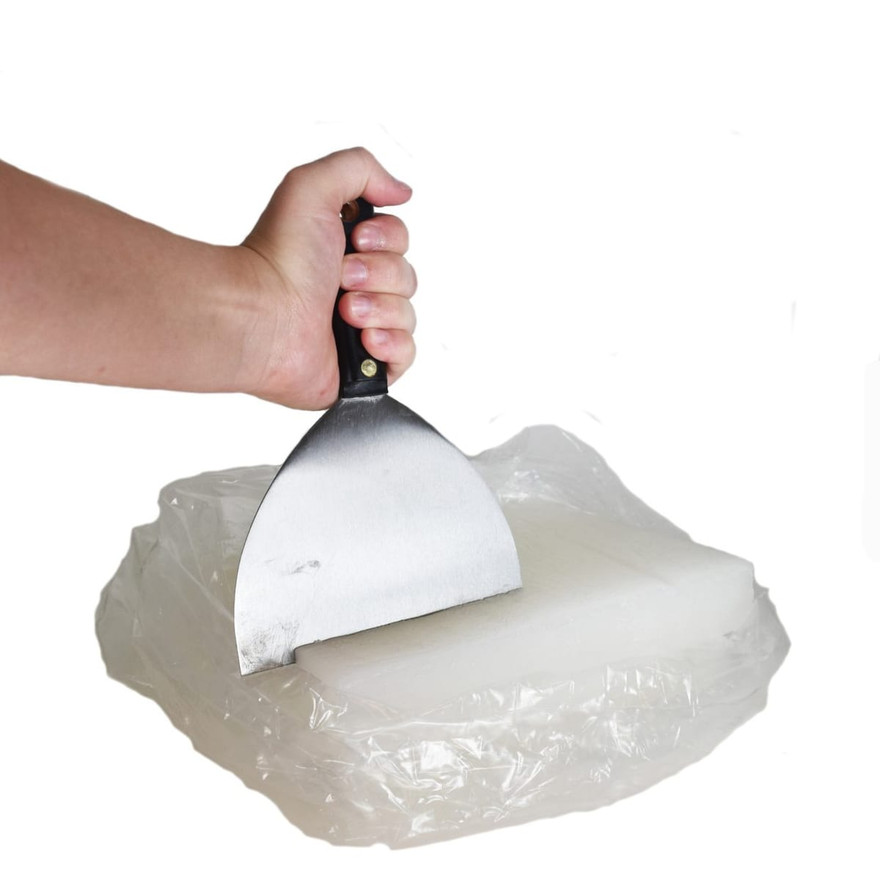
Weigh and cut the wax
Pillar slabs are hard: score with a utility knife, rest the score over a table edge, and press to snap. Weigh the pieces in the pouring pot; the mold's product page lists its capacity.
-
2
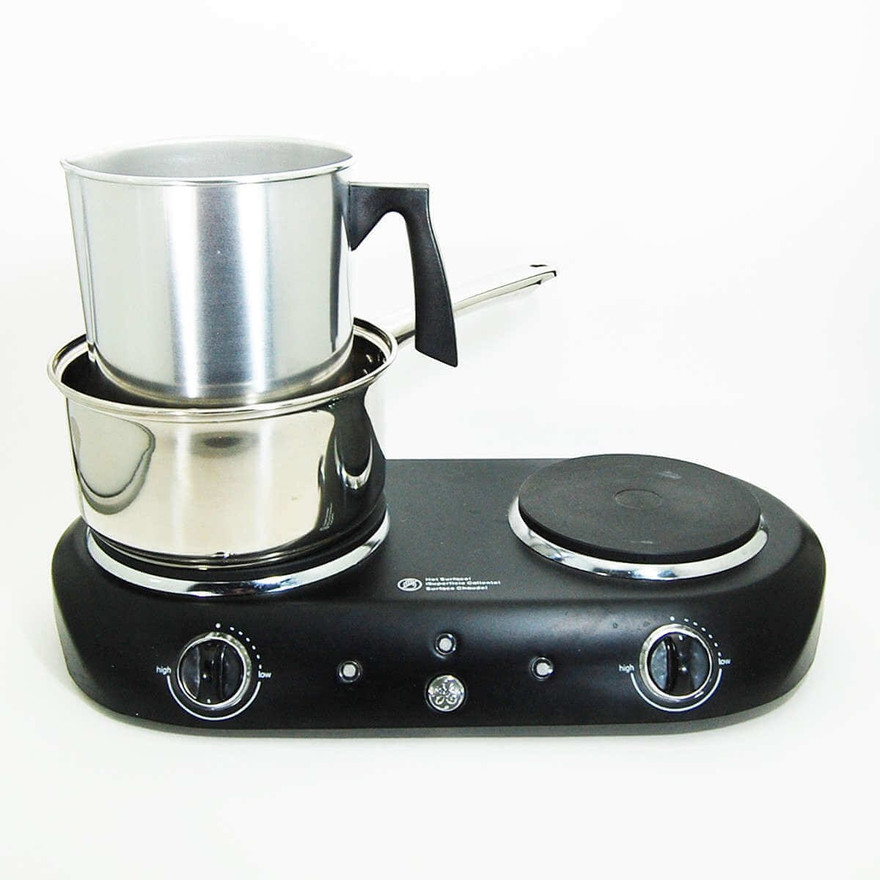
Melt in a double boiler
An inch of simmering water, trivet under the pot, medium-low heat, and a thermometer in the wax. Heat to your wax's listed range and never leave melting wax unattended[1]. New to melting and scenting? How to Prepare Wax for Pouring walks through the full prep.
-
3
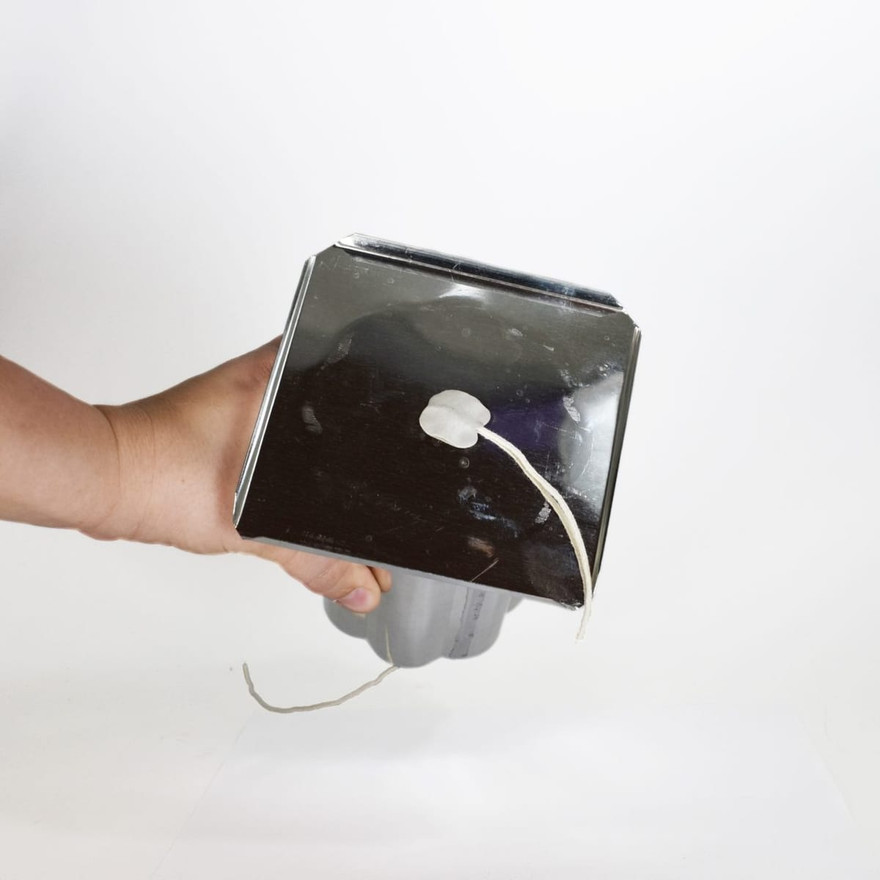
Clean and wick the mold
Wipe the inside with mold cleaner on a paper towel (new molds carry manufacturing oil). Cut wicking about 6 inches longer than the mold height, thread it through the base hole, and leave the extra hanging out.

-
4
Seal the base
Hold the wick flush against the mold base, press a ball of mold putty over the wick hole, and smooth the edges flat. The putty is the only thing between your pour and a slow leak across the workspace, so seal it well and set the mold in a pan anyway. To center the wick with a pin instead, see How to Prepare a Mold With a Wick Pin.
-
5
Anchor the wick
Flip the mold upright, pull the wick taut into a wick bar across the top, and set the mold where it can cool undisturbed.

-
6
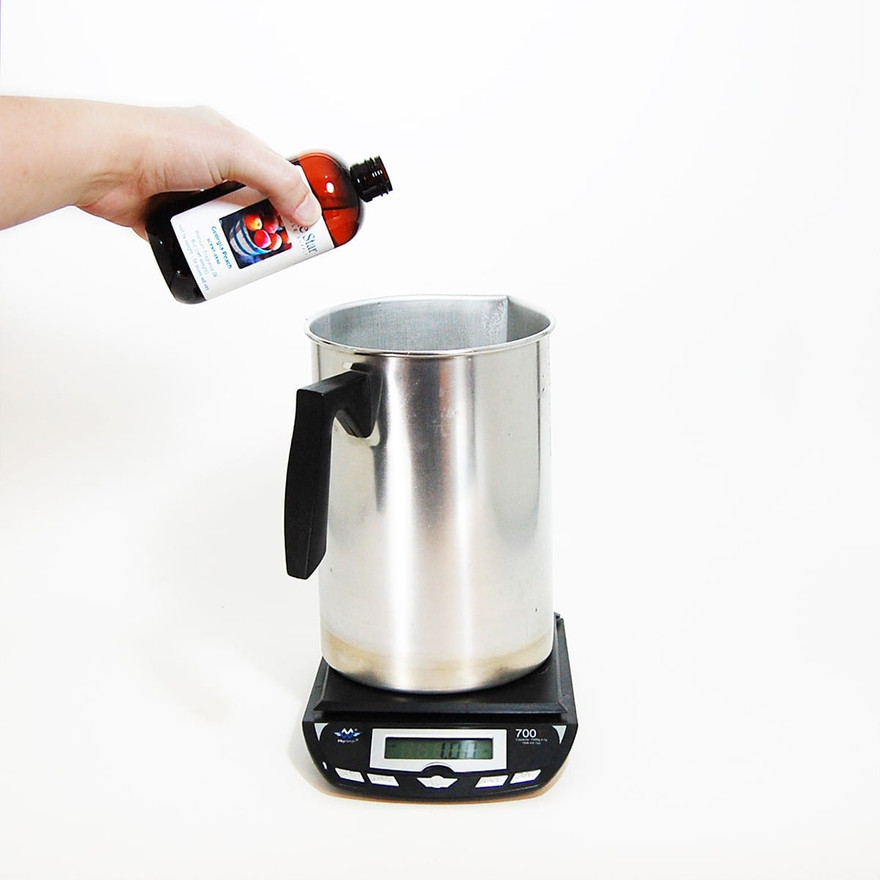
Add fragrance and color
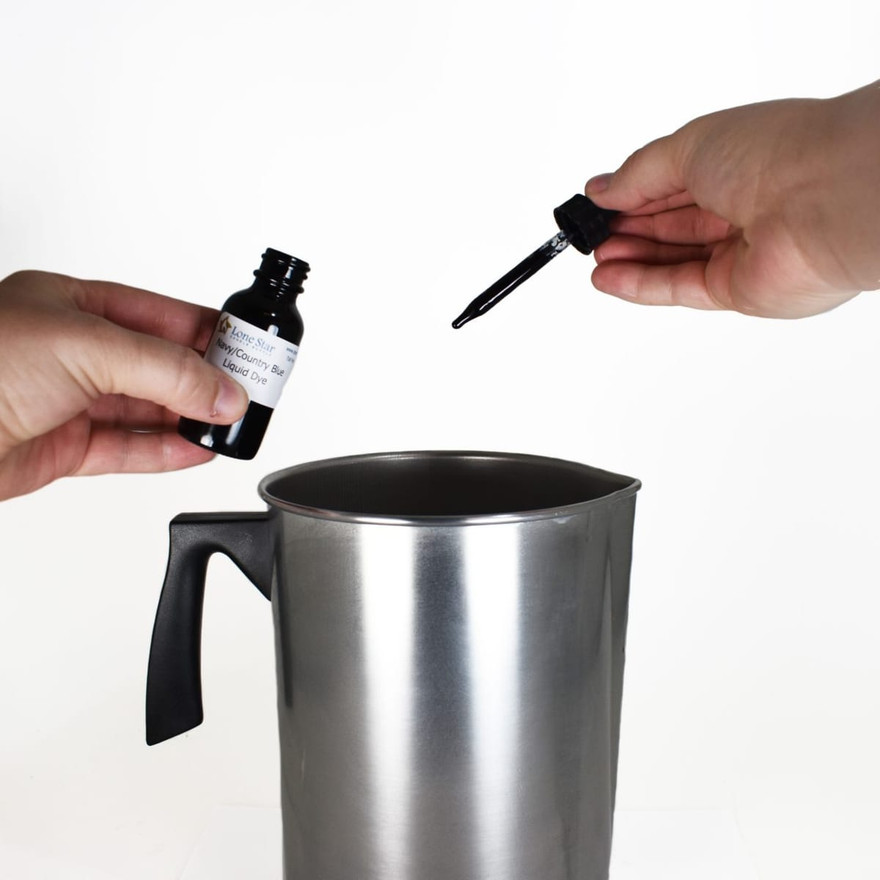
Add fragrance to the melted wax at 180°F (typical pillar loads run 0.5 up to 1 ounce per pound) and stir two full minutes; dye and UV stabilizer follow. Fragrance can safely go in above its flash point; just keep the oil away from open flame[2].
Liquid Dye
Add drop by drop and stir until even.
-
7
First pour, hot
Pillar waxes pour hotter than container waxes; IGI 4625, for example, pours between about 185°F and 200°F. Pour slowly and level with the top of the mold, and keep a few ounces of wax in the pot for the second pour.

-
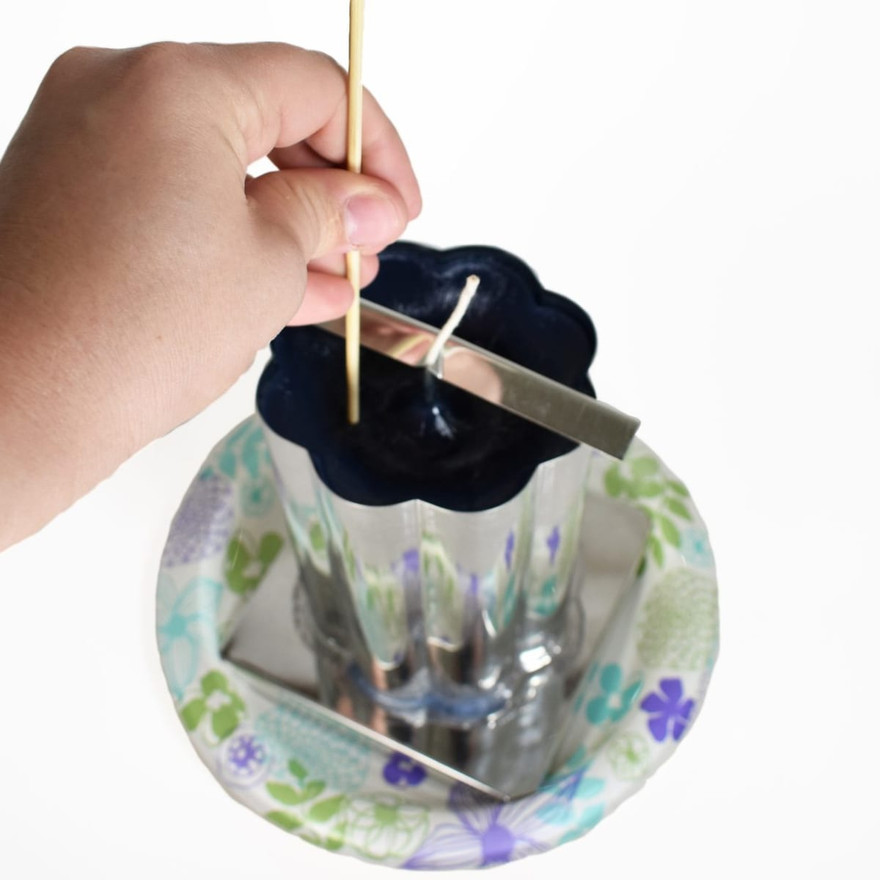
8
Poke relief holes as it sets
When a skin forms across the top, push a skewer deep into the wax on each side of the wick, opening the air pockets that form as pillar wax shrinks. Stay clear of the mold walls (a touch scars the candle's surface) and re-poke the same holes several times as cooling continues.
-
9
Second pour
Once the candle has fully set, reheat the reserved wax to about 185°F and fill the relief holes exactly to the level of the first pour. Overfilling past that line leaves a visible seam on the finished pillar. With a large mold, repeat the relief-hole poking and second pour until the cavity is completely filled.
-
10
Release the candle
After the second pour sets completely, remove the putty and slide the mold off. If it resists, 5 minutes in the freezer shrinks the wax enough to release. One more round is fine, but any longer and the candle can crack.

-
11
Trim both ends and finish
Trim the wick to a quarter inch, level any rough base edge with the bottom of a warm pan if needed, and add a caution label[1]. The bottom of the mold becomes the top of the finished candle.

After the Unmold
Give pillars the same week-long cure you'd give a jar candle; the rest period lets the wax bind the fragrance and pays off in hot throw. Burn a pillar on a heat-safe plate or holder, never directly on furniture, and keep the melt pool inside the candle's edge by trimming the wick each burn.
When the straight cylinder starts feeling routine, the same skills carry into shaped work: How to Make Cookie Cutter Pillars skips the mold entirely, and How to Make Ice Candles turns the shrink-and-void behavior you just learned to manage into the design itself.