Soy wax is often the first choice for new candle makers, and for good reason. The flakes are easy to measure, melt at relatively low temperatures, and clean up with soap and water. This guide focuses specifically on making container candles with soy wax and highlights some of the unique characteristics of working with soy. If you want the broader kitchen-table walkthrough, our Making Soy Candles at Home guide covers making soy candles at home from first principles; this one assumes you're at your workspace and focused on jars.
What You'll Need
What You'll Need
Check items off as you gather them
Supplies
-
Soy Container Wax Golden Brands 464 or Naturewax C-3; the soy wax guide compares all soy wax
-
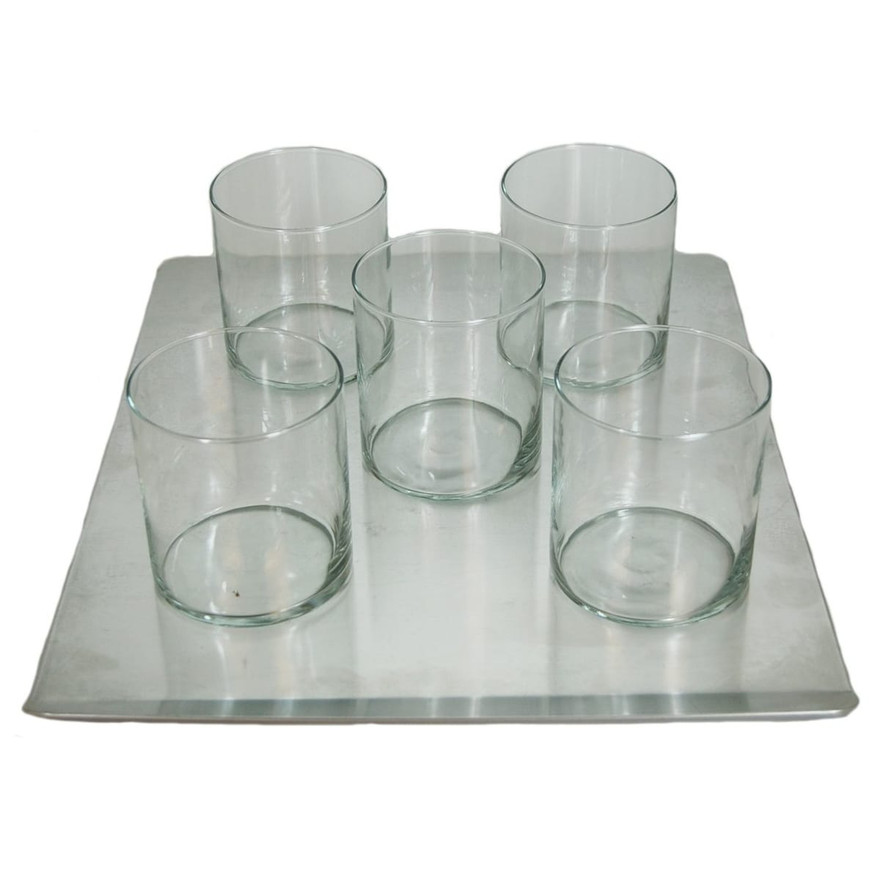
Candle Jars each of our candle jars lists the wax weight to its fill line
-
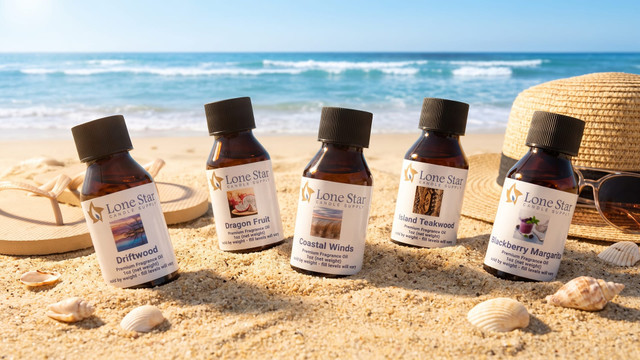
Fragrance Oil over 275 fragrance oils, each with scent notes and specifications
-
Pre-Tabbed Wicks soy typically needs a larger wick than paraffin; see candle wicks
-
Wick Stickers or Glue Dots Wick Stickers or Glue Dots
-
Caution Labels caution labels
Tools & Equipment
-
E-Z Wick Setter centers the wick; a straw also works
-
Wick Bars a Wick Bar holds the wick while the candle cools
-
Pouring Pot, Thermometer, Scale the prep trio from How to Prepare Wax for Pouring
-
Cookie Sheet + Oven for warming the jars
Skip ahead to the step-by-step guide
What Makes Soy Different
Soy wax is hydrogenated soybean oil: vegetable oil solidified into a wax[1]. That origin drives everything soy does differently. It melts at lower temperatures than paraffin, shrinks less as it cools, and crystallizes in ways that produce two purely cosmetic quirks: rough tops and frosting, the white bloom that can surface over time. It also burns more slowly and holds dye in softer, more muted shades. None of this is a defect list; it is just the material, and the process below works with it rather than against it. For the full soy-versus-paraffin comparison, see Soy vs. Paraffin: The BIG Debate.

The Step-by-Step Process
How to Make a Soy Container Candle
-
1
Warm the jars
Place jars on a cookie sheet in a 150°F to 170°F oven (or its lowest setting) until needed. Warm glass helps prevent jump lines and protects against thermal cracking.
-
2
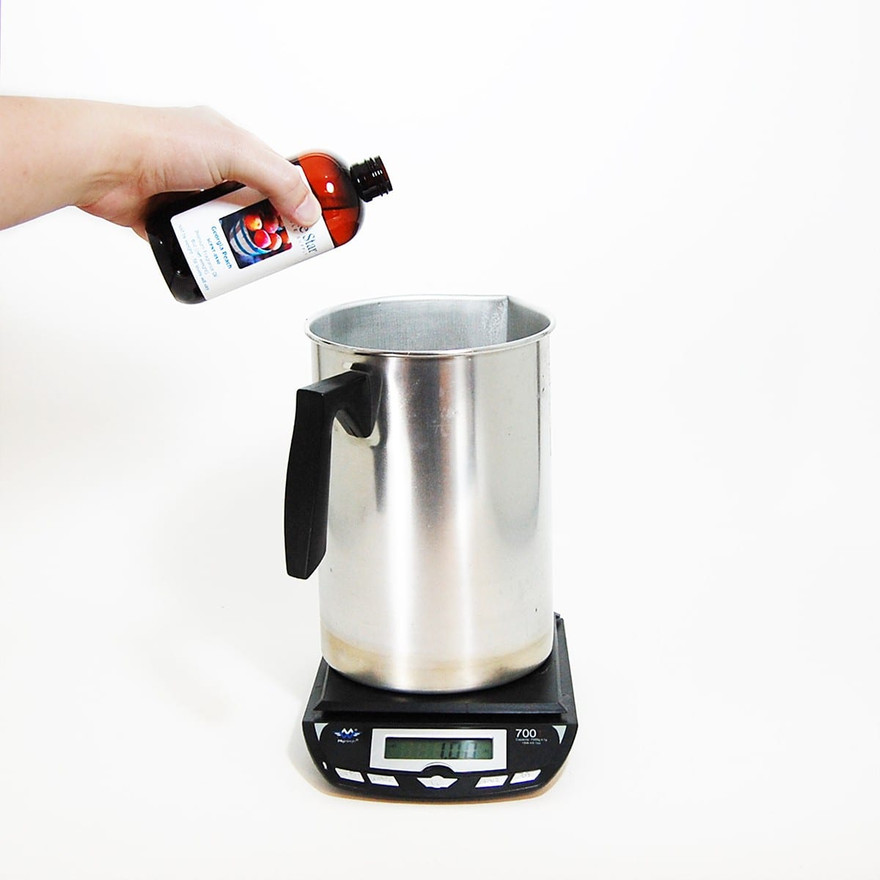
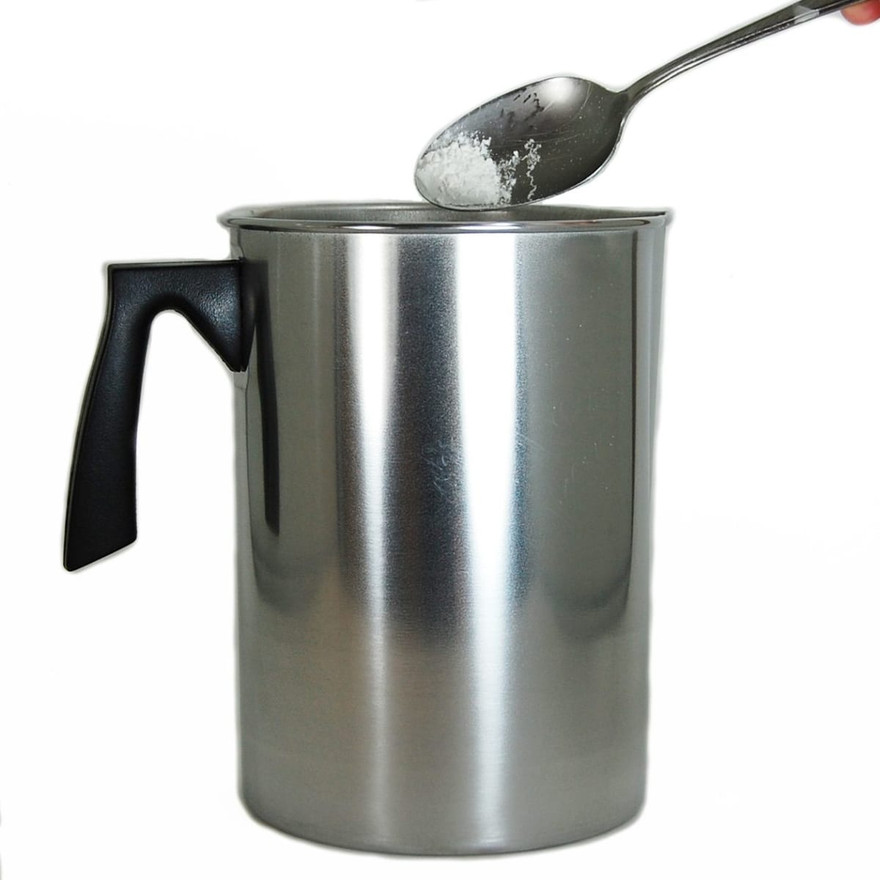
Weigh the flakes
Scoop soy flakes into the pouring pot on your scale to the weight your jar calls for. A dedicated scoop cup keeps your workspace and the bag tidy. For taring and how to size wax to a jar, see Measuring Soy Wax.
-
3
Melt the wax
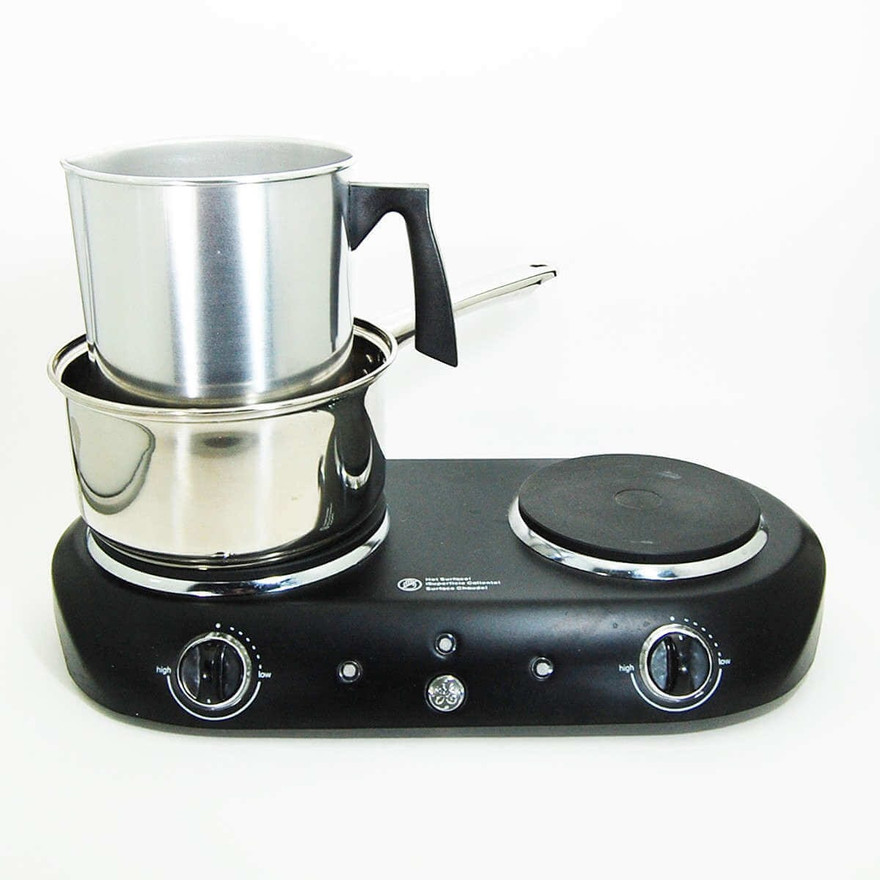
Use a double boiler or a wax melter: for the double boiler, an inch of simmering water, a trivet under the pot, medium-low heat to 170°F to 180°F. Stay with the wax; melting wax is never left unattended[2].
-
4
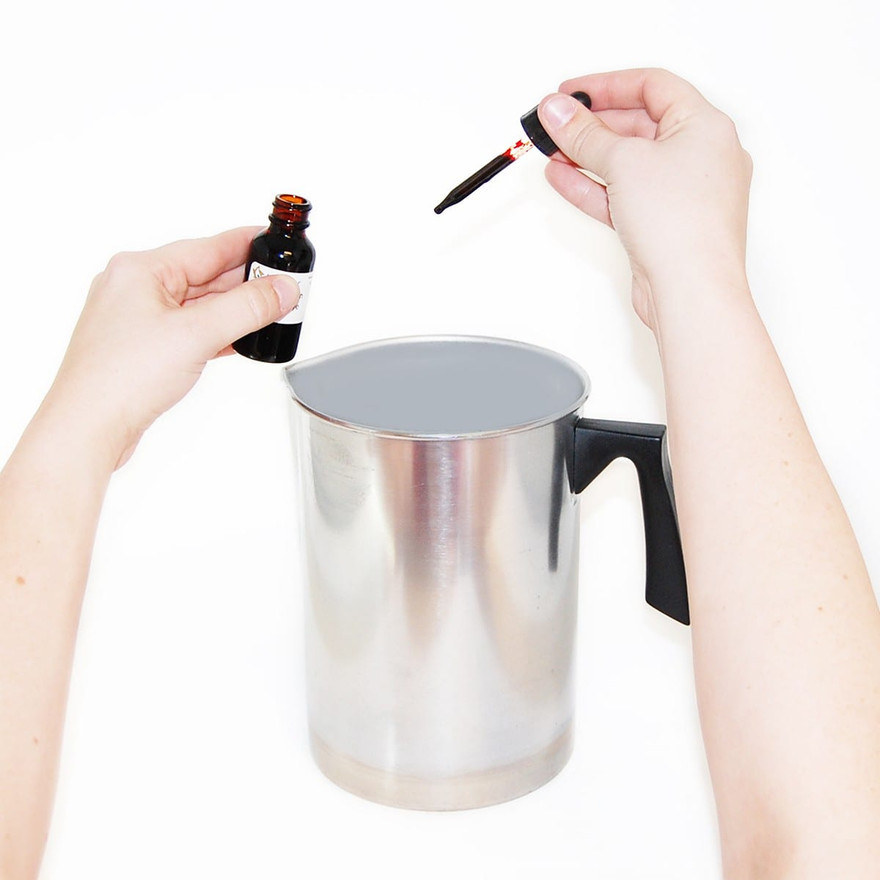
Add fragrance at 180°F
Weigh the oil and stir for two full minutes. Soy container loads typically run 0.5 up to 1.75 ounces per pound; one ounce per pound is the most common. Adding fragrance above its flash point is safe; the rule is keeping oils away from open flame[3].
-
5
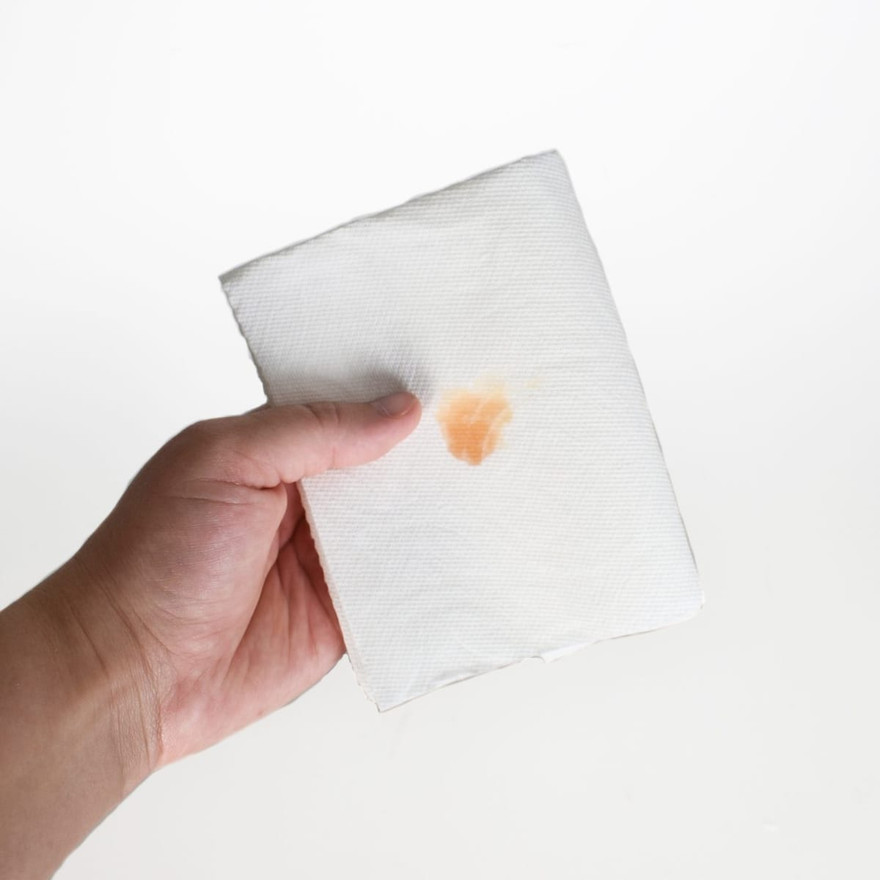
Color and test (optional)
Stir your dye in thoroughly, then drip-test on a paper towel. Soy mutes color, so expect pastel results from loads that would read bold in paraffin. UV stabilizer goes in now if you're using it.
Liquid Dye
Add drop by drop and stir until even.
-
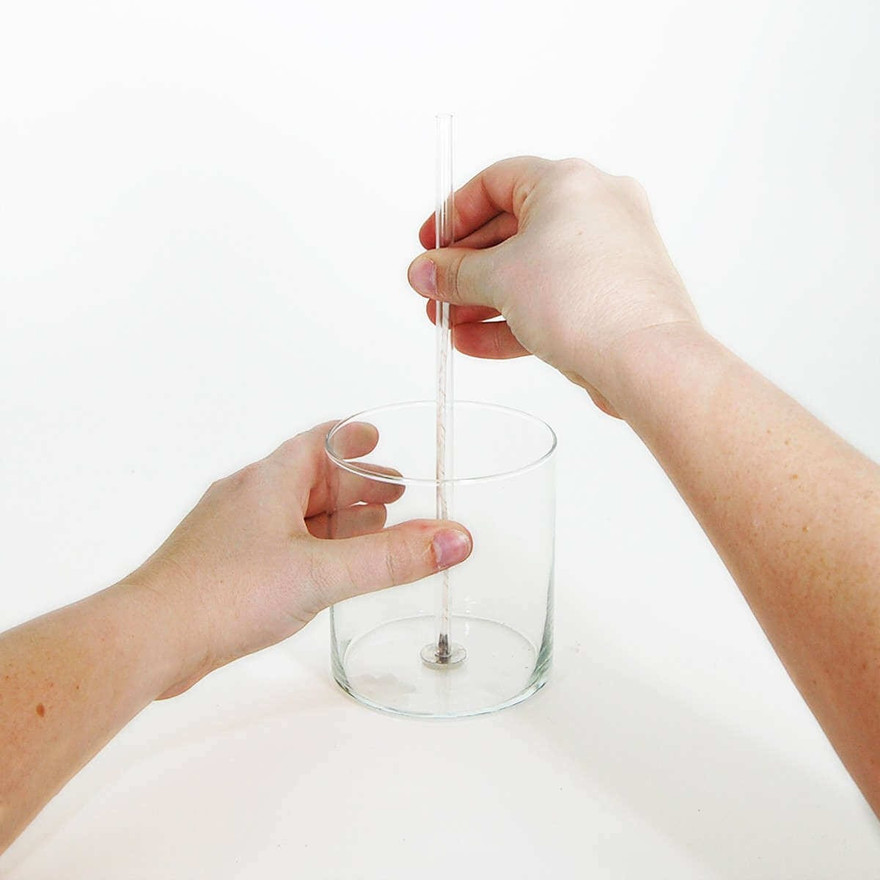
6
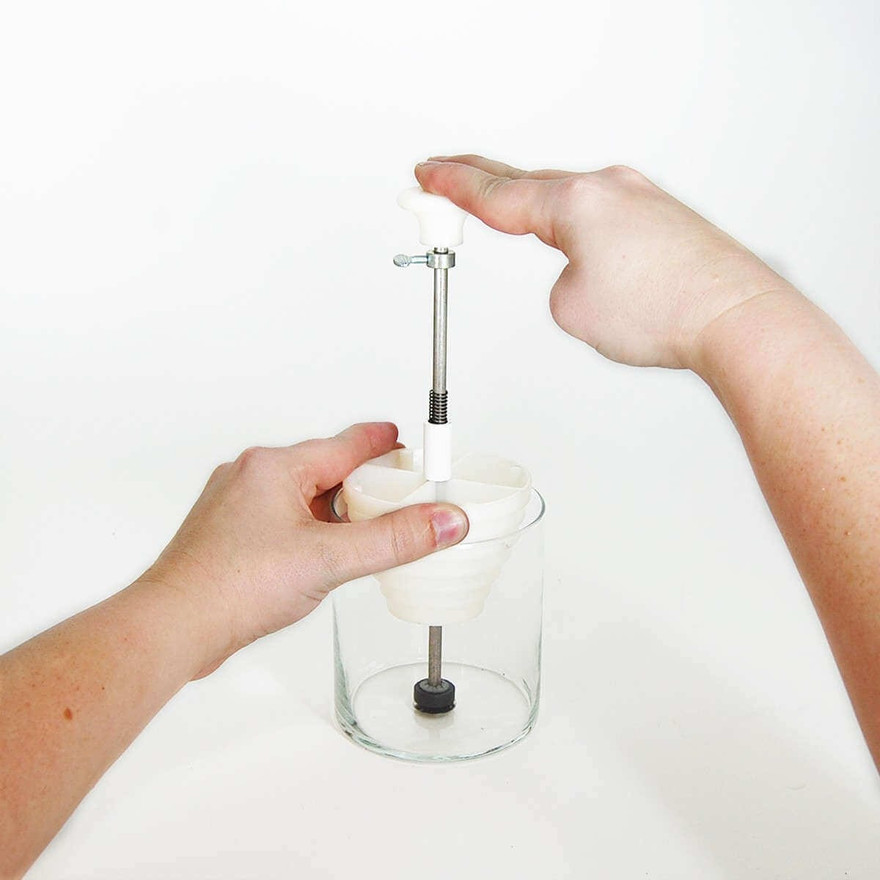
Set the wicks
Wick sticker or glue dot on the tab, pressed to the jar bottom dead center. Warm jars are hot; use a pot holder.
With the E-Z Wick Setter
Slide the wick through the tool and press the tab firmly to the glass; our How to Use the E-Z Wick Setter Tool walks through the full motion.
With a Straw or Pen Shaft
Thread the wick through, press the tab down, and pull the straw off the wick; our How to Wick a Jar With a Straw guide walks through the full method.
-
7
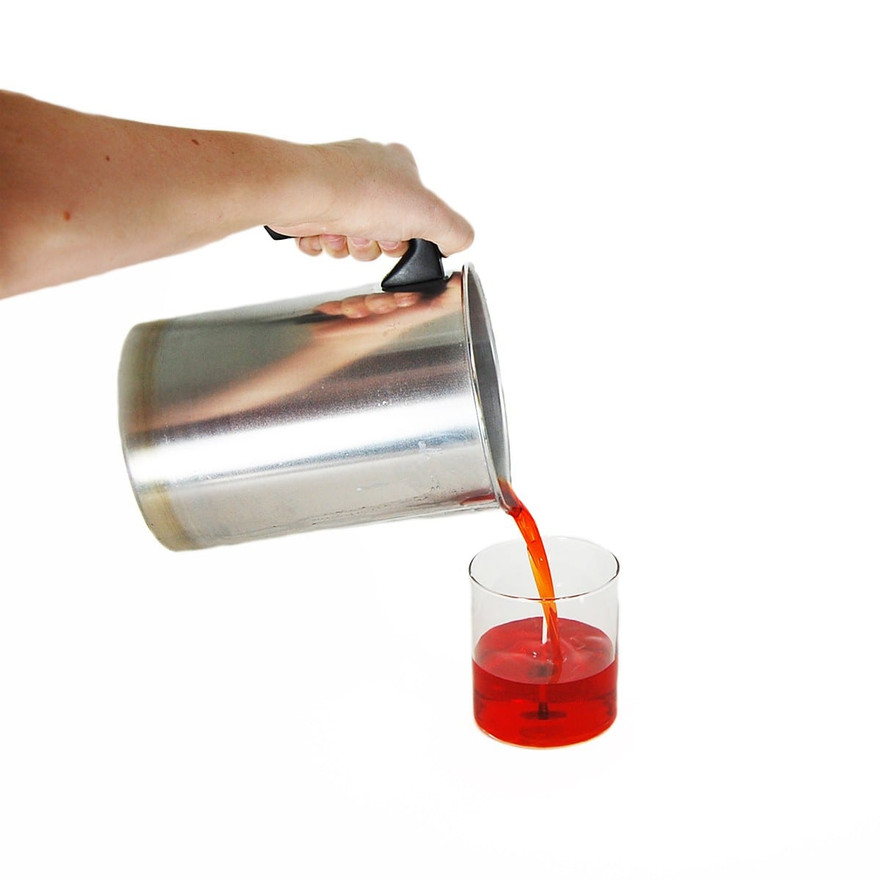
Cool to pouring temperature, then pour
Let the wax cool to the range on your wax's product page; some soy blends pour best slightly slushy. Pour slowly, no higher than the jar's widest point, and keep a little wax back for touch-ups.
-
8
Center and cool slowly
Wick bar on, wick centered, then hands off: no fans, no vents, no moving the jars. Slow cooling is the single best defense against rough tops and frosting.

-
9
Fix the top if needed
Soy tops sometimes set rough or form a small crater. Once fully set, level with a thin second pour of re-melted reserve wax, or smooth the surface with a brief pass of a heat gun.

-
10
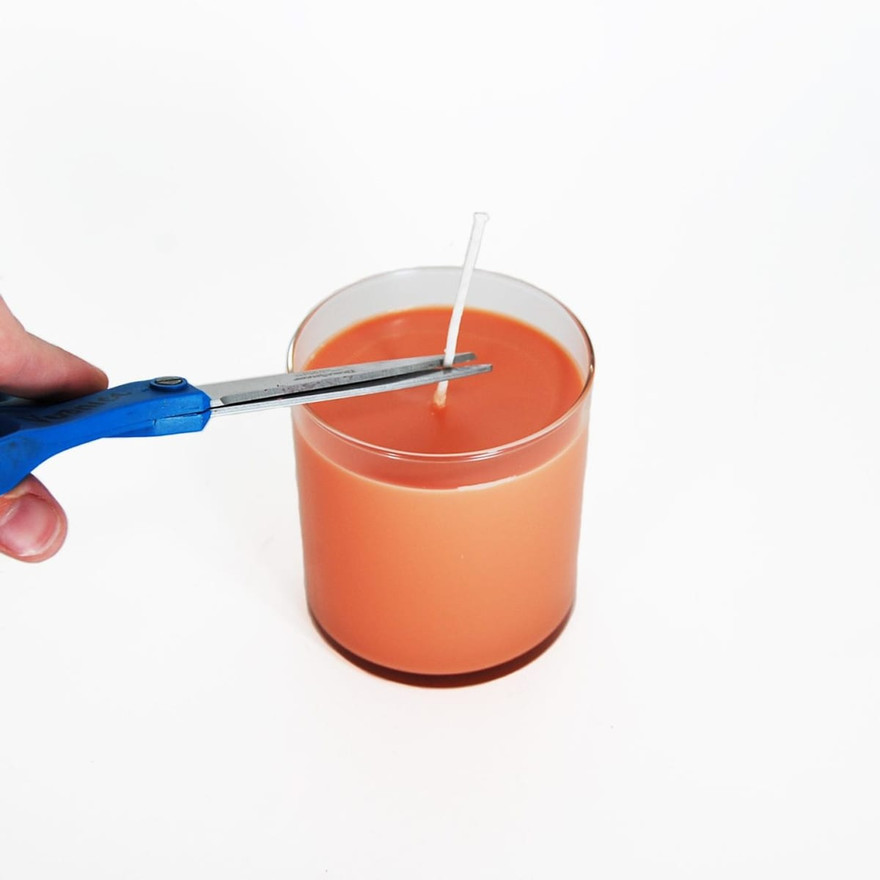
Trim, cure, label
Trim the wick to a quarter inch and rest the candle about a week; curing lets the wax bind the fragrance and is the difference between a faint candle and a strong one. Add a caution label before it leaves your hands.
Troubleshooting Soy
Most soy complaints trace to temperature. Wet spots and jump lines point to cold jars or fast cooling; rough tops and frosting point to pouring outside the recommended range or cooling too quickly; a weak hot throw usually means the candle didn't get its cure time or the wick is undersized for the jar. Size up one wick if the melt pool stalls before it reaches the glass, and confirm with a single test candle using Wick Testing before committing a batch. A good rule of thumb is to let a test candle burn about one hour per inch of container diameter; that tells you how the wick is performing and the size of the melt pool it produces. For deeper wax-by-wax guidance, the soy wax guide compares pour temperatures, loads, and finish behavior across every soy we carry.