
If you're new to candle making, start here. The jar does the work a mold does in other projects, the wax is forgiving, and everything on the supply list gets reused in the rest of our Step by Step Guides. This tutorial makes classic paraffin container candles; if you're working with soy, the How to Make Soy Container Candles guide follows the same skeleton with soy-specific details.
What You'll Need
What You'll Need
Check items off as you gather them
Supplies
-
Single-Pour Container Wax a paraffin blend such as IGI 4630; browse paraffin wax
-
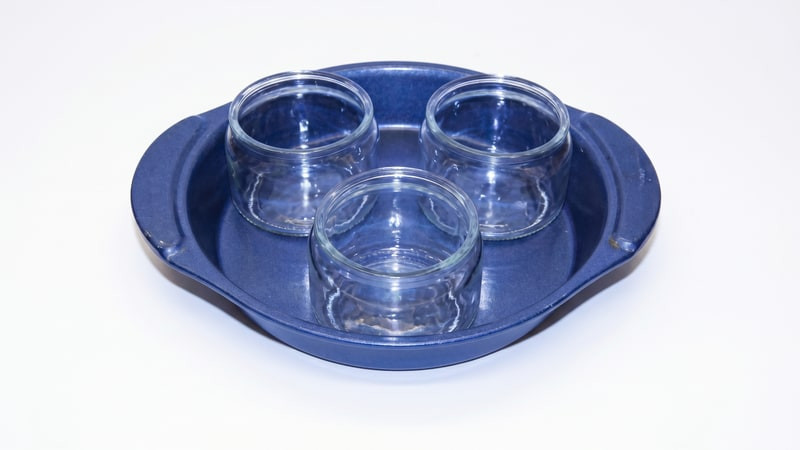
Candle Jars each of our candle jars lists the wax weight to its fill line
-
Fragrance Oil over 275 fragrance oils, each listing its load and flash point
-
Pre-Tabbed Wicks sized to the jar diameter; see candle wicks
-
Wick Stickers or Glue Dots Wick Stickers or Glue Dots anchor the tab
-
Caution Labels caution labels for every candle that leaves your hands
Tools & Equipment
-
E-Z Wick Setter centers the wick; a straw or pen shaft also works
-
Wick Bars a Wick Bar holds the wick centered while the wax sets
-
Pouring Pot, Thermometer, Scale the prep trio from How to Prepare Wax for Pouring
-
Stirring Utensil a spatula, whisk, or spoon to blend in fragrance and dye
-
Cookie Sheet + Oven for warming the jars
-
Butcher Paper or Newspaper spills happen; paper cleans up
Skip ahead to the step-by-step guide
Cover the work surface with butcher paper before you start; cleanup is far easier when drips land on paper instead of the counter. Once the candles are poured, our guide to Cleaning Your Tools & Equipment covers wiping the pot and tools clean before the wax hardens.
Why Containers Are the Beginner Project
A container candle is a candle poured directly into the vessel it burns in. That one fact removes the hardest parts of other projects: there is no mold to prepare, seal, or unmold, and the wax never has to stand on its own. Container waxes can also stay softer and hold more fragrance than pillar waxes, since the jar provides all the structure. The rules change completely when you move on to How to Make Pillar Candles, which is why practicing with simple jars first is the perfect place to start.
The Step-by-Step Process
Steps 3 through 6 are the universal wax prep covered in detail in How to Prepare Wax for Pouring; the version below is condensed to what matters for jars.
How to Make a Container Candle
-
1
Warm the jars
Set the jars on a cookie sheet in a 150°F to 170°F oven (or its lowest setting) while you work. Warm glass helps prevent jump lines and reduces the risk of cracking when hot wax hits cold glass.
-
2
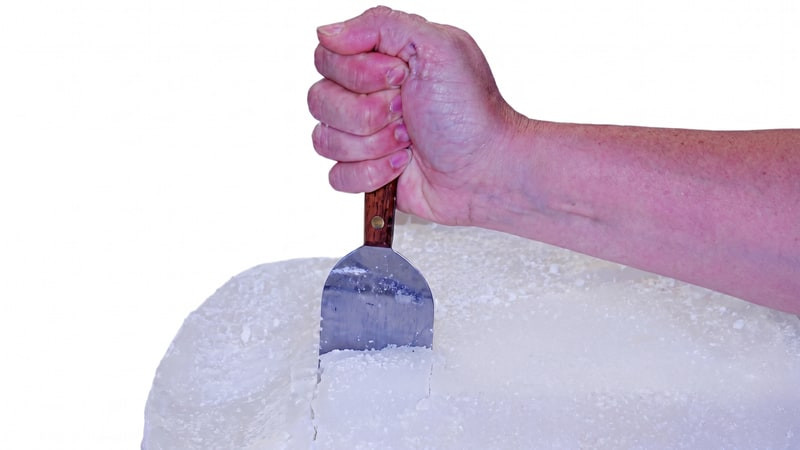
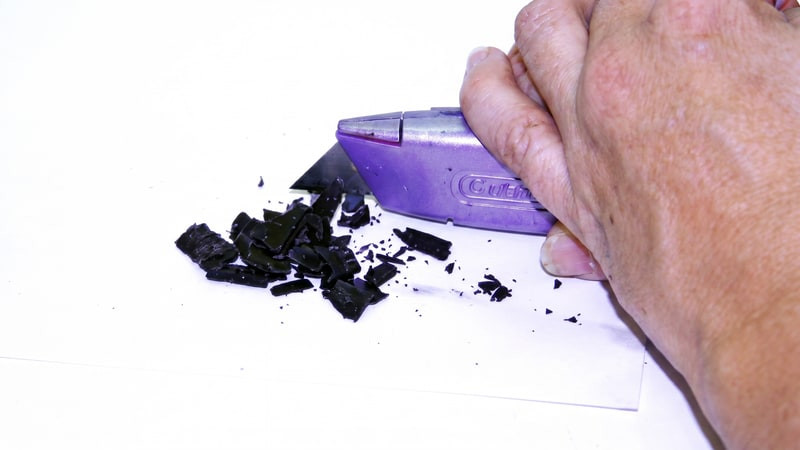
Weigh the wax
Check the jar's product page for the wax weight to its fill line, then weigh that much wax in your pouring pot. Single-pour container slabs cut easily with a putty knife or butter knife.
-
3
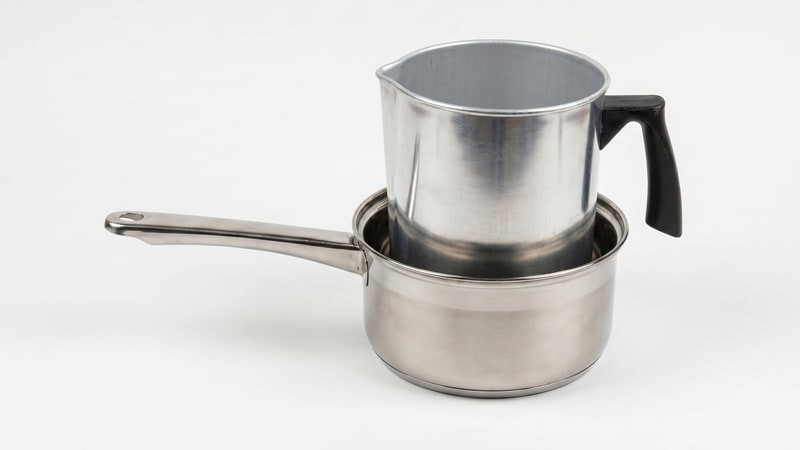
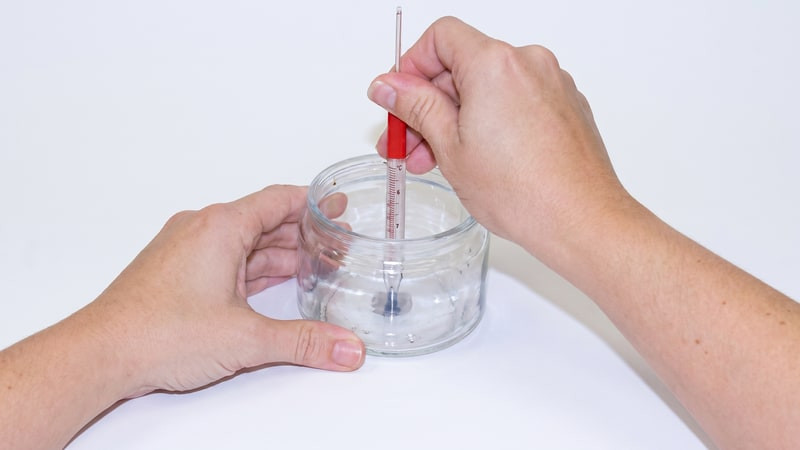
Melt the wax
In a double boiler or a wax melter: for the double boiler, an inch of simmering water, a trivet under the pot, medium-low heat to 170°F to 180°F. Watch the thermometer and never leave melting wax unattended[1].
-
4
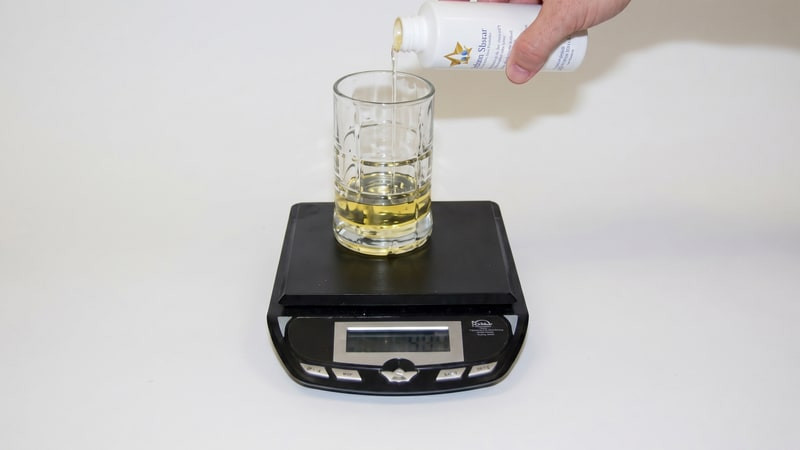
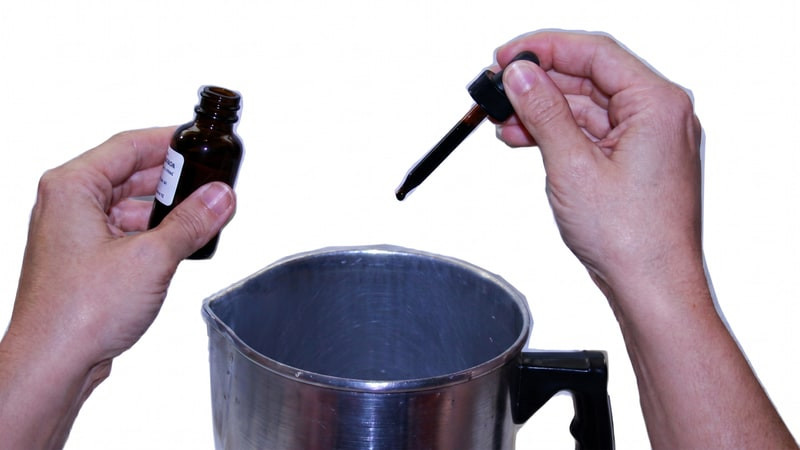
Add fragrance at 180°F
Weigh the oil and stir it in for two full minutes. Typical loads run 0.5 up to 2 ounces per pound depending on the wax; one ounce per pound is the most common. It is safe to add fragrance above its flash point; just keep oils away from open flame[2].
-
5
Color and test (optional)
Stir your dye in thoroughly and drip-test on a paper plate; hardened wax shows the true shade. Stir in UV stabilizer now if using, about half a teaspoon per pound.
Liquid Dye
Add drop by drop; you can always deepen the shade, never lighten it.
-
6
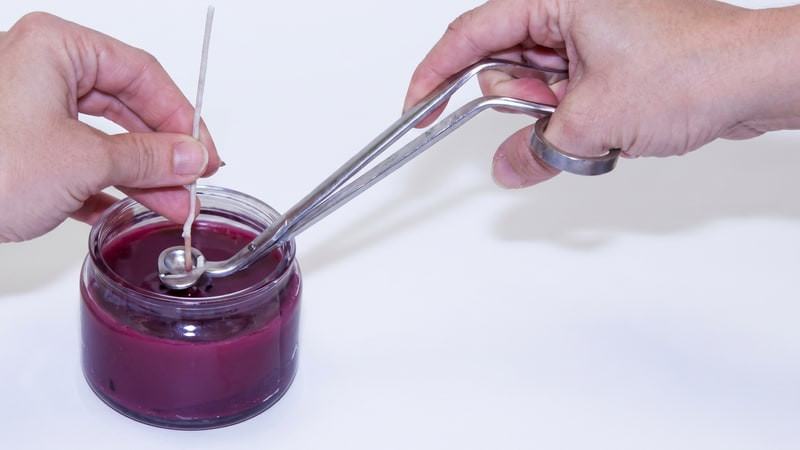
Set the wicks
Pull the jars from the oven (they'll be hot). Put a wick sticker or glue dot on each wick tab and press it to the jar bottom, dead center. A secured wick can't drift mid-pour.
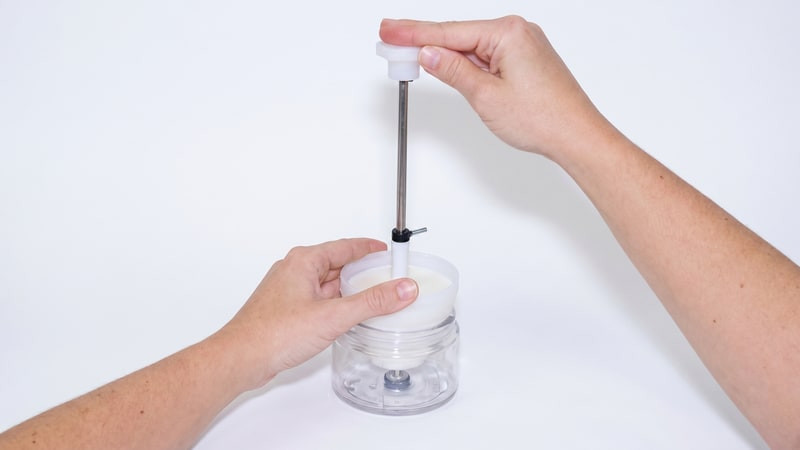
With the E-Z Wick Setter
Slide the wick through the tool and press the tab firmly to the glass; our How to Use the E-Z Wick Setter Tool walks through the full motion.
With a Straw or Pen Shaft
Thread the wick through, press the tab down, and pull the straw off the wick; our How to Wick a Jar With a Straw guide walks through the full method.
-
7
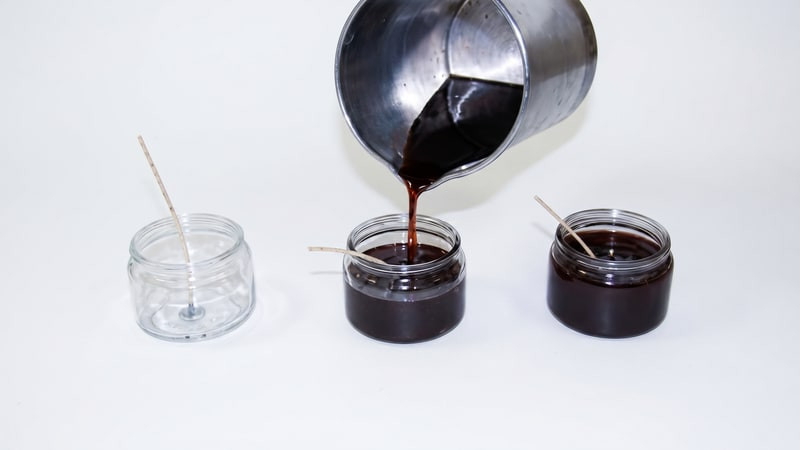
Pour slowly
Fill each jar no higher than its widest point (a few shapes, like tureens, are exceptions). Pouring fast splashes wax up the glass and traps air bubbles. Check your wax's guidelines: if it calls for a second pour, reserve a little wax now.
-
8
Center and cool
Slide each wick into a wick bar across the jar mouth and make sure it is centered. Then leave the candles undisturbed as they cool: no fans, no vents, and minimal movement. Slow cooling produces the smoothest tops.

-
9
Level the top
Once fully set, a small crater can form near the wick as the wax cools. Re-melt the reserved wax and do a thin second pour to level it. Leave the wick bar in place until the candle is completely cool; removing it too soon disturbs the wax around the wick.

-
10
Trim and label
Trim the wick to a quarter inch, lid the jar, and add a caution label. If you sell your candles, a warning label on the base is standard practice for every candle that leaves your hands[1].
Cooling, Curing, and the First Burn
Cooling and curing are separate things, and both matter. Cooling is the hours the candle takes to fully set. Rushing it with a fridge, freezer, or fan is how wet spots and cracks happen, and our Container Candle Cooling Time guide covers what to expect. Curing is the resting week after that, when the wax binds the fragrance molecules and locks in scent throw. Let the candle cure for a week after pouring. Our Finishing Touches guide walks through trimming, cleaning the jar, and labeling in order. Before lighting, trim the wick to a quarter inch, and let the first burn establish a wide melt pool that reaches the glass; this initial path guides how cleanly the wax melts on every future burn.
If the melt pool never reaches the edge or the flame drowns, the wick size is the usual suspect; the guide to wicking maps wick series to jar diameters, and Wick Testing shows how to confirm a size before you pour a full batch.