
A wood wick, also called a wooden wick, replaces the traditional cotton wick of a standard jar candle with a flat strip of wood that burns with a low, wide flame and a quiet crackle. If you can make a container candle, you can make this. The wax preparation and pouring steps are identical. The differences live in the wick: how it's sized, how it's anchored, and how short it's kept. Those three details are where most wood wick flame issues begin, and they're the focus of this guide.
What You'll Need
What You'll Need
Check items off as you gather them
Supplies
-
Wood Wicks + Tabs flat wicks from Small to X-Large with metal wick tabs; browse wooden wicks or test sizes with the Sample Kit
-
Container Wax paraffin or soy both work; see candle wax
-
Candle Jars wick size is based off the inside diameter; see candle jars
-
Fragrance Oil over 275 fragrance oils, each listing its load and flash point
-
Glue Dots or Wick Stickers a Glue Dot or a wick sticker anchors the tab
-
Caution Labels caution labels
Tools & Equipment
-
Pouring Pot, Thermometer, Scale the prep trio from How to Prepare Wax for Pouring
-
Nail Clippers or End Nippers handle the quarter-inch trim better than scissors
-
Cookie Sheet + Oven for warming the jars
Skip ahead to the step-by-step guide
Sizing a Wood Wick
Wood wicks are sized by width, and the jar's inside diameter determines that width. Unlike the cotton options across our candle wicks, which size by both diameter and wax type, a wood wick is matched mainly to the jar. A wick that is too small won't generate enough heat to reach the glass, causing the wax to tunnel. A wick that is too large can overheat the jar and produce soot. As a starting point when using paraffin, small jars (under about 3 inches across) typically use Small, standard 3 to 3.5 inch jars take Medium or Large, and wide-mouth vessels take X-Large or two wicks. Treat this as a starting grid, then confirm with a test burn. Wax, fragrance load, and jar shape all affect performance, and a single test candle will tell you more than any chart. Our guide to wicking covers the sizing logic in depth, and Wick Testing shows how to run the test burn.
A note on making wood wicks yourself: we don't recommend cutting your own from craft-store wood. Commercial wicks are cut at a controlled thickness and grain so the flame draws wax consistently; improvised strips burn hot one candle and drown the next. Buy the wick, and spend your testing time on the wax and fragrance instead.
The Step-by-Step Process
How to Make a Wood Wick Candle
-
1
Warm the jars
Place jars on a cookie sheet in a 150°F to 170°F oven (or the lowest setting) while you prep. Warm glass prevents jump lines and protects against cracking.

-
2
Prepare the wax
Weigh, melt in a double boiler, add fragrance at 180°F with a two-minute stir, and color if you like; the full sequence is in How to Prepare Wax for Pouring. Never leave melting wax unattended[1], and remember it is safe to add fragrance above its flash point as long as oils stay clear of open flame[2].

-
3
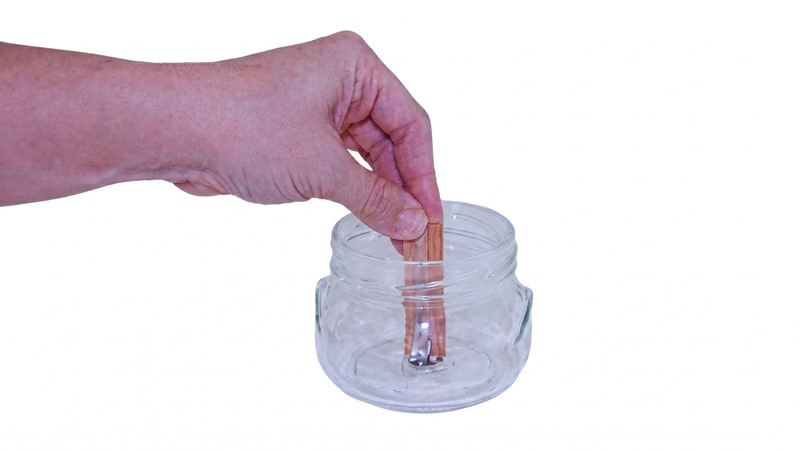
Assemble and set the wick
Slide the wood wick into its metal tab. Add a glue dot or a wick sticker under the tab and press it firmly to the center of the jar bottom; press the tab body, not the prongs, which bend easily. Tabbed wood wicks stand on their own, but unanchored ones drift when the wax pours in.
-
4
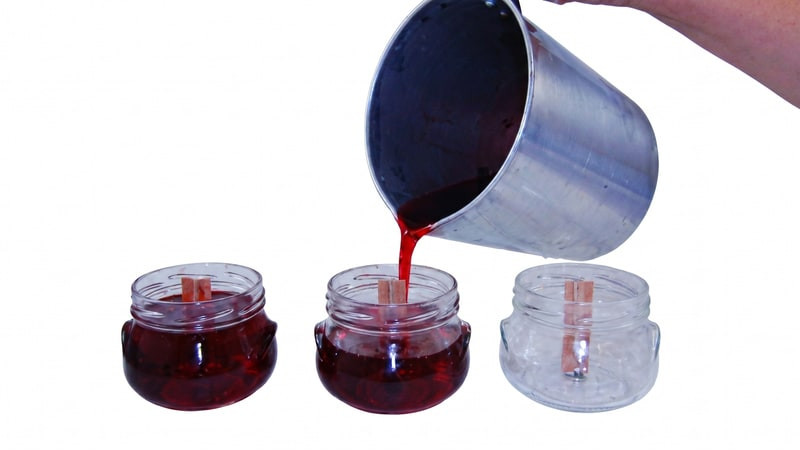
Pour slowly, around the wick
Fill no higher than the jar's widest point, pouring beside the wick rather than onto it. You can nudge a leaning wick back to center while the wax is liquid; just avoid working it back and forth, which bends the tab prongs and leaves it tilted.
-
5
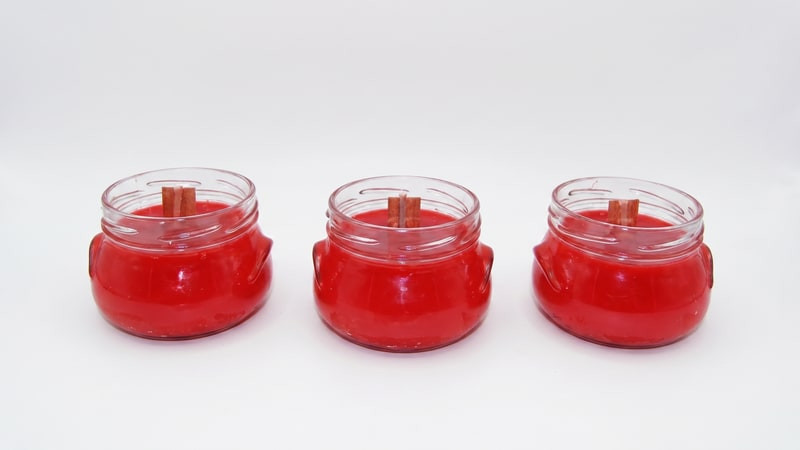
Cool undisturbed
No fans, no vents, no relocating jars mid-set. Wood wicks have no wick bar to hold them, so the less the jar moves, the straighter the wick sets.
-
6
Trim to a quarter inch
Once the candle has fully set, trim the wick to about 1/4" with nail clippers or end nippers. Trimming early disturbs the wax around the wick; trimming long is the usual source of lighting problems.

-
7
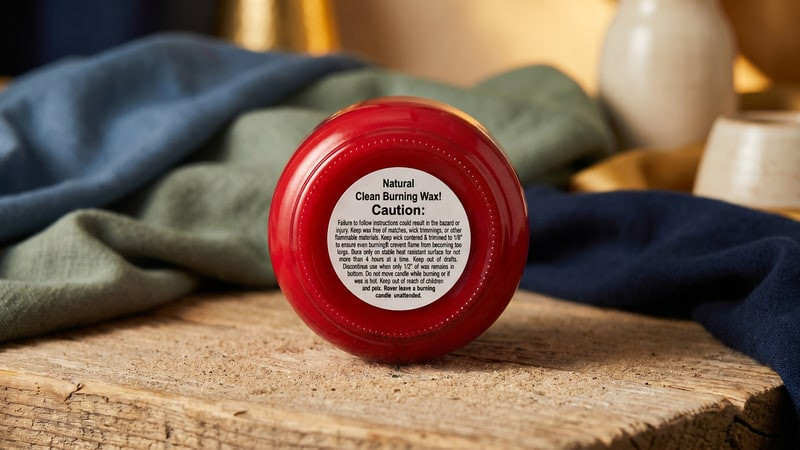
Cure, then label
Rest the candle about a week so the wax binds the fragrance, then add a caution label before it ships, sells, or sits on your own shelf[1].
Lighting and Relighting a Wood Wick
Light a wood wick by holding the flame to one corner and letting it travel across the width; it takes a moment longer than cotton. The first burn should run until the melt pool touches the glass, because this initial path guides how cleanly the wax melts on every future burn.
If a burn dies early or won't relight, the fix is almost always mechanical. Trim off the charred edge so the flame meets fresh wood, check the trim height (a quarter inch, shorter if it still sputters), and make sure the melt pool isn't flooding the wick after a long burn; pour off or dip out a little liquid wax if it is. A wick that consistently starves in a wide jar is undersized; move up one width and test again. And skip the oil-soak advice that circulates online; manufactured wicks draw melted wax on their own, and presoaking changes nothing about how they burn.