Wax dipping coats an artificial flower in a thin layer of scented, tinted wax so it holds a soft finish and a light fragrance. The steps are straightforward: melt the wax in a double boiler, add fragrance and dye, dip the flower, shake off the excess, and hang it to dry. The result is a faux flower with a gentle sheen and scent that holds up on display for years. For more on preparing wax and incorporating fragrance and dye, see our How to Prepare Wax for Pouring guide; this guide focuses specifically on the flower-dipping process.
What You'll Need
What You'll Need
Check items off as you gather them
Supplies
-
Artificial Flowers silk flowers; they accept the wax coating and retain their appearance, while fresh flowers dry out underneath
-
Pillar or Votive Wax a firm paraffin blend from candle wax that sets clean on the petals
-
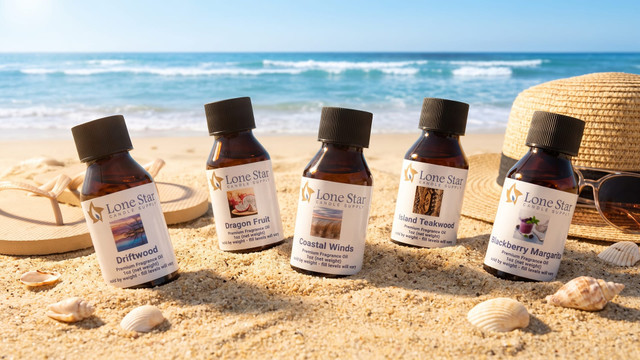
Fragrance Oil to scent the coating, from fragrance oils; 0.5 up to 1 ounce per pound of wax
-
Candle Dye optional candle dyes to match the wax to the flower's color and prevent a milky, opaque finish
-
Butcher Paper or Newspaper to protect the workspace and catch drips
-
Paper Towels for the color test and to blot the pouring pot
Tools & Equipment
-
Pouring Pot to melt and dip from
-
Saucepan for the double-boiler water bath
-
Thermometer to monitor the wax temperature throughout the process
-
Stirring Utensil a metal spoon or stir stick to blend in fragrance and dye
-
Metal Trivet or Cookie Cutter to lift the pouring pot off the bottom of the pan
Skip ahead to the step-by-step guide
Choosing the Wax
Reach for a pillar or votive wax. These firm paraffin blends set cleanly and leave a lightweight, durable coating on the petals, whereas a softer container wax may remain tacky. For dipping, heat the wax to about 175 to 185°F to maintain that thin, even coating without building up excess wax on the petals. A double boiler helps keep the wax at a consistent temperature and reduces the risk of overheating by warming it indirectly through a water bath rather than exposing it to direct heat.
Picking a Dip Wax
| Wax | Why it works | Watch for |
|---|---|---|
| Pillar wax | Firm set, creates a thin coating, and accepts fragrance and dye well | The most reliable starting point for petals |
| Votive wax | Creates a smooth, even coating while remaining firm enough for dipping | Slightly softer than a hard pillar blend |
| Container wax | Not recommended | Stays soft and tacky, so the coating never fully sets |
The Step-by-Step Process
Set out everything before you start, since the wax works best when you dip while it is hot. Browse all our project guides at Step by Step Guides if you want to pair this with a matching candle.
How to Make Wax Dipped Flowers
-
1
Measure the wax
Plan the amount of wax based on the size and number of flowers. In our example, about 1.5 pounds of wax coated roughly 10 flowers with some left over, so it's better to have extra than to run short. Any unused wax can be reheated and used again for future dipping.

-
2
Melt the wax
In a double boiler or a wax melter. For the double boiler, put about an inch of water in the saucepan, set a metal trivet or cookie cutter in the bottom, and rest the pouring pot on it so no side gets direct heat. Set the stove to medium-low: the water should simmer, not boil, as splashing water can get into the wax. Bring the wax to 175 to 185°F, depending on the wax you are using, and stay with the pot. Never leave melting wax unattended.

-
3
Add fragrance
Once the wax reaches temperature, add 0.5 to 1 ounce of fragrance oil per pound of wax; 1 ounce is the common choice. Weight is the most accurate way to measure fragrance oil, but a tablespoon (approximately 0.5 ounce) can be used if your scale is not precise enough for small amounts. Add the fragrance oil to the wax and stir thoroughly for 2 to 3 minutes.

-
4
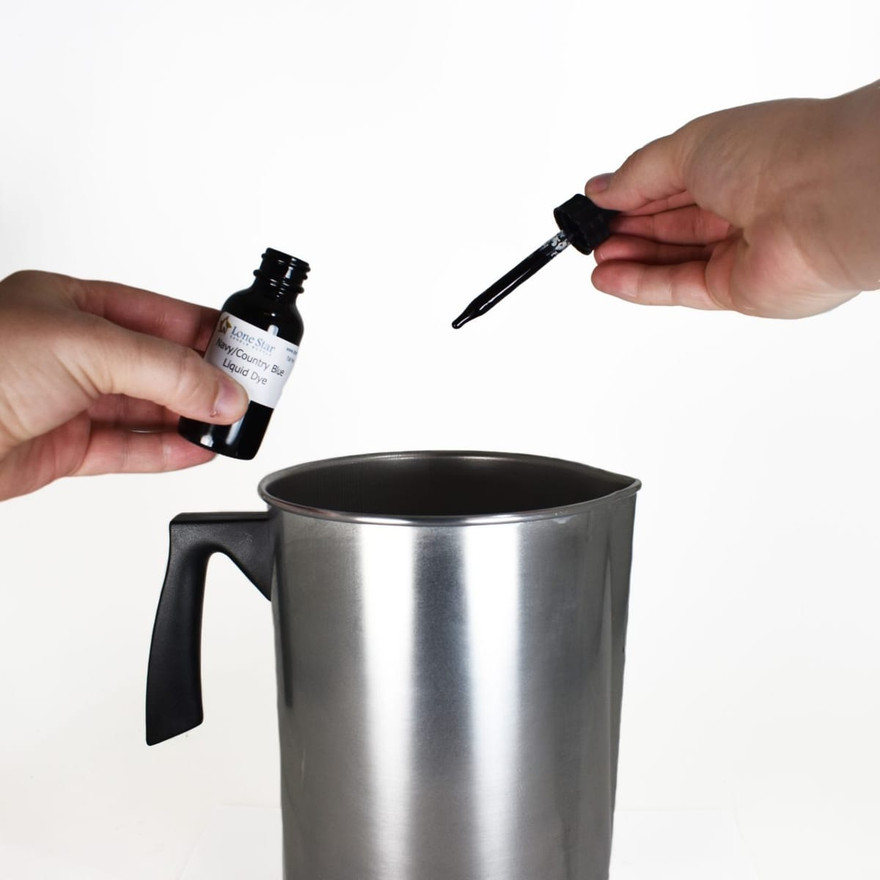
Add dye
Add dye to match or adjust the flower's color as desired. Without dye, the wax coating may appear milky or opaque. Stir until the dye is fully incorporated and the color is even.
Liquid Dye
Add dye a drop at a time since you cannot remove color once it has been added. Start light, check the shade, and add more only if needed.
-
5
Drip-test the color
Liquid wax always looks darker than it dries. Drip a little onto a paper towel or paper plate, let it harden, check the cooled shade, and add more dye if it is too light. Keep your hands clear of the hot wax.

-
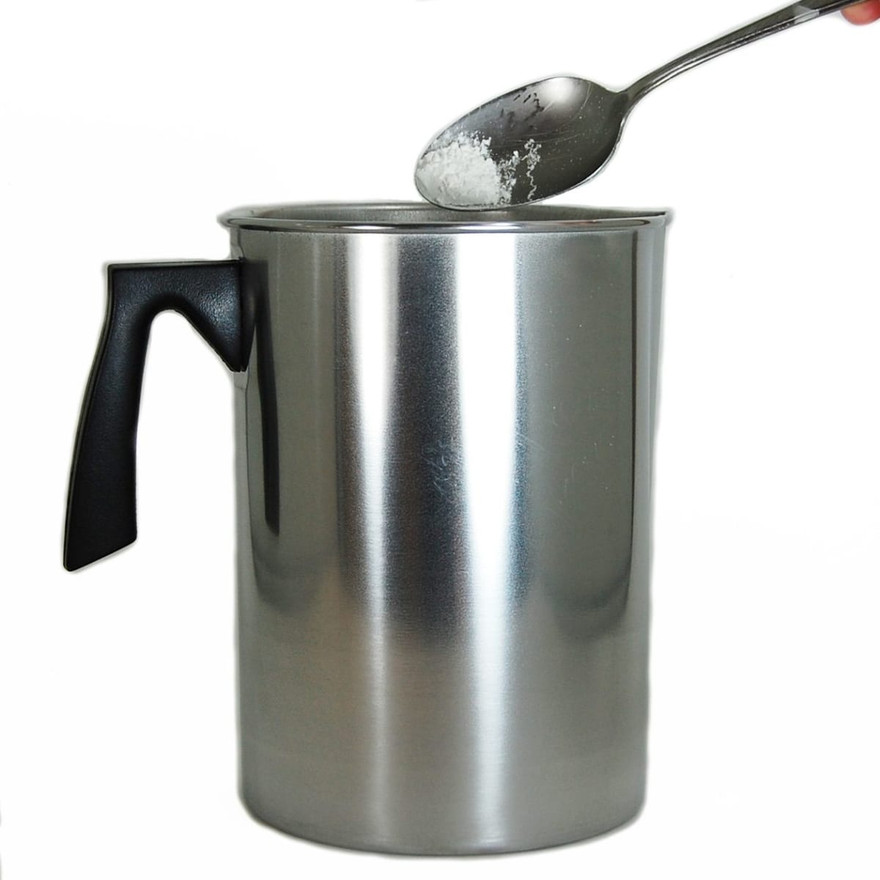
6
Stir in UV stabilizer (optional)
UV stabilizer slows color fade under sunlight or fluorescent light. Add about half a teaspoon per pound and mix thoroughly, three to five minutes is best. Confirm the wax is still 175 to 185°F, then lift the pot from the bath with a hot pad and rest it on a few paper towels to blot the water.
-
7
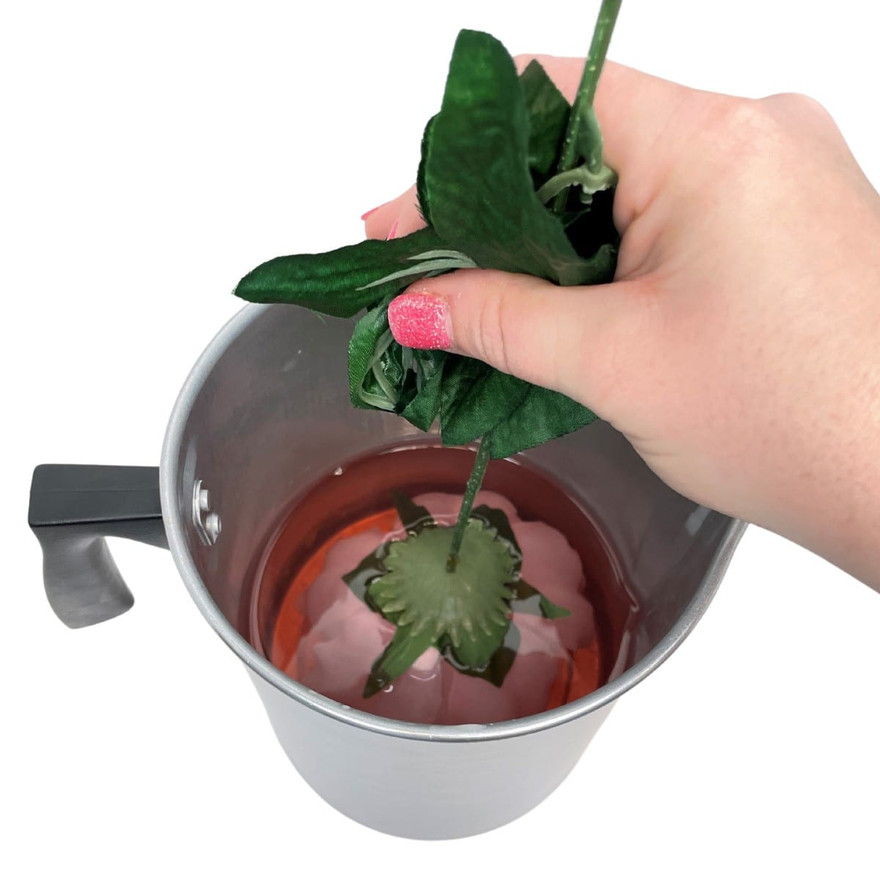
Dip the flower
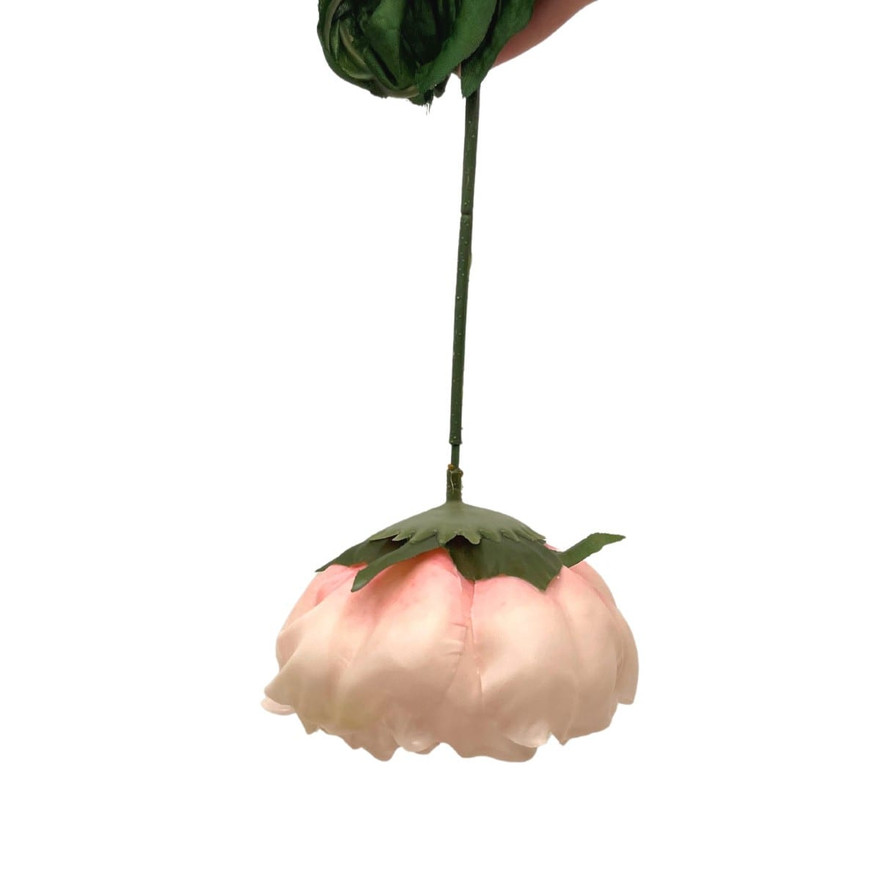
Submerge the flower in the scented wax, dipping the petals but not the stem. Lift it out and shake gently to remove excess wax before it cools and hardens. For tightly petaled flowers, gently separate the petals with a plastic fork or by blowing on the flower as you rotate it to prevent them from sticking together.
-
8
Hang it to drip-dry
Hang the flower upside down to set, and put something underneath to catch any drips. Once the coating is cool and firm, the flower is finished.
Keeping the Color and Working Safely
UV stabilizer helps preserve the color over time. If the flowers will be displayed on a sunny windowsill or under bright store lighting, consider adding it to help reduce fading; the half teaspoon per pound goes in at step 6.
Finishing, Arranging, and Handling
The wax coating forms a thin shell. It feels firm, but a bent or bumped petal can crack it, so support finished flowers by the stem and give the petals room when moving or shipping them. Single flowers make thoughtful gifts, and a few flowers in complementary scents can be arranged into a bouquet with a soft, blended fragrance.