A wax cupcake is two parts: a poured wax cake in a cupcake liner, topped with paraffin whipped into a stiff frosting and spooned on like the real thing. The project is forgiving and a great way to practice coloring and whipping wax. One decision shapes everything else, and it comes up front. If you set a wick into the cake, you are making a candle and it follows candle-safety rules. If you leave the wick out, the finished piece can be used as a wax melt or decorative wax art and should never be lit. New to melting and scenting wax? Read How to Prepare Wax for Pouring first.
What You'll Need
What You'll Need
Check items off as you gather them
Supplies
-
Pillar or Votive Wax a firm paraffin so the cake holds its shape and the frosting stays stiff; paraffin wax
-
Fragrance Oil over 275 to choose from at fragrance oils; scent the cake, the frosting, or both
-
Candle Dye the cake and frosting can be different colors; candle dyes
-
Silicone Cupcake Liners and a Cupcake Pan to support them while the wax sets
-
Wicking candle wicks only if you are making burnable cupcakes
-
Caution Labels caution labels for any wicked cupcake you sell
Tools & Equipment
-
Pouring Pot, Thermometer, Scale the prep trio; pouring pots and thermometers
-
Whisk or Electric Mixer to whip the frosting; a metal fork also works
-
Stirring Utensil a spatula, whisk, or spoon for blending dye and fragrance
-
Utility Knife to score and break slab wax into pot-sized pieces
-
Butcher Paper to cover the workspace; drips peel off it once dry
Skip ahead to the step-by-step guide
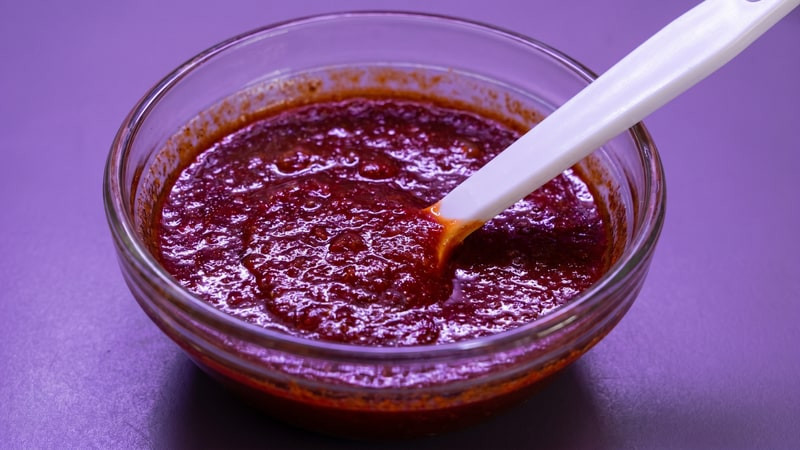
What is Whipped Wax?
Whipped wax is the whole trick behind the frosting. As melted paraffin cools, it passes through a soft, slushy stage on its way to solid. If you beat it during that stage with a fork, whisk, or mixer, you work air through the wax and it thickens into a stiff, opaque texture that holds peaks and stacks on itself. It is the same principle as beating egg whites: the air is what gives the volume and the hold.
Start whipping once a thin film has formed across the surface of the cooling wax. Too warm and the wax stays liquid and never builds body; too cool and it sets into a crumbly clump that will not spread. The window in between is where the wax behaves like frosting, and a pillar or votive wax gives you the firmest result.
Candle, Wax Melt or Decoration? Decide First
This is the one rule that is not optional, and it changes how you build the cake base. A wax cupcake is either a candle, wax melt, or decoration, and you make that commitment when you pour.
The Step-by-Step Process
The amount of wax depends on the size and number of cupcakes. Including the frosting, a regular cupcake takes about 3 ounces, so plan on roughly 36 ounces of wax for a dozen.
How to Make a Wax Cupcake
-
1
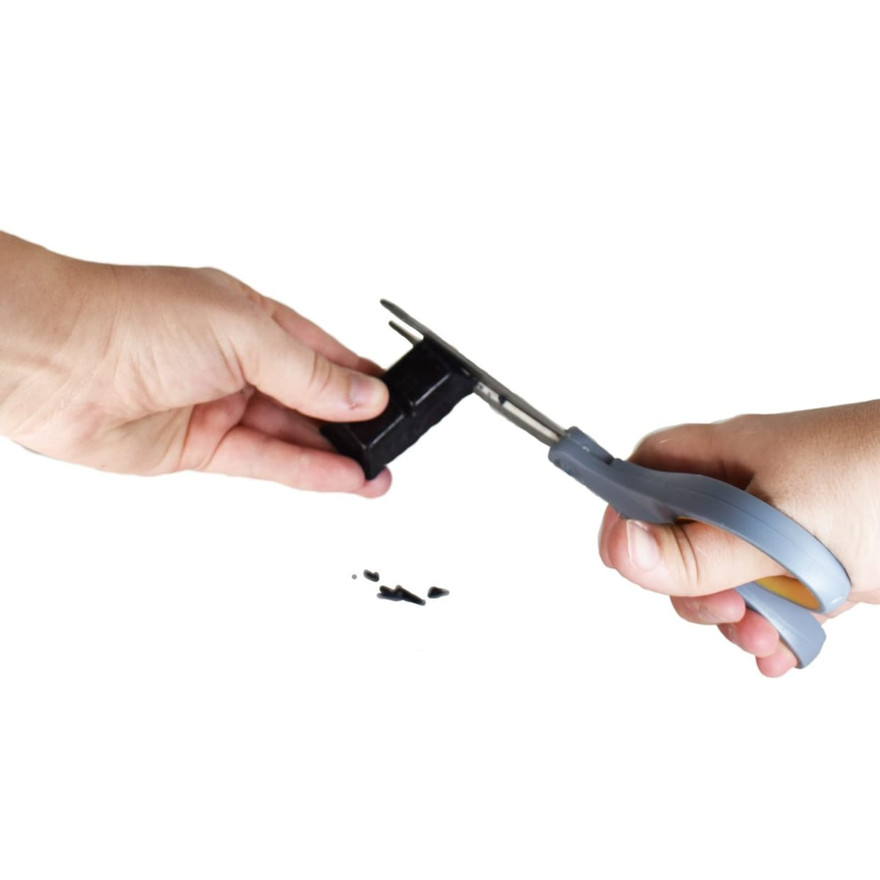
Score and break the wax
Slab paraffin is hard, so score it with a utility knife, rest the score over a table edge, and press to snap off pot-sized pieces. Watch your fingers on the break. Weigh the pieces right in the pouring pot so you skip a transfer.

-
2
Break it down to size
Repeat the score-and-snap until every piece fits the pouring pot. Smaller pieces melt faster and more evenly.
-
3
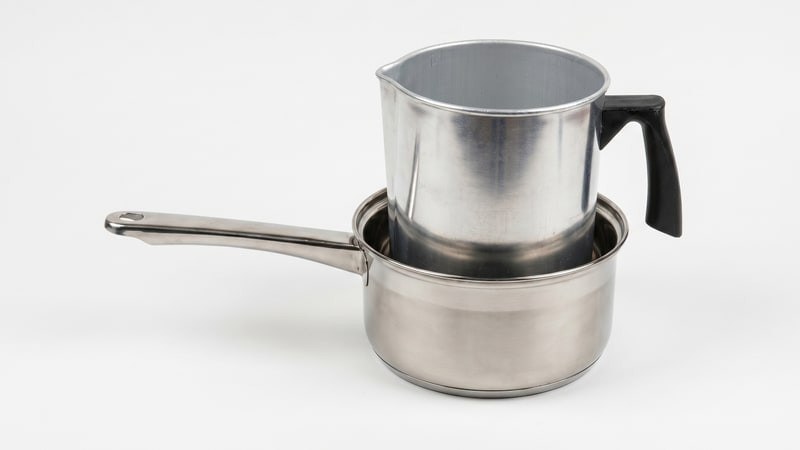
Melt the wax
A double boiler or a wax melter both work. For the double boiler, put about an inch of water in a saucepan, set a metal trivet or cookie cutter in it, and rest the pouring pot on top so the wax never takes direct heat. Hold the water at a gentle boil, not a rolling one, and bring the wax to its listed range, usually 175 to 185°F. Never leave melting wax unattended[1].
-
4
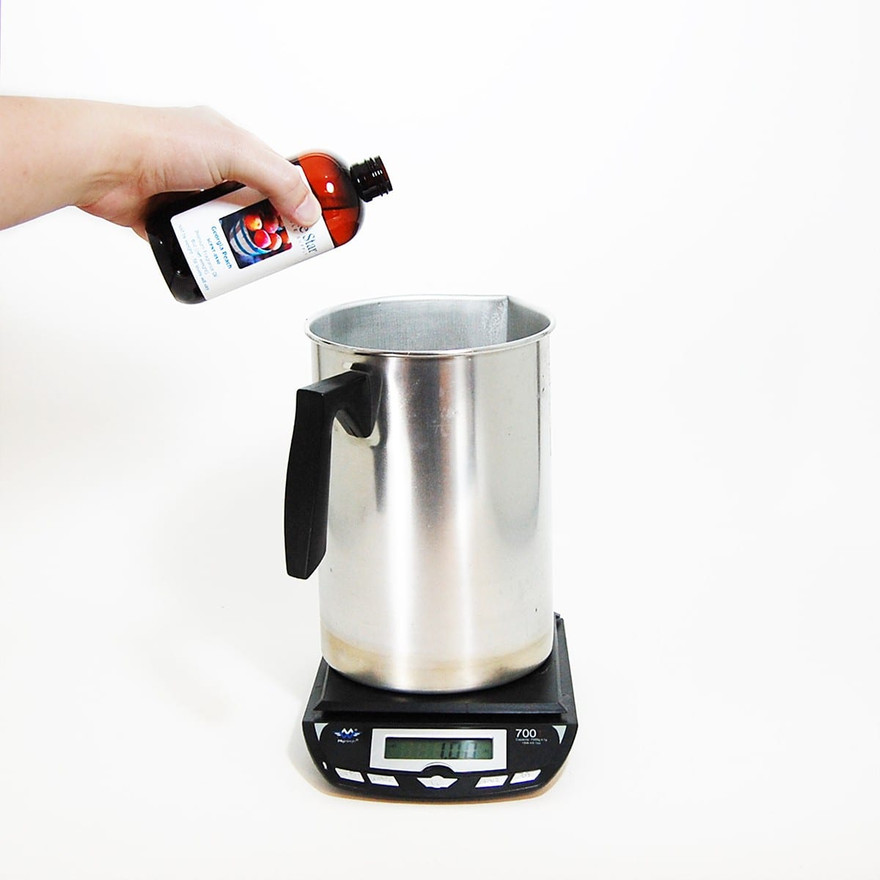
Add fragrance
Once the wax is at temperature, add fragrance oil at about 1 ounce per pound and stir it in. Fragrance can safely go into wax above its flash point; just keep the bottle away from open flame, since the flash point is the temperature at which the oil can ignite if it meets a spark or flame[2]. Weigh the oil if you can; a tablespoon is roughly half an ounce if you are measuring by spoon.
-
5
Color the wax
Add dye to the cake batch, stirring until the color is even. The cake and the frosting can be different colors, so keep the cake light if you want to tint the frosting darker later.
Shave or cut the block into small pieces so it melts into the wax quickly, then stir until fully blended.
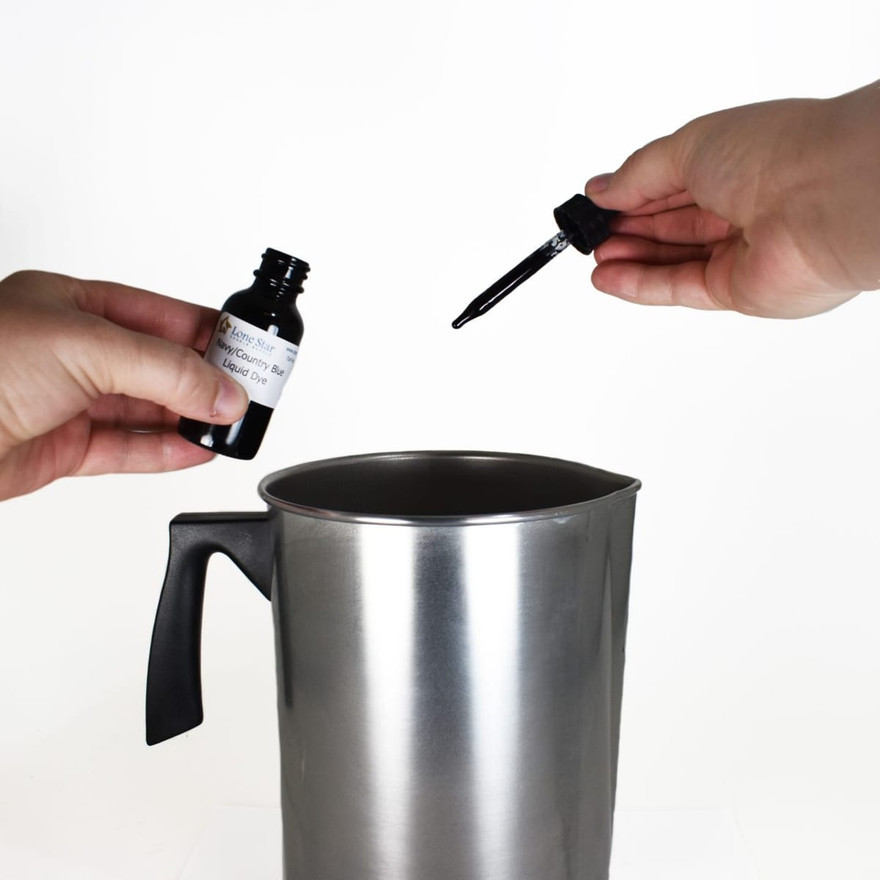
Liquid Dye
Add it a few drops at a time and stir; you can always add more, but you cannot remove it, so go light when you want a pale shade.
-
6
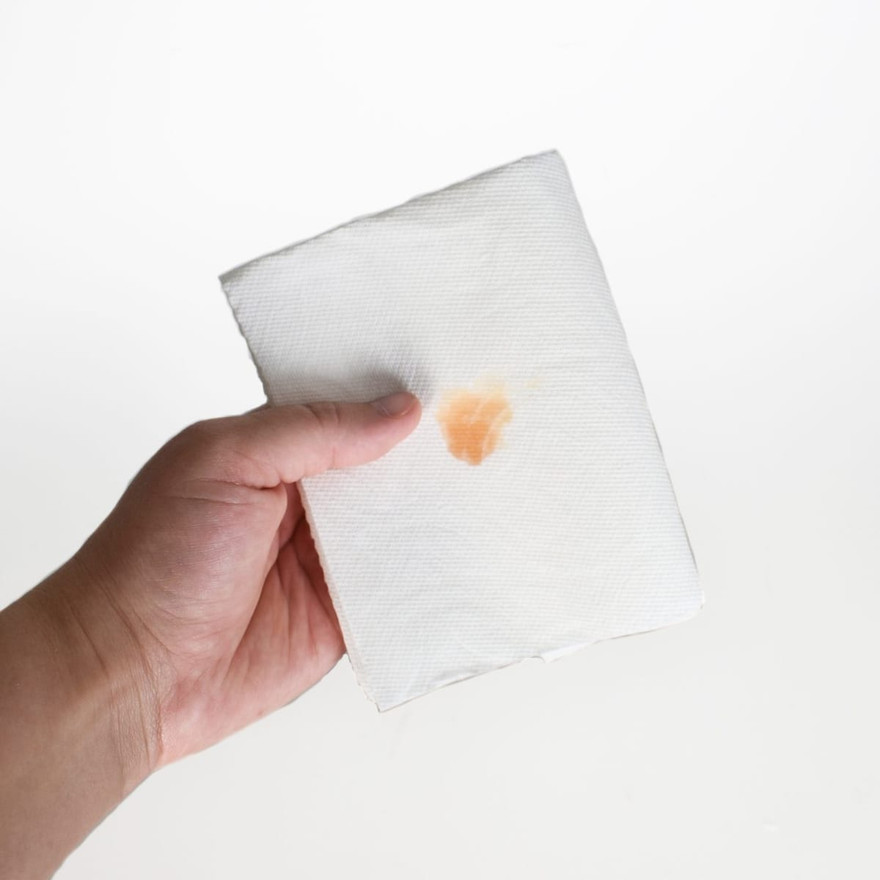
Test the color
Melted wax always looks darker than it will once it sets. Drip a little onto a paper towel, let it harden, and check the color before you decide whether to add more dye. Keep the hot wax off your hands.
-
7
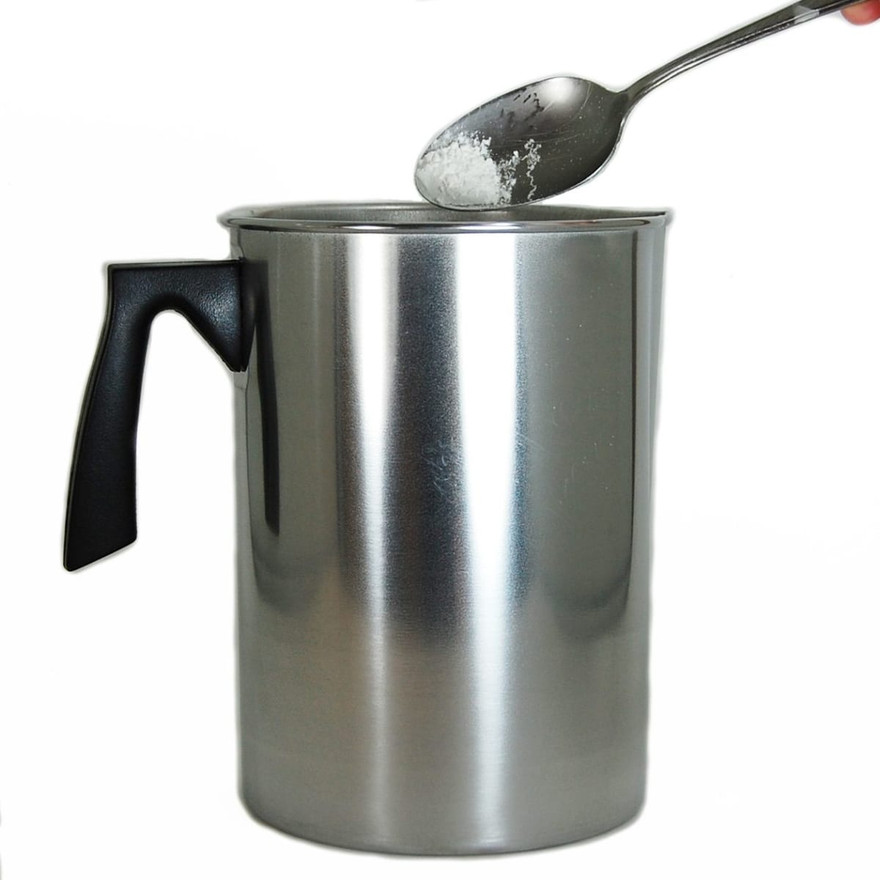
Add UV stabilizer (optional)
Stir in about half a teaspoon of UV stabilizer per pound to help the color hold up under light, then mix everything for three to five minutes. Check that the wax is still in its 175 to 185°F range and lift the pot out of the double boiler, using a hot pad on the handle.
-
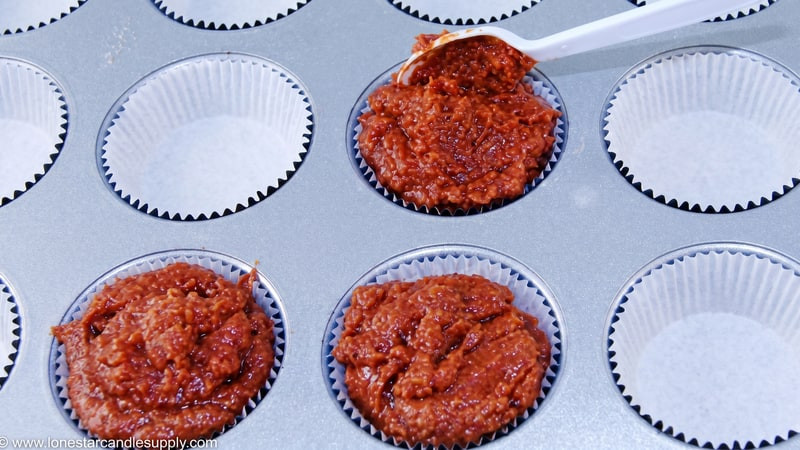
8
Pour the cake base
Fill the cupcake liners slowly so they level out evenly. For a burnable cupcake, set a wick into the cake now or glue it to the liner first, and use a wick bar or a straightened wick to hold it centered. Let the bases cool completely before frosting.

-
9
Whip the frosting
Re-melt the reserved wax and dye it if you want a contrasting frosting. Let it cool until a film forms across the top, then whip it with a fork, whisk, or mixer like you are beating egg whites, scraping the sides as you go. It is ready when it stacks on itself and holds its shape. Stop before it sets too far, or it will not stick to the cake.
-
10
Frost the cupcakes
Spoon the whipped wax onto each cooled cake while it is still soft, shaping it as you go. Let the cupcakes cool completely in the pan before you remove them.
Finishing and Care
Whipped-wax frosting is delicate. It can flake off if the cupcakes bump each other or rub during a move, so transport them with space between each one and handle them by the liner. The frosting holds up best stored away from heat and direct light, which can soften the wax or fade the color.
If you wicked the cupcakes, treat them as the pillar candles they are: a quarter-inch trim, a heat-safe surface, and the standard burn rules every time[1]. Decorative cupcakes and wax melts ask for none of that; they just need a gentle hand.
Once whipping wax feels natural, the same skill carries into other molded and textured work. How to Make Pillar Candles uses the firm-paraffin pour and second-pour technique, and the Step by Step Guides hub collects the rest of the projects to try next.