These soap ornaments are a melt-and-pour project you can finish in an afternoon, and they work as tree decorations or small gifts. There is no lye to handle and no long cure to wait out. You melt a finished soap base, color and swirl it, then cut shapes with the same cookie cutters you use at the holidays. The decorating steps are simple enough that kids can do most of them, which makes this a good family project.
The FDA reserves the word soap for products whose cleaning action comes from the alkali salts of fatty acids, the material formed when fats or oils combine with an alkali such as lye[1]. A melt-and-pour base arrives already saponified, so these ornaments are true soap without any lye in your workspace.
What You'll Need
What You'll Need
Check items off as you gather them
Supplies
-
Clear M&P Soap Base the transparent base takes the green color and shows off the swirls. Browse the full melt and pour soap bases selection
-
White M&P Soap Base the opaque base forms the body of the ornament
-
Soap-Safe Fragrance Oil over 275 fragrance oils list soap compatibility on the product page; see our seasonal Christmas Fragrance Recipes for scent ideas
-
Green or Red Soap Colorant a soap-safe dye to tint the clear base
-
Rubbing Alcohol in a spray bottle, to pop surface bubbles and bond layers
Tools & Equipment
-
Flat Silicone Mold a shallow flat mold sets the thin color and base layers
-
Holiday Cookie Cutters stars, trees, or any holiday shape to cut the ornaments
-
Microwave-Safe Containers for melting the base in short bursts
-
Soap Cutter or Knife and Cutting Board to cube the base and slice the swirls
-
Stirring Utensil a spatula, whisk, or spoon
-
Ribbon, String, or Yarn to hang the finished ornaments
-
Empty Pen Barrel or Straw to punch the hanging hole
Skip ahead to the step-by-step guide
The Swirl, Slab, and Cut Method
This ornament gets its look from three techniques layered together. Color a clear base and pour it thin, roll that set sheet into a spiral and slice it, then set the slices into a white base and cut the whole slab into shapes. Each step is a standard melt-and-pour move, and together they make an interesting holiday ornament.
Three Techniques in One Project
Color and Slab
Tint melted clear base with soap colorant and pour it as a thin layer in a flat mold. The thin pour sets fast and stays flexible enough to roll.
Roll and Slice
Roll the set color sheet into a log and cut it into discs. Each disc is a green spiral that becomes a decorative inlay.
Layer and Cut
Press the spirals into a fresh white base layer, let it set, then cut the slab with cookie cutters so every ornament carries part of the swirl.
How to Make Melt & Pour Christmas Ornaments
The project pours in two halves: first the colored swirl sheet, then the white base that holds the spirals. Work on a protected surface and keep the rubbing alcohol close to clear bubbles between layers.
How to Make Melt & Pour Christmas Soap Ornaments
-
1
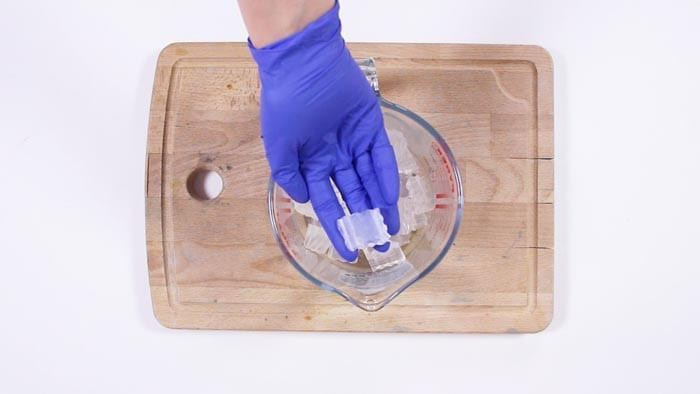
Cube the clear base
Chop the clear melt-and-pour soap base into roughly one-inch cubes and place them in a microwave-safe container.
-
2
Melt the clear base
Microwave on high for about two minutes, then in 30-second bursts, stirring between each, until the base is fully melted.

-
3
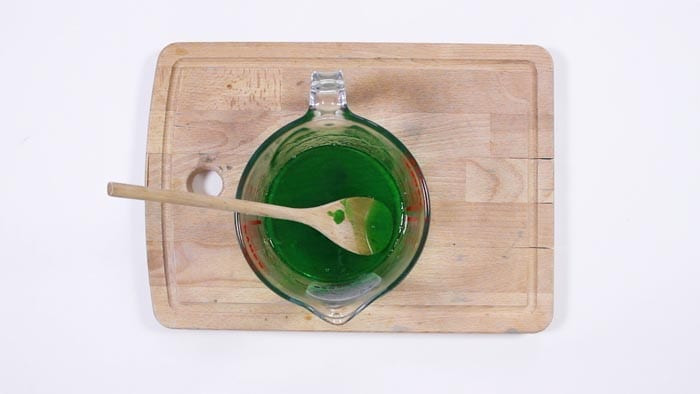
Color the base green
Add a few drops of green soap colorant to the melted clear base and mix thoroughly. Add more a little at a time until you reach the shade you want.
-
4
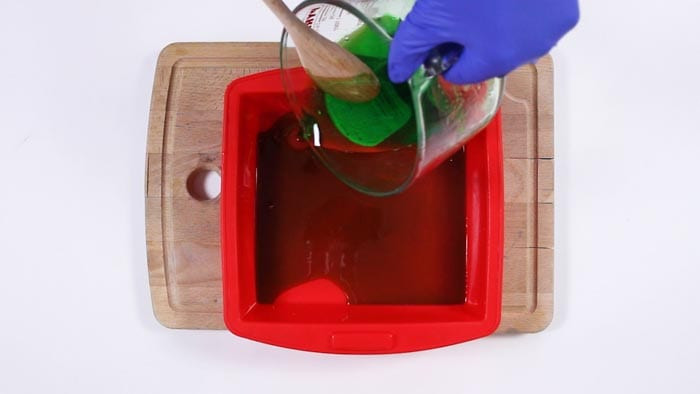
Pour a thin color layer
Spray a flat silicone mold with rubbing alcohol, pour a thin layer of green soap about a quarter to half an inch deep, and spray the surface again to clear bubbles. Let it sit about 30 minutes.
-
5
Unmold the color sheet
Once the green layer is set but still flexible, gently flex it out of the mold and lay it flat on your workspace.

-
6
Roll the sheet into a log
Starting at one edge, roll the green sheet up into a long tube.

-
7
Slice the spirals
Cut the rolled log into discs about half an inch thick and set the spiral slices aside.

-
8
Cube the white base
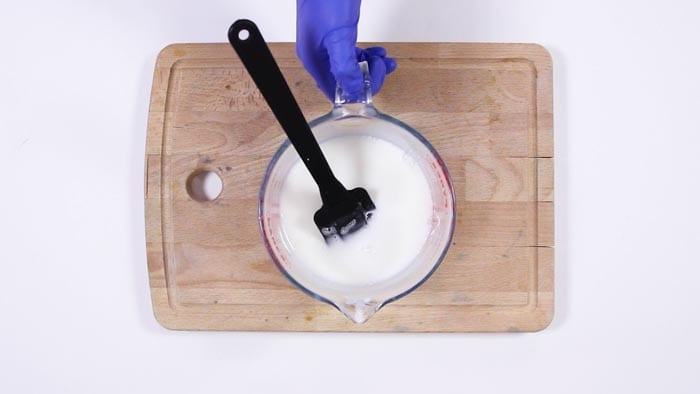
Chop the white soap base into one-inch cubes and place them in a clean microwave-safe container.

-
9
Melt the white base
Microwave on high for about two minutes, then in 30-second bursts, stirring between each, until the white base is fully melted.
-
10
Scent the white base
Stir in up to about 3% soap-safe fragrance oil. Let the base cool toward setting before adding the oil so less scent is lost to heat. It is safe to add fragrance to warm base; the precaution is keeping the oil away from open flames[2].

-
11
Pour the white layer and set the spirals
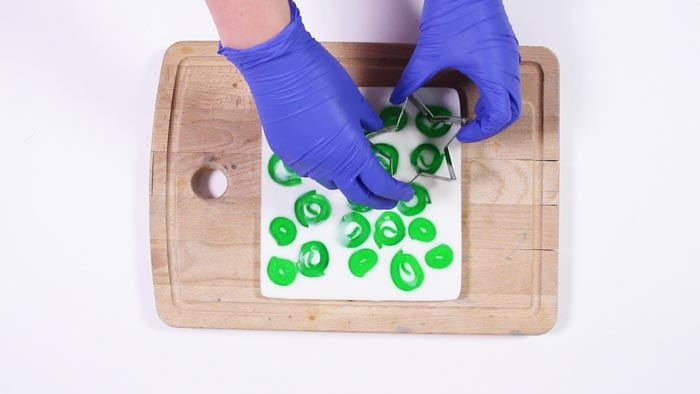
Spray the flat mold with rubbing alcohol, pour a layer of white base about half an inch deep, and spray the surface. Lay the green spirals across the soap and spray once more. Let it set at least an hour.

-
12
Cut the ornament shapes
Once the slab is set, press your holiday cookie cutters through the soap to cut out the ornaments.
-
13
Punch the holes and thread the ribbon
Use an empty pen barrel or a straw to punch a small hole near the top of each shape, then thread a ribbon, string, or piece of yarn through it for hanging.

Curing, Hanging, and Gifting
Melt-and-pour ornaments firm up enough to handle within the set times above, and they skip the long cure that cold-process soap needs. Give the finished shapes a day to harden fully, then wrap them so humid air does not pull beads of glycerin dew to the surface. Wrapped well, they hold their shape and scent through the season.
To hang them, knot the ribbon into a loop so the ornament sits flat against the branch. As gifts, a single scented shape in a cellophane bag with a tag works well, and a set of three in different holiday shapes makes a small present on its own.
Scenting and Coloring Your Ornaments
A soap-safe fragrance oil is what turns a plain ornament into a holiday one. Add it up to the maximum usage level on its IFRA certificate, and add it once the base has cooled toward setting so the heat does not degrade the lighter top notes. Our seasonal Christmas Fragrance Recipes collect scent combinations built for the holidays, and every oil in our range lists its soap compatibility on the product page so you can confirm a scent works in soap before you buy it.
For color, use a soap-safe colorant rather than a candle dye, and build the shade in small additions so you can stop at the depth you want. When you want to try other melt-and-pour projects, our How to Make Shaving Soap walks the layered-embed method with a butter base, and our Melt & Pour Soap Recipes collects more projects to make.
We would like to see your ornaments. Post your results and tag us on Instagram with #lonestarcommunity.