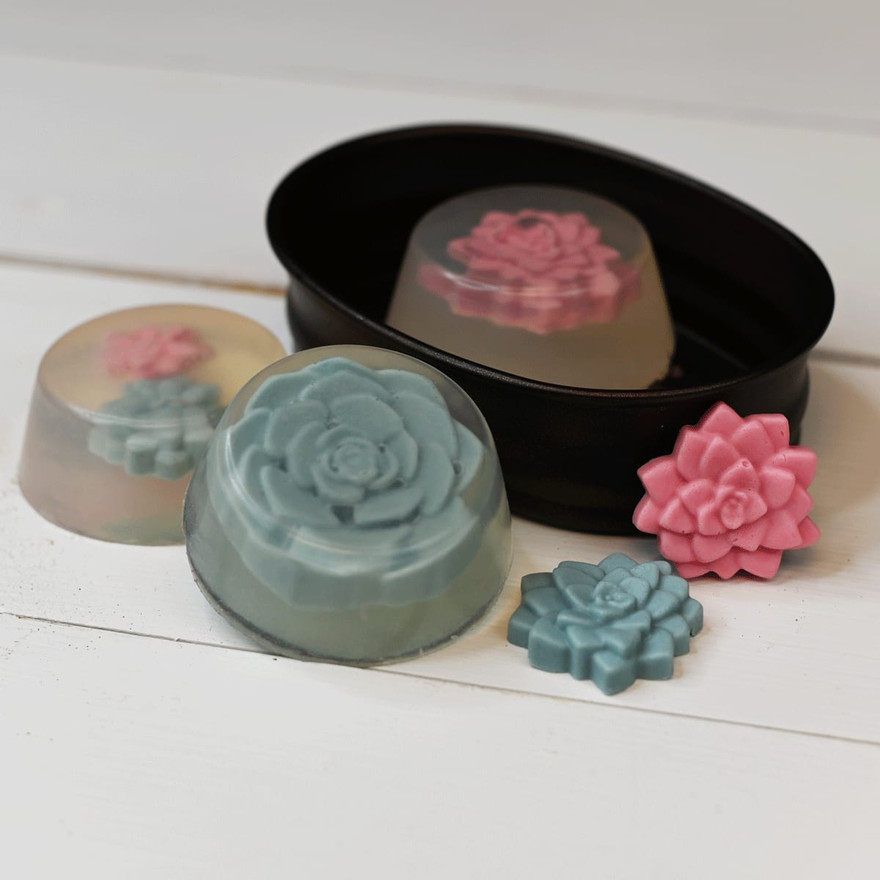
Succulent embed soaps are a two-part melt and pour project. You cast small colored embeds in a mold, let them firm up, then set them inside a clear base poured in another mold so the shapes stay visible through the finished bar. The clear layer carries the fragrance for the whole soap, which is why the embeds can stay unscented. Melt and pour bases are already saponified, the reaction of fats and oils with an alkali that turns them into soap[1], so this project skips lye entirely and comes down to melting, coloring, and pouring.
This guide walks both pours in order: coloring and casting the embeds, curing them, then building the clear layer around them. It adapts easily to other seasons or holidays by swapping the mold and the colors. Lone Star carries the melt and pour soap base and soap-safe fragrance oil; the molds and colorants are sourced separately. Find more melt and pour projects in our full Melt & Pour Soap Recipes.
What You'll Need
What You'll Need
Check items off as you gather them
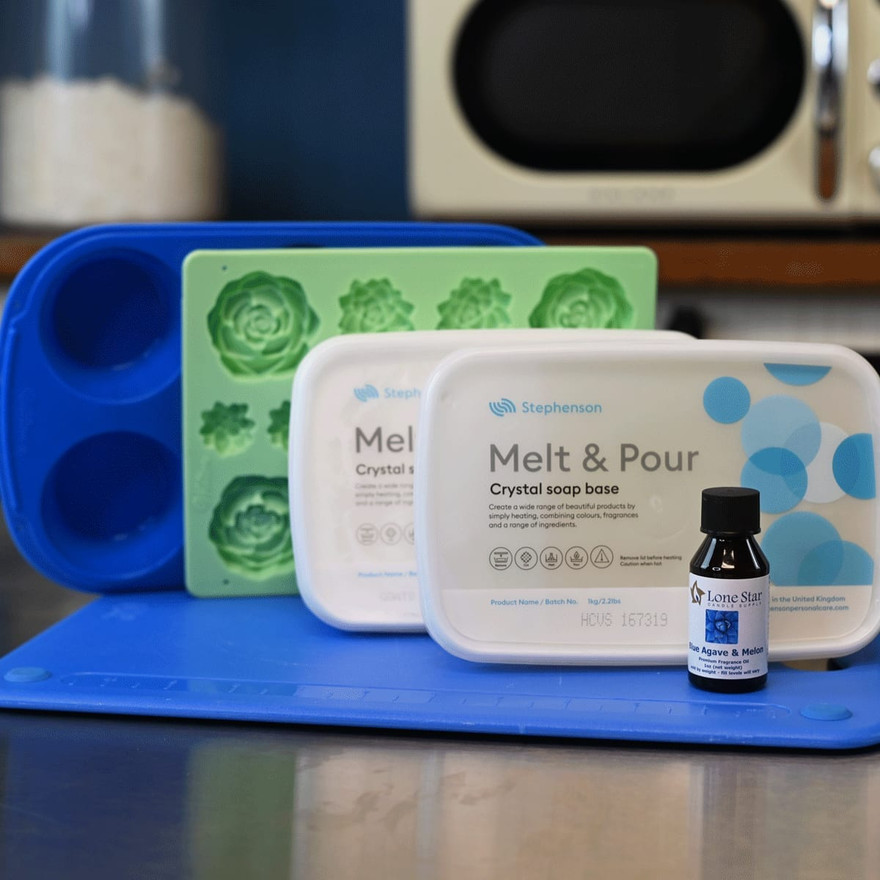
Supplies
-
Clear Melt & Pour Base the clear layer that holds the embeds; browse melt and pour soap bases
-
Goat's Milk Melt & Pour Base Stephenson Goat's Milk M&P Soap Base casts the colored embeds
-
An Embed Mold any small silicone mold shapes the embeds; Lone Star does not carry soap molds, so source one from a craft or soap-supply retailer
-
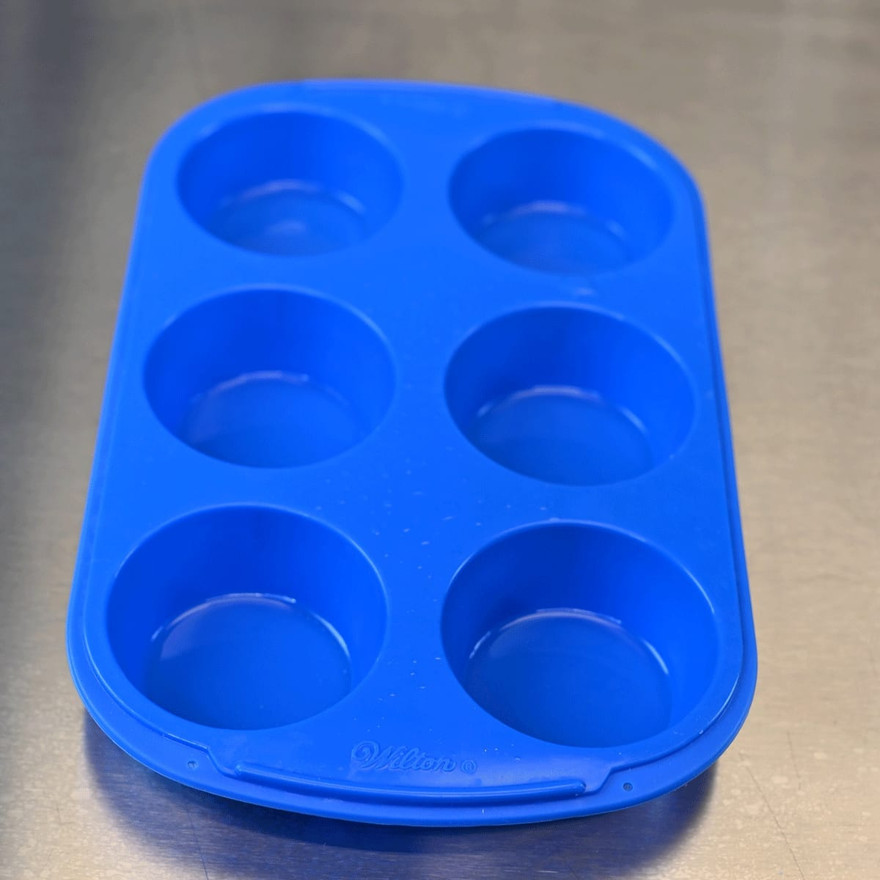
A Mold for the Bars any silicone mold shapes the finished bars; source it separately
-
Soap-Safe Fragrance Oil scents the clear layer at 3%; browse soap-safe fragrance oils
-
Soap Colorant colors the embeds; Lone Star does not carry colorants for soap, so source mica or a soap-safe colorant separately and mix shades on a paper plate
-
Caution Labels caution labels for any soap you give or sell
Tools & Equipment
-
Digital Scale measure bases and fragrance by weight; see our digital scale
-
Microwave-Safe Container for melting the base in short bursts
-
Cutting Board and Knife to cut the base into small, even pieces
-
Stirring Utensil a spoon or stir stick to blend in color and fragrance
-
Rubbing Alcohol in a Spray Bottle mists away surface bubbles and bonds the layers
-
Paper Plates and Paper Towels for mixing colors and catching spills
Skip ahead to the step-by-step guide
What Makes an Embed Soap Unique
The defining feature is the suspended embed. You cast the embeds first as small, fully colored soap shapes, then pour a clear or translucent base around them so they can be seen clearly through the finished bar. That two-soap structure is what separates an embed soap from a single solid pour: one soap becomes the decorative object, the other becomes the window that displays it. Because the clear layer surrounds and protects the embeds, it also carries the fragrance for the whole bar, so the embeds can stay unscented without changing how the soap smells in use.

Cast the Colored Embeds
Work one color at a time so each embed reads cleanly. Use an appropriate amount of soap for the mold you're using; the embed mold holds far less than the bar mold.
How to Cast the Embeds
-
1
Gather and measure
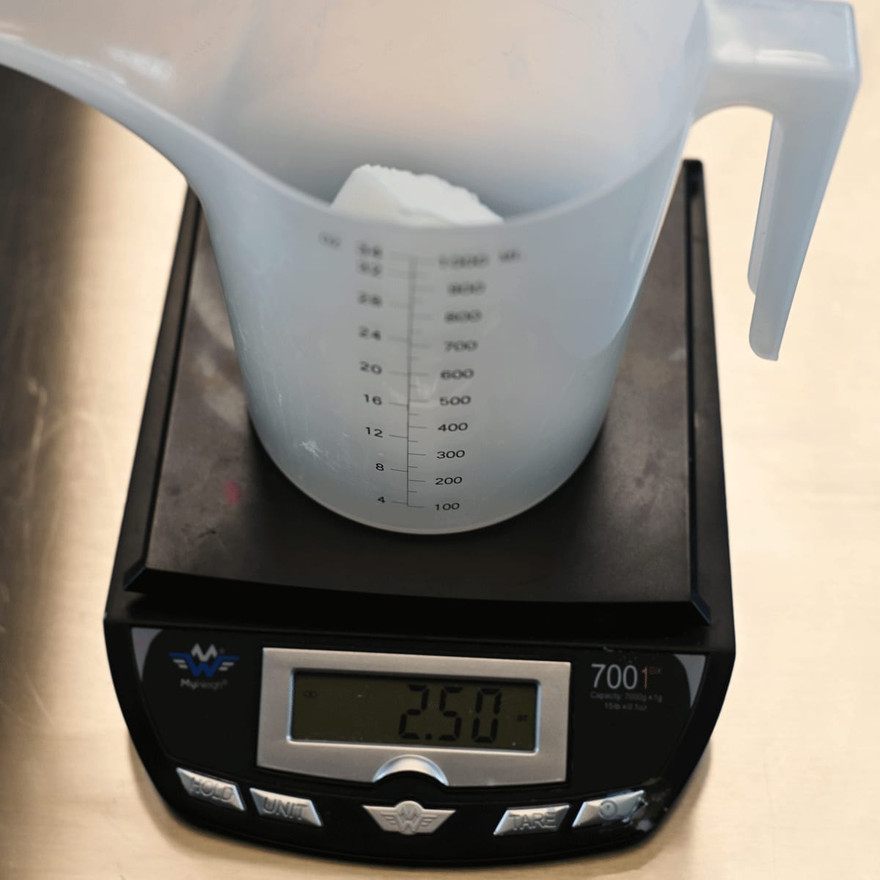
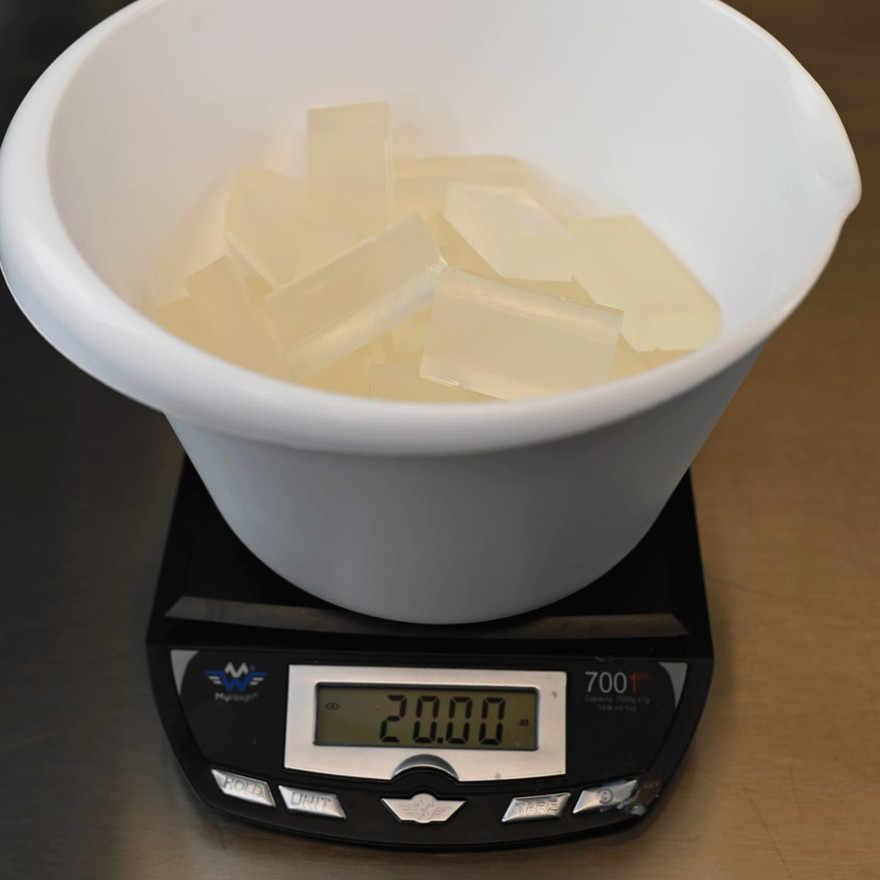
Set out the molds, base, colorants, and alcohol so everything is within reach. Cut the goat's milk base into 1-inch pieces and weigh out enough for the first color, an appropriate amount for your embed mold.
-
2
Mix the colors
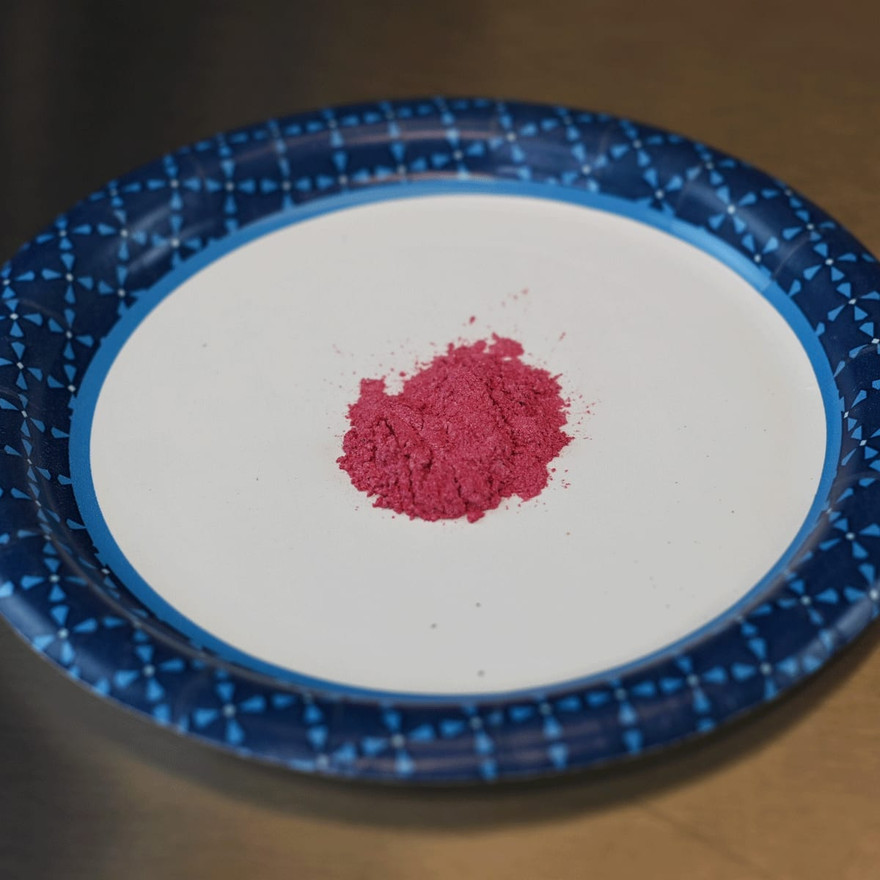
Scoop mica powder onto a paper plate. To get a custom shade, blend two or more micas together on the plate; if you are using a single color straight, you can scoop it from the container instead.

-
3
Melt, color, and pour the first batch
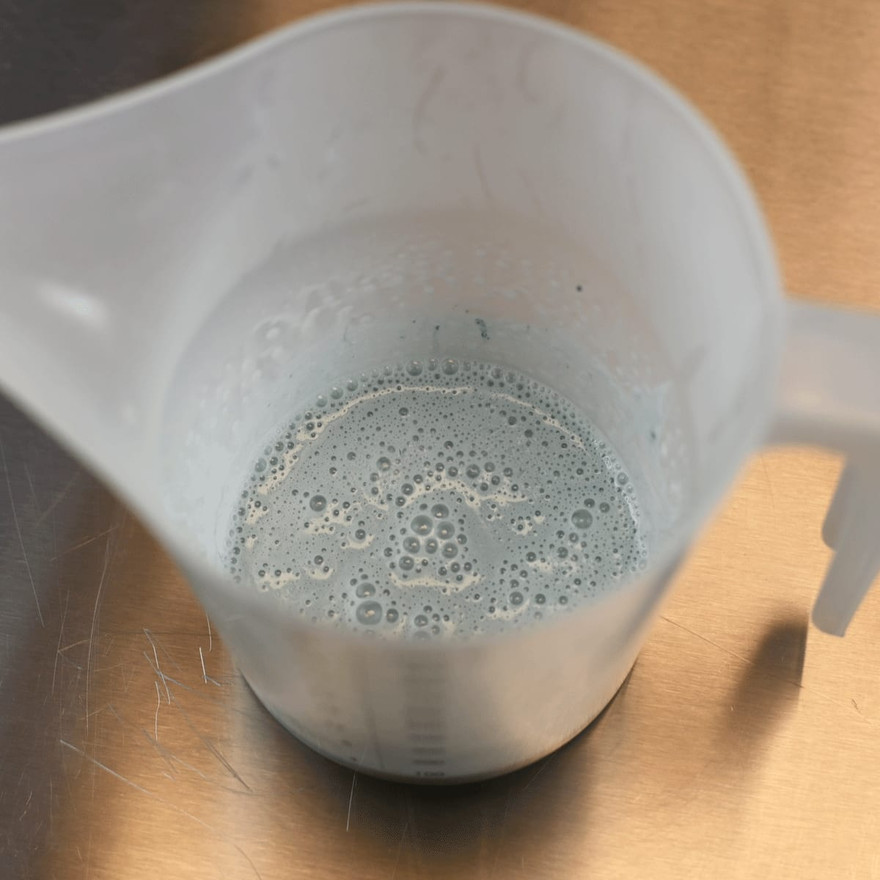
Melt the goat's milk base in the microwave in 20 to 30 second bursts, stirring between each so it heats evenly and does not scorch. Stir in the first color. Mist the cavities with alcohol, pour, then mist the surface again to pop any air bubbles.

-
4
Repeat with the second color
Weigh, melt, color, and pour the second batch the same way to fill the rest of the cavities. You can leave the embeds unscented, since the clear layer scents the finished bar; to scent them, add about 3% soap-safe fragrance oil before pouring.
-
5
Cure the embeds
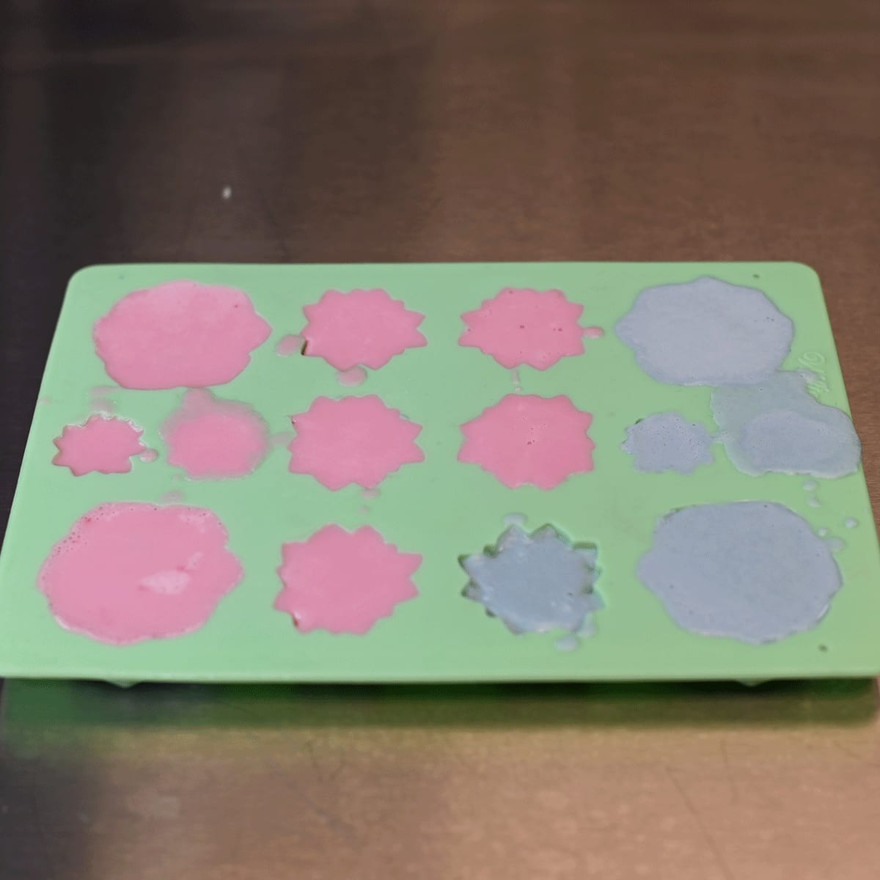
Once both colors harden, remove the embeds from the mold and let them cure in open air for 3 to 5 days so the colors do not bleed into the clear base later. If a cavity overfilled, peel the excess with your fingers or trim it with a craft knife after curing.
Build the Clear Layer
Use an appropriate amount of clear base for the mold you're using. You pour it in two passes: a thin bottom layer that frames the embeds, then a top pour that fills the rest.
How to Pour the Clear Layer Around the Embeds
-
1
Melt and fragrance the clear base
Cut and weigh an appropriate amount of clear base for your mold, then melt it in the microwave in 30 to 50 second bursts, stirring between each until fully melted. Weigh out soap-safe fragrance oil at about 3% of the base and stir it in gently.

-
2
Pour a thin bottom layer
Mist the bottom of each cavity with alcohol. Pour just enough clear base to cover the bottom, then mist the surface again to pop bubbles. Keep this layer thin so the embeds stay sharp and visible; a thick bottom layer reads blurry. Let it set about 20 minutes.
-
3
Set the embeds
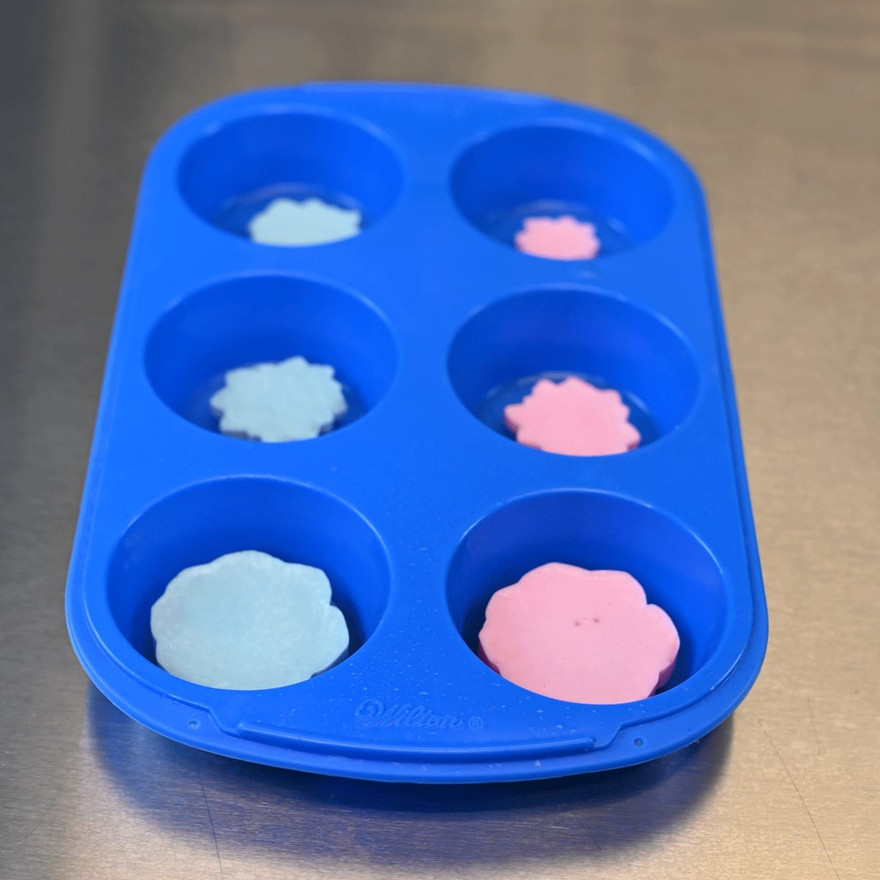
Once the bottom layer firms, mist it with alcohol so the next pour bonds to it, then place a cured embed into each cavity face down against the clear layer.

-
4
Top off and cure
Re-warm the remaining clear base and let it cool to about 130°F, then slowly fill each cavity, misting with alcohol as you go. Once the bars set fully, unmold them and lay them flat. Rest them about a week to draw out excess surface moisture.
The finished bars can be given, sold, or kept for your own bathroom. If you label and sell them, products that meet the definition of soap are labeled and regulated as soap rather than as cosmetics[3]. Tag your creations with #lscscommunity to share them on our community page, and visit our Instagram for more projects.