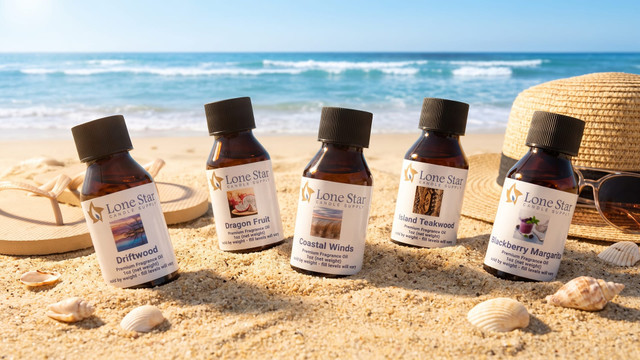
Scented slime is a stretchy craft putty you make from clear school glue and a saline activator, with a fragrance oil stirred in so it smells as good as it feels. The scent is what turns a basic slime into a party favor or a gift, and the choice that matters most is the oil. A skin-safe fragrance oil blends into the glue and holds its scent through repeated handling. We carry over 275 fragrance oils, and every product page lists the skin and lotion compatibility you need to pick one that is safe to touch.
This guide walks the full method: what to gather, the nine steps from glue to finished slime, how much fragrance to add, why a skin-safe oil outlasts perfume, and how to keep the activator safe for the kids who will be squishing it.
What You'll Need
Gather everything before you start, since the activator stage moves quickly once the slime begins to form. The measuring tools do not have to be exact; slime is forgiving.
Supplies
Clear Crafting Glue
One cup of clear PVA school glue. Clear glue gives the brightest color and shows off glitter; white glue works too for an opaque, pastel slime.
Skin-Safe Fragrance Oil
The scent. Use an oil rated for skin contact, since slime is handled directly. Check the product page for skin and lotion compatibility before you buy, and browse the range in our fragrance oils collection.
Baking Soda
A small amount firms the slime and helps the activator work.
Food Coloring
A few drops of water-based food coloring or any water-based colorant.
Glitter
Optional, for sparkle. Cosmetic or craft glitter both work.
Saline Contact Solution
The activator. It needs to contain boric acid and sodium borate to set the slime; check the label.
Mixing Bowl, Measuring Cup, and Spoons
For combining and portioning.
Rubber Spatula
For stirring and scraping the bowl clean.
Clamshell Mold
Optional, for packaging finished slime as favors or gifts.
Cover your workspace with butcher paper or newspaper first. Glue and food coloring drip, and a covered surface makes cleanup quick.
How to Make Scented Slime
The order matters: scent and color go into the glue first, and the activator goes in last and slowly. Add the saline a little at a time, because too much at once turns the slime stiff and rubbery.
Nine Steps from Glue to Slime
-
1
Measure the glue
Pour one cup of clear crafting glue into the mixing bowl. Scrape any glue clinging to the measuring cup with the rubber spatula so your measurement stays accurate.

-
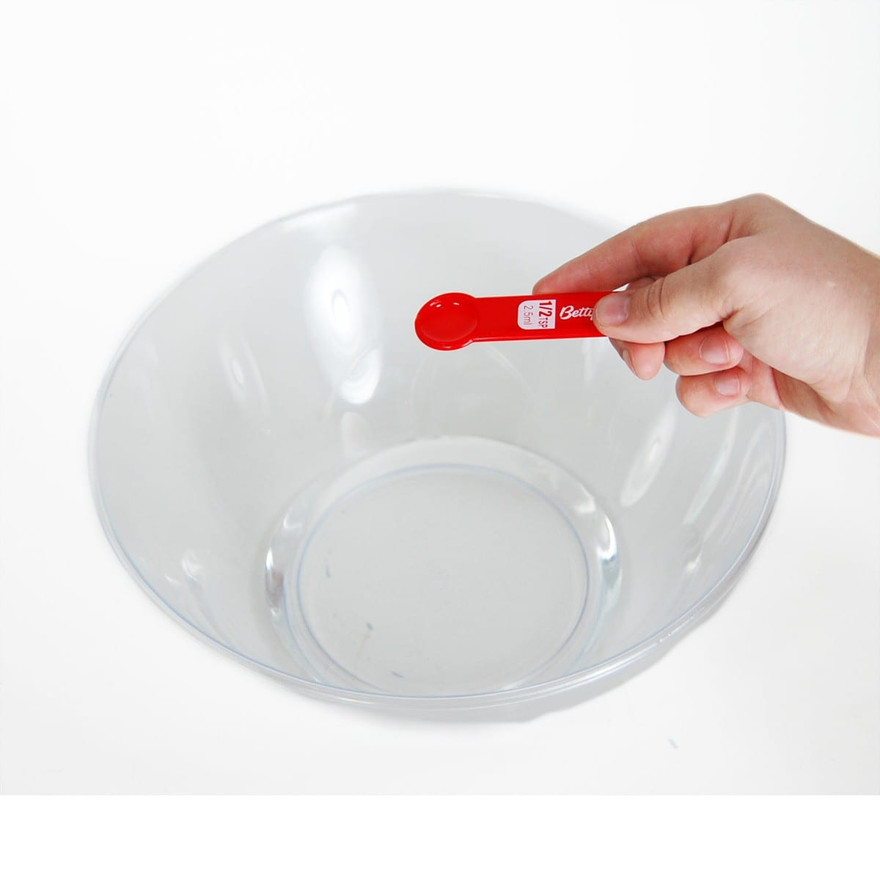
2
Measure the fragrance oil
Measure about half a teaspoon of skin-safe fragrance oil and pour it slowly into the glue.
-
3
Stir in the fragrance
Stir the fragrance oil into the glue with the rubber spatula until it is fully blended and no streaks remain.

-
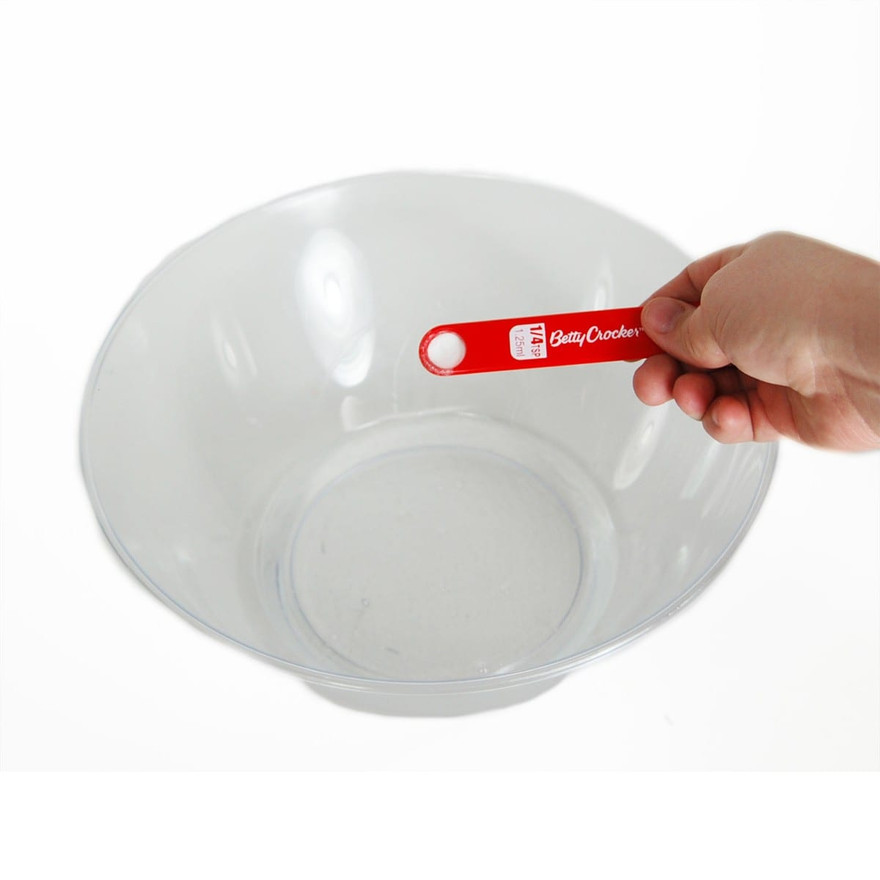
4
Add the baking soda
Measure about an eighth teaspoon of baking soda and add it to the glue.
-
5
Add the food coloring
Add a few drops of water-based food coloring until you reach the shade you want. Start light; you can always add more.

-
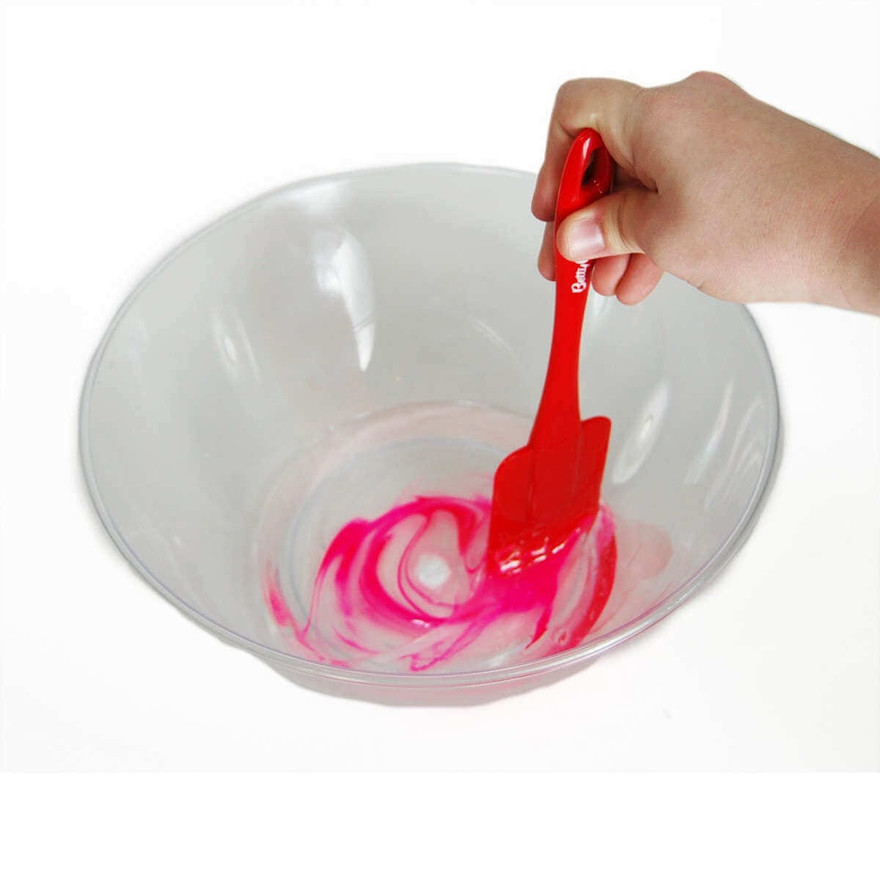
6
Stir in the color and soda
Stir until the baking soda and food coloring are fully dispersed. Baking soda tends to clump, so work out every lump before moving on.
-
7
Add glitter
Sprinkle in glitter to your preference and stir it through with the spatula. This step is optional.
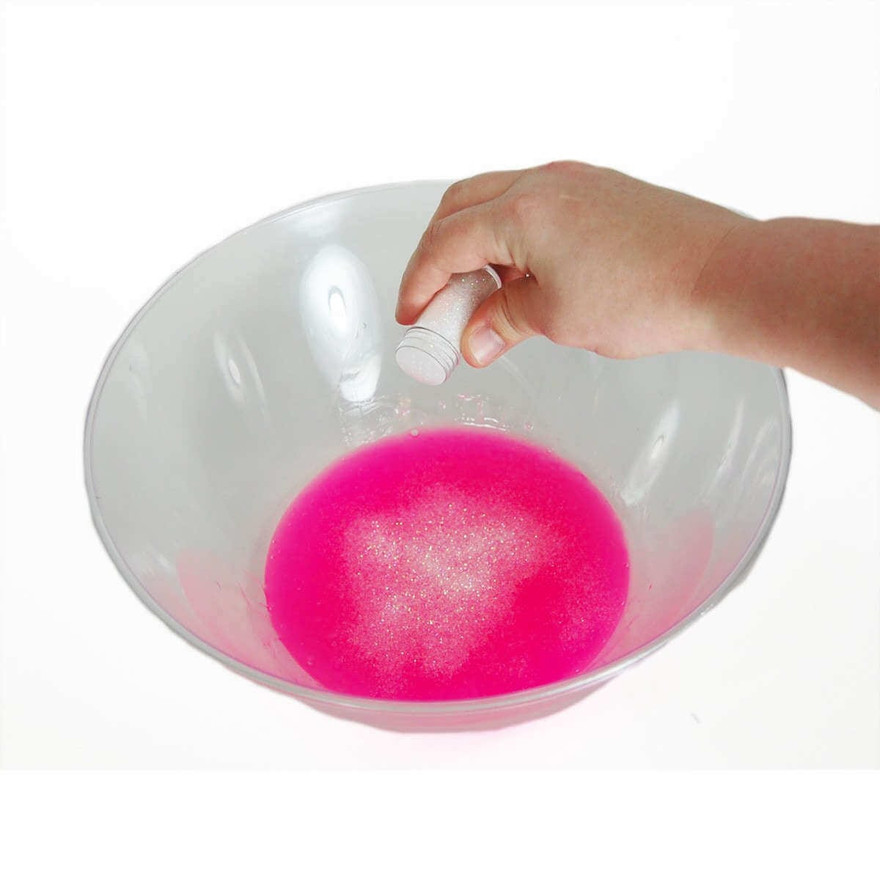
-
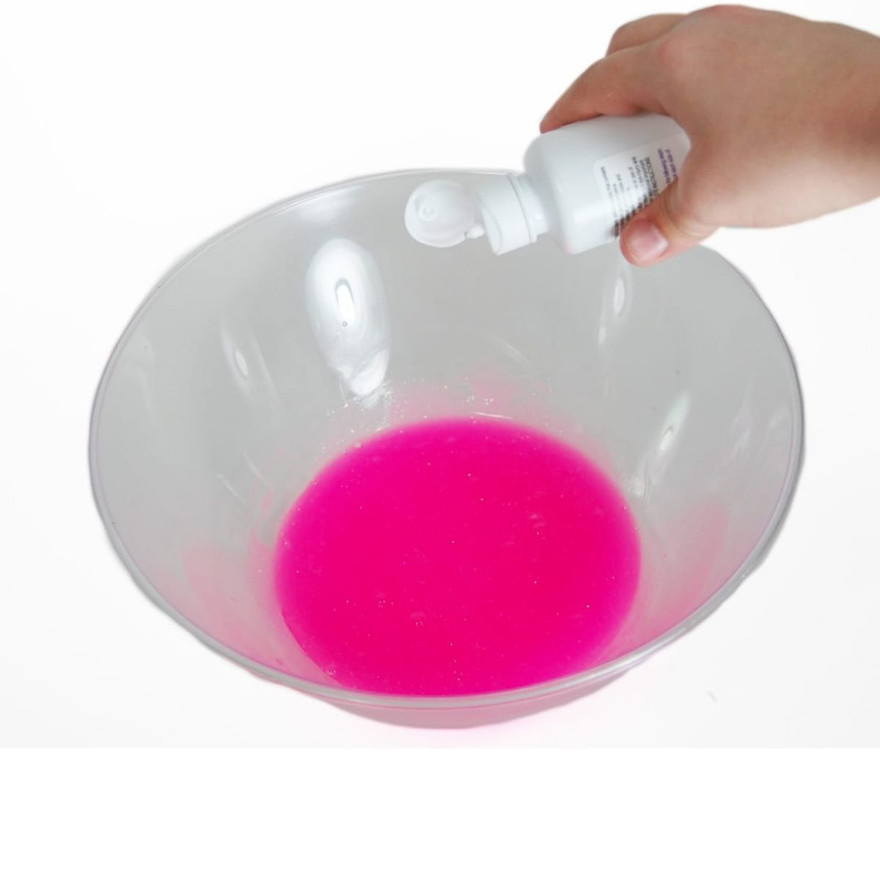
8
Add the saline activator
Squeeze in a little saline contact solution and stir. Keep adding small amounts and stirring until the slime starts to ball up and pull away from the bowl. Once it does, coat your hands in saline and knead it by hand.
-
9
Knead until it stops sticking
Keep kneading and adding a little saline at a time until you can pick the slime up without it sticking to your skin. When it lifts clean, the slime is ready.
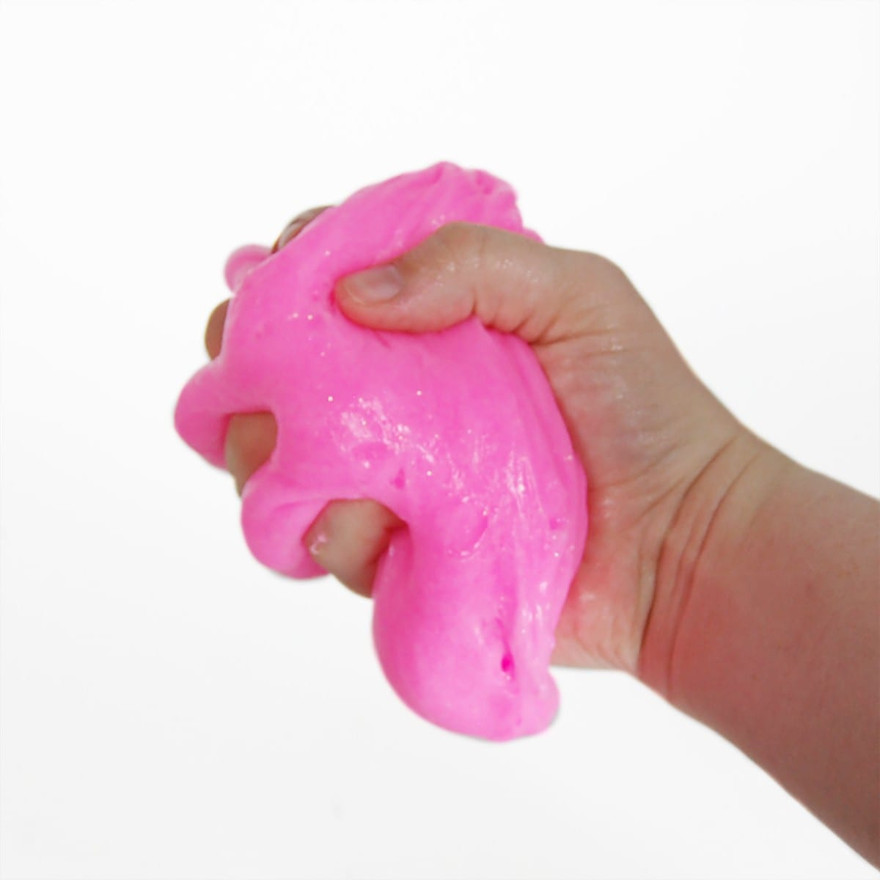
Make It Your Own
Once the slime lifts clean, it is finished and ready to play with or package. Pressing a batch into clamshell molds turns it into a party favor or a gift, and a printed label personalizes it for a birthday or a class party. Slime keeps best sealed in a clamshell or an airtight container between uses, which slows the scent from fading and stops the slime from drying out.

Scenting slime is one of the same skills behind every project in the Learning Center: pick a skin-safe oil, measure it, and blend it in fully. The same fragrance oils scent How to Make Car Freshies and How to Make Scented Bath Salts too.