Fish freshies are aroma bead air fresheners shaped like a trout, with three bead colors layered into a fish cookie cutter and a red and white bobber tied on for the catch-of-the-day look. They make easy gifts for an angler and sell well at a craft booth. The bead-loading method is the universal one from How to Make Freshies, so this guide covers what is specific to the fish: layering the colors, baking the shape, and rigging the bobber.
What You'll Need
What You'll Need
Check items off as you gather them
Supplies
-
Aroma Beads the base that soaks up the fragrance and melts into the shape
-
Fish Cookie Cutter a metal cutter holds its edge in the oven; a deep one gives a thicker freshie
-
Fragrance Oil the scent, from fragrance oils; pick a mostly clear oil if you want bright white beads
-
Liquid Dye candle dyes for the layered colors
-
HDPE Containers as suggested on the other freshie guides, which resist the fragrance oil instead of softening from it
-
Cardstock optional two strips, to divide the colors inside the cutter
-
Bobbers the red and white floats that finish the look
-
Jute or Twine to hang the freshie
Tools & Equipment
-
Digital Scale to weigh beads and oil by the gram or ounce
-
Stirring Utensil a wooden stir stick or toothpick to mix in the dye
-
Cookie Sheet or Pan to bake on
-
Parchment Paper never wax paper, which the beads stick to
-
Power Drill and Drill Bit a 1/8 inch bit makes a clean hole for the twine
-
Scissors to cut the cardstock and trim the finished edges
Skip ahead to the step-by-step guide
How the Layered Look Works
The trout pattern comes from three bead colors loaded side by side: a dark green back, a salmon middle, and a clear or white belly. You tint each color in its own container, then keep them separate inside the cookie cutter with two cardstock dividers while you fill it. The beads fuse across the seams in the oven, so the finished fish reads as a single gradient.
To mix a custom shade, the example freshie used a Bayberry/Eucalyptus dye for the green and a blend of Spiced Pumpkin and Cinnamon/Rust for the salmon. A little dye goes a long way in beads, so for a lighter color, dip a stir stick into the dye and touch it to the beads rather than adding a full drop.
The Step-by-Step Process
The bead prep mirrors any aroma bead freshie; the fish-specific work starts at the cookie cutter. Weigh everything so your fragrance load stays consistent batch to batch.
How to Make Fish Freshies
-
1
Weigh out the beads
Plan the amount by the size of your cutter and how many fish you want. For a small batch, measure about 4 ounces of beads by weight for each color and put each into its own lidded container.

-
2
Add the fragrance oil
Aroma beads hold about 1 to 2 ounces of oil per pound. For a 6 percent load, weigh roughly 0.25 ounce of oil for every 4 ounces of beads. Use an HDPE container so the oil does not soften the plastic.

-
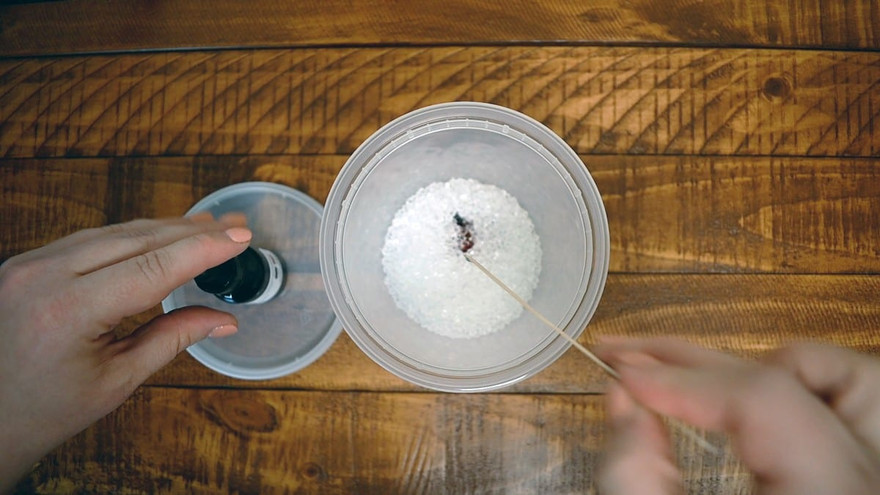
3
Tint each color
Add a drop of dye to the green batch and set it aside. For the salmon batch, dip a stir stick into the lighter dyes and touch it to the beads, building the shade gradually. Leave the belly batch undyed if you want bright white, which needs a mostly clear fragrance oil.
-
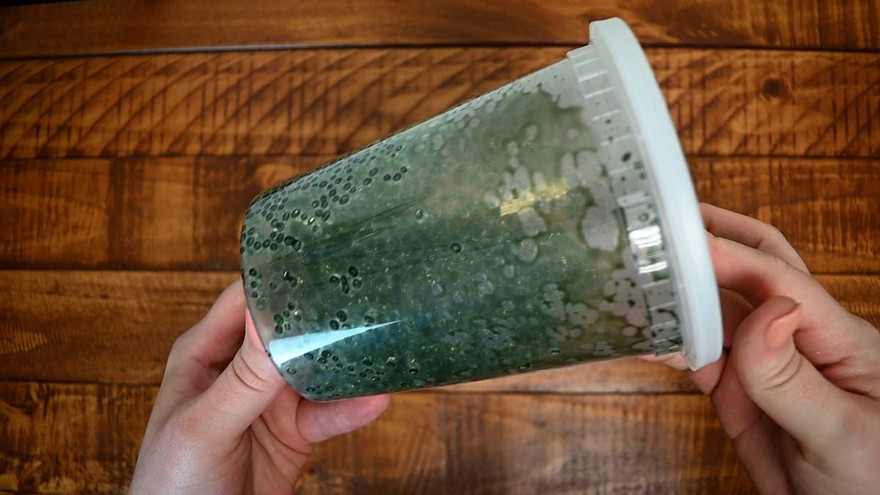
4
Seal, shake, and cure
Press the lids on tight, then shake each container until the color and oil spread evenly through the beads. They look wet at first; give them a few days to fully absorb, then let them rest about 5 more days before baking for the strongest scent.
-
5
Line the cutter and set the dividers
Lay parchment paper on the cookie sheet, never wax paper, which the beads stick to. Cut two cardstock strips about 2 by 8 inches, notch a 1 inch slit in each side, and slot them into the cutter so the inside splits into three sections.
-
6
Fill the sections
Fill the center section about halfway first, since it is the easiest to reach, then fill the two outer colors, then top the center back up. Mound the beads to the top of the cutter; they shrink as they bake.

-
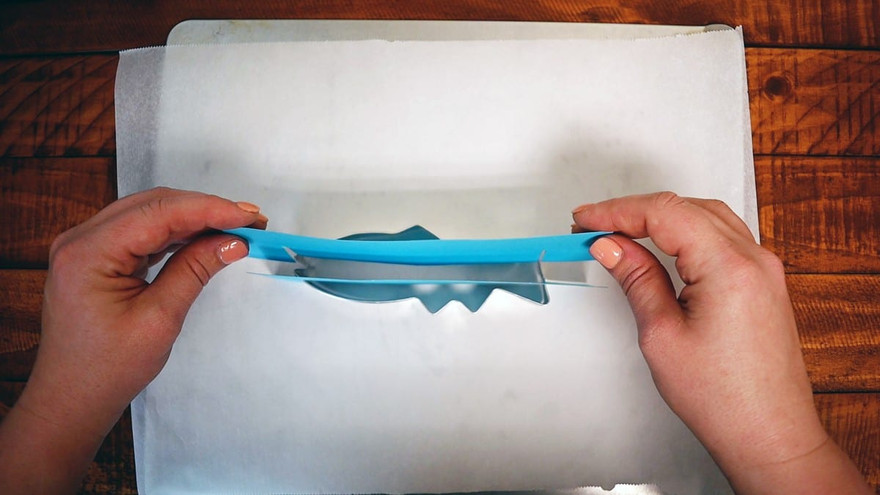
7
Slide out the dividers
Once every section is packed, pull the two cardstock strips straight up and out. You are left with three clean bands of color in the shape of the fish.

-
8
Bake until the beads fuse
Bake in a preheated 350°F oven for about 6 to 7 minutes. Test by tapping the top layer with a fingertip; if beads stick, give it another minute or two. Ventilate the kitchen while they bake, since melting beads release fragrance into the air[1]. Let the fish cool completely in the cutter.

-
9
Release, drill, and rig
Wiggle the cooled fish out of the cutter; a few minutes in the freezer shrinks a stubborn one free. Set it on a safe surface and drill a 1/8 inch hole through the nose, and make sure to protect the workspace. Thread about 10 inches of twine through, knot each end, clip a bobber on, and trim the sharp baked edges with scissors.

Finishing and Sharing
Once the bobber is rigged and the edges are trimmed, the fish is ready to hang from a rearview mirror or a closet rod. To hang it on a mirror, unclip one end of the bobber, loop the twine around the stem, and clip it back on. For the same project as a watch-along, see the Video Tutorial - How to Make Fish Freshies. For more projects in this style, the Step by Step Guides hub has the full set of step-by-step guides.