A cooling neck wrap is one of the easiest sewing projects you can make, and on a hot Texas afternoon it earns its place fast. It is a fabric tube filled with water crystals: soak it, tie it around your neck, and the cold water held in the crystals keeps you comfortable for an hour or two outdoors. The sewing is all straight lines, so this is a good first project even if you have never run a seam before. If you can sew a straight line, you can make this.
What You'll Need
The fill is water crystals, the small dry granules that swell into a soft gel once they soak up water. Water crystals are different than water beads, and water crystals are required for this project. They are also sold as water-gel crystals or water-retaining polymer. You only need a small amount, since they expand many times their dry size in water. Lone Star does not stock water crystals, so source them from a craft or hobby retailer; we supply the fragrance oil for scenting the soak water. Everything else is basic sewing supplies.
What You'll Need
Check items off as you gather them
Supplies
-
Fabric at least 1 yard of cotton; a bandana print or any quilting cotton works well
-
Water Crystals dry water crystals (also called water-gel crystals or water-retaining polymer); about 1 cup dry. Different than water beads, and required for this project; we do not stock them, so source from a craft or hobby retailer
-
Thread to match or contrast your fabric
Tools & Equipment
-
Scissors or Rotary Cutter a rotary cutter and mat give the cleanest straight edge
-
Straight Pins to hold the seam while you sew
-
Sewing Needle for closing the fill hole by hand
-
Sewing Machine optional; the long seams can be hand-stitched with a backstitch
Skip ahead to the step-by-step guide
How to Make a Cooling Neck Wrap
The whole wrap is one long fabric tube with the ends tapered so it ties on. Work through the steps in order; the only parts that need care are the tube seam and the closed fill hole.
How to Make a Cooling Neck Wrap
-
1
Measure the width
Lay the fabric flat and fold one side over. Measure about 2.5 inches across for the finished width of the wrap.

-
2
Cut the strip
Cut along the line opposite the fold with scissors or a rotary cutter. A rotary cutter and mat keep the long edge straight.

-
3
Check the length
Measure the strip end to end. Aim for 36 to 40 inches so the finished wrap reaches around your neck and ties comfortably.

-
4
Pin the tube
Turn the fabric inside out and fold it in half lengthwise. Pin all the way down the open edge so the fabric stays put while you sew.

-
5
Sew the long seam, leaving a fill gap
Sew down the open edge, pulling each pin before it reaches the needle. Stitch about halfway, backstitch, then start again leaving a 2-inch gap and finish the seam. That gap is where you turn the tube right side out and add the crystals.

-
6
Turn it right side out
Push the fabric through the center gap to turn the tube right side out. A bamboo skewer or rigid straw helps work the corners out fully.

-
7
Mark the tie ends
Measure 7 to 8 inches in from each end and mark with a pin. Sewing across here leaves plain tie ends, so the crystal-filled middle stays put when you knot the wrap.

-
8
Sew the end seams
Sew a straight line across each end where you marked. This closes off the tie ends and keeps the crystals in the center section.

-
9
Measure the crystals
Measure out about 1 cup of dry water crystals. They swell as they soak, so the tube only needs to be loosely filled, not packed.

-
10
Pour in the crystals
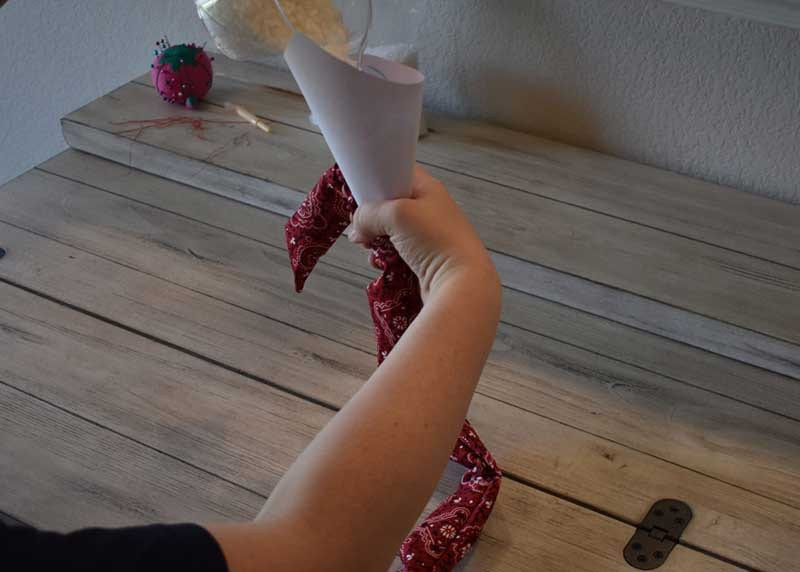
Pour the dry crystals into the wrap through the center gap. A funnel helps, or a piece of paper rolled into a cone works just as well. Leave room for the crystals to expand once they are soaked.
-
11
Close the fill hole
Stitch the center gap shut by hand. A simple loop stitch holds fine; a hidden (slip) stitch closes it more cleanly if you are comfortable with one.


Soak the finished wrap in cold water for a few minutes and it is ready to wear. The crystals swell, hold the cold water, and the wrap ties on with a simple knot.
How the Cooling Works and How to Care for It
The body sheds heat mainly by sweating, and that sweat cooling the skin as it evaporates[1]. A soaked neck wrap helps the same way a cool, wet cloth on the neck does: it holds cold water against the skin over the large blood vessels in your neck, which is one reason emergency heat-illness guidance points to cool, wet cloths on the body[2].
Getting the Most From Your Wrap
Soak before you go out
Dunk the wrap in cold water for a few minutes so the crystals fully swell. For a colder start, chill it in the refrigerator first.
Re-soak as it warms
Outdoors it stays cool for an hour or two. When it warms up, soak it again; the crystals rehydrate over and over.
Dry it fully before storing
After the season, let the wrap dry out completely so the crystals shrink back down, then store it flat. Soaking rehydrates them next summer.
Scent it lightly (optional)
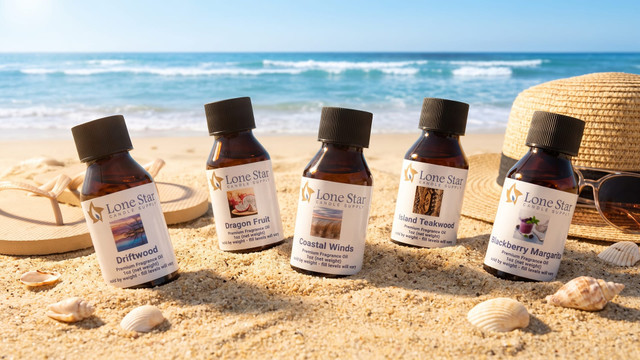
Add a few drops of skin-safe fragrance oils to the soak water for a light scent. Check the oil's skin-use guidance first.

Personalize the wrap with whatever fabric and colors you like, and make a few in different prints for the family. For more no-flame projects to try on a hot afternoon, browse the Learning Center.