A band of ribbon dresses up a plain candle jar in a few minutes for very little cost. Burlap, lace, grosgrain, satin, or tulle each give a different look, and you can add the band alone or tuck a small embellishment over the seam to hide the overlap. The project works on any straight-sided vessel, a candle jar, a mason jar, or a vase, and a cylinder gives the ribbon the flattest surface to lie against. Keep this primary rule in mind for the whole project: ribbon is flammable, so it stays on the outside of the jar, below the rim and clear of the flame. Using a pre-poured candle jar eliminates the risk of ruining your ribbon and decorations with spilled wax.
What You'll Need
What You'll Need
Check items off as you gather them
Supplies
-
Candle Jar any straight-sided glass from candle jars works; filled or empty
-
Ribbon burlap, lace, grosgrain, satin, or tulle in the width and color you want
-
Hot Glue Gun with glue sticks; a dot or a line holds the band in place
-
Scissors to cut the band and trim the bow tails
-
Embellishment optional a wood tag, charm, or sprig to cover the seam
Skip ahead to the step-by-step guide
Is It Safe to Put Ribbon on a Candle Jar?
It is safe, and the reason is the same one that makes a How to Decoupage a Jar project safe: the glass sits between the decoration and the heat. The ribbon lives on the outside of the container, while the wax, wick, and flame stay inside the glass. As long as that separation holds, a ribbon-wrapped jar burns exactly like a bare one.
Never let flammable material reach the open flame. Combustibles placed too close to a candle are a leading cause of candle fires, which is why candle safety labeling carries the warning to keep candles away from things that catch fire[1]. So keep the ribbon, and any fabric trim or embellishment, on the exterior of the jar. Glue the band below the rim, never fold it over the edge into the interior, and keep the top of the glass bare so the decoration sits away from the hottest part of the vessel.
Choosing Your Ribbon
Almost any ribbon wraps a jar, and the material drives the look. Pick by the finish you want and how the ribbon will tie.
Ribbon Materials
| Material | Best for | What to know |
|---|---|---|
| Burlap | A rustic, farmhouse band | Stiff and textured; glues flat and holds a crisp edge. Frays if cut on the grain, so seal the ends. |
| Lace | A soft, vintage layer | Sheer enough to show the glass; layers well over a solid band underneath. |
| Grosgrain | A clean, ribbed band | Sturdy and matte; ties a tidy bow and resists fraying. |
| Satin | A glossy, formal finish | Smooth and reflective; slips while you glue, so tack the seam first. |
| Tulle | A full, gauzy bow | Very light; doubles up easily for a bigger bow and ties soft. |
The Step-by-Step Process
Work on a clean, flat surface with the glue gun fully heated before you start. A dot or line of hot glue sets fast, so place each piece deliberately.
How to Decorate a Candle Jar With Ribbon
-
1
Gather your supplies
Set out the jar, the ribbon, the glue gun, scissors, and any embellishment so everything is within reach. Heat the glue gun while you measure.

-
2
Measure and cut the band
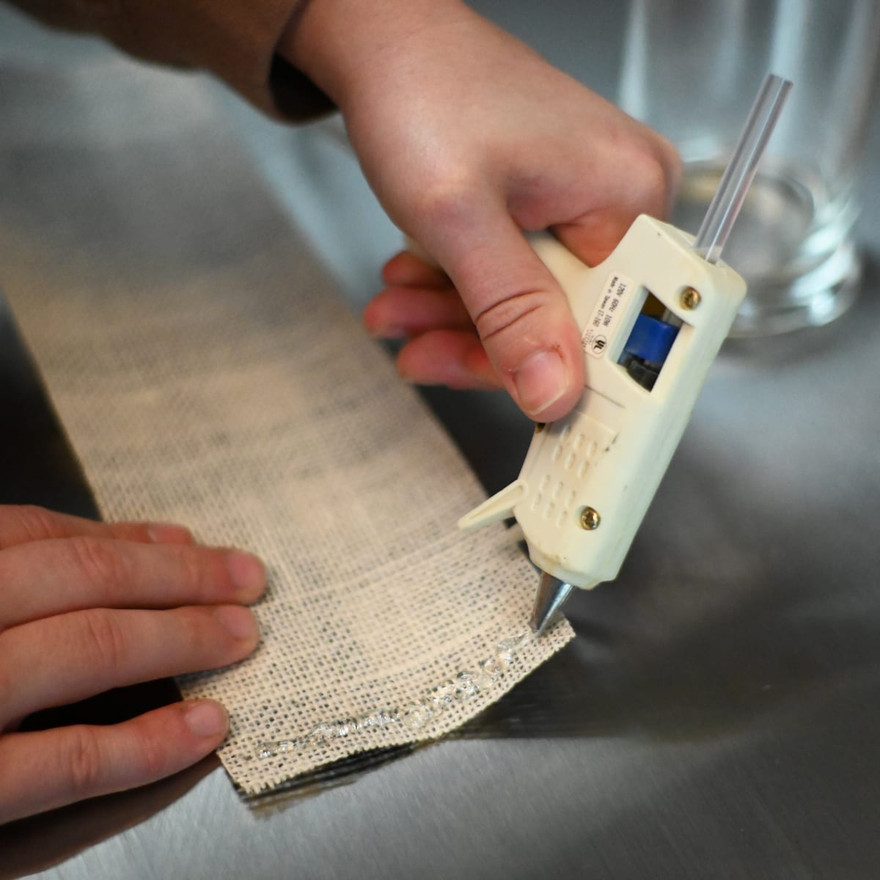
Wrap the ribbon around the jar and cut it to length, leaving a slight overlap where the ends meet. Run a dot of hot glue along the starting end and press it to the glass. Use care when adhering your materials; the hot glue will be quite hot.
-
3
Wrap and glue the seam
Wrap the band around the jar and glue the overlapping end down. For a wide ribbon, use a line of glue rather than a single dot so it holds along its whole width. Press and hold until the glue cools so it bonds fully.

-
4
Add a bow ribbon
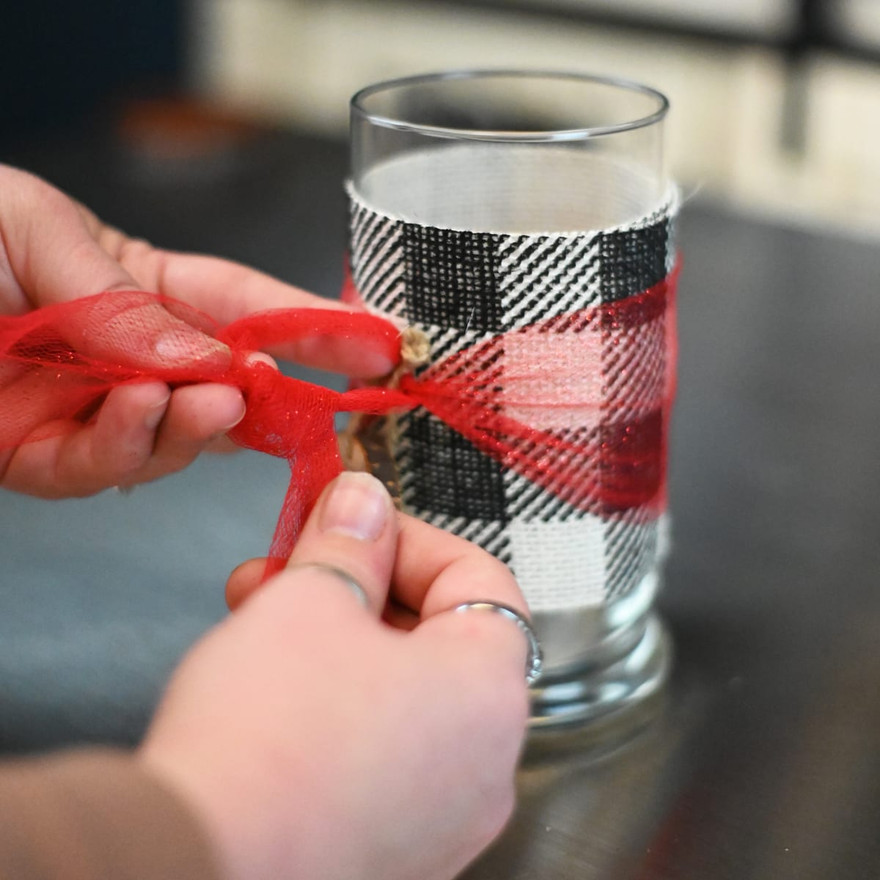
Cut a second length of ribbon or tulle with several extra inches for the bow. Fold it in half and wrap it around the jar over the band, crossing the ends at the front.

-
5
Tie the bow and add an embellishment
Tie the first knot, then loop each end and tie a second knot to form the bow. Slip an embellishment, like a tag or charm, onto the knot to hide the seam if you want one.
-
6
Trim and finish
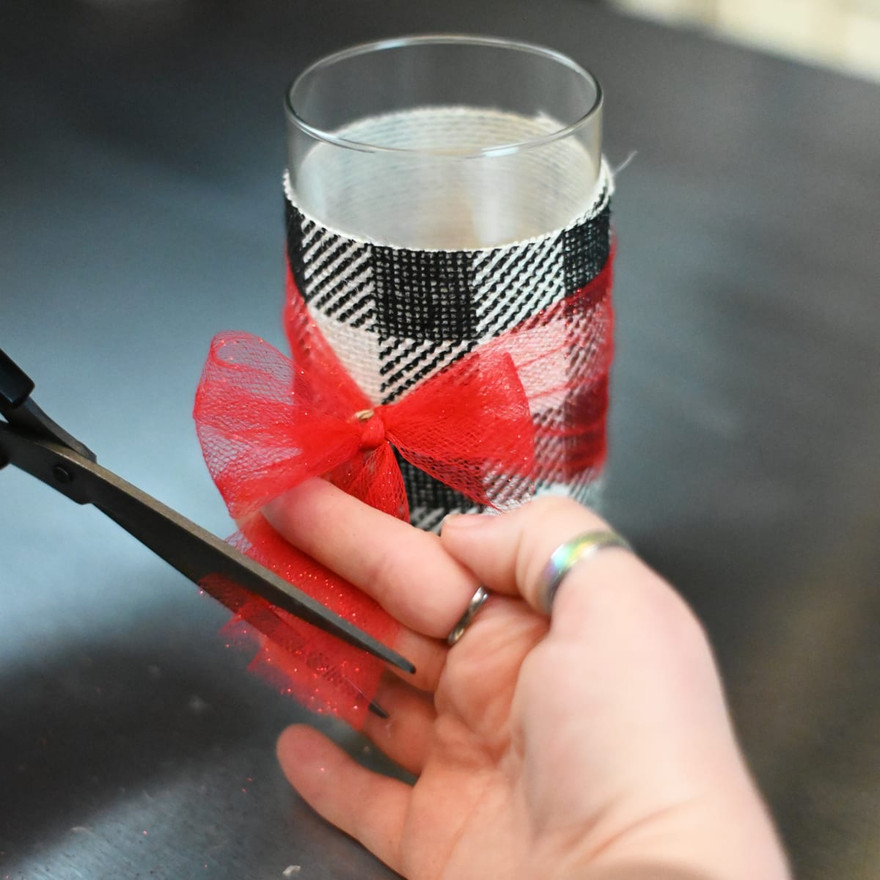
Fluff the bow loops and trim the tails to even lengths. Set the lid on if the jar uses one, and the decorated jar is ready to fill or display.
Tying a Bow and Finishing
To tie a ribbon around a jar cleanly, leave yourself extra length before you cut. Cross the ends, tie a first knot snug against the band, then make a loop with each tail and tie those loops together for the bow. A dot of glue under the band keeps it from sliding while you work. Tulle and lace forgive an uneven first attempt because the loops fluff out and hide the knot; grosgrain and satin show the knot, so pull them tidy.
If you are making the candle yourself, the wax prep and pour are the standard container process from How to Make Container Candles. Burn the finished candle the way you would any container candle: within sight, well away from anything that can catch fire, and never unattended[2]. The ribbon holds up for the life of the candle as long as it stays dry and clear of the flame.